Users and Organizations
Creating User Accounts
To access and manage resources in Red Hat Quay, you need a user account. Proceed with the following steps to create your first user:
-
Open a new browser tab and navigate to your Red Hat Quay web console using the registry URL.
If you do not have the URL handy, you can find it in the OpenShift web console under Core Platform > Networking > Routes in the quay-workshop namespace.
|
-
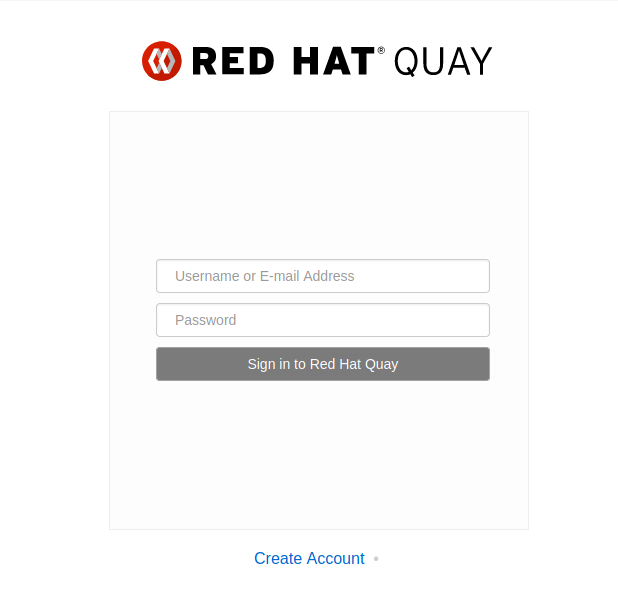
Click Create Account on the Quay login page.
-
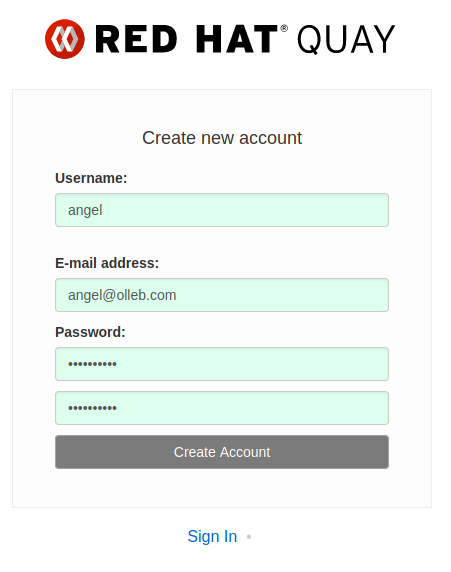
Enter the required user information (Username, Email, and Password).
-
Click Create Account to finalize, and then log in using your new credentials.
Creating Organization Accounts
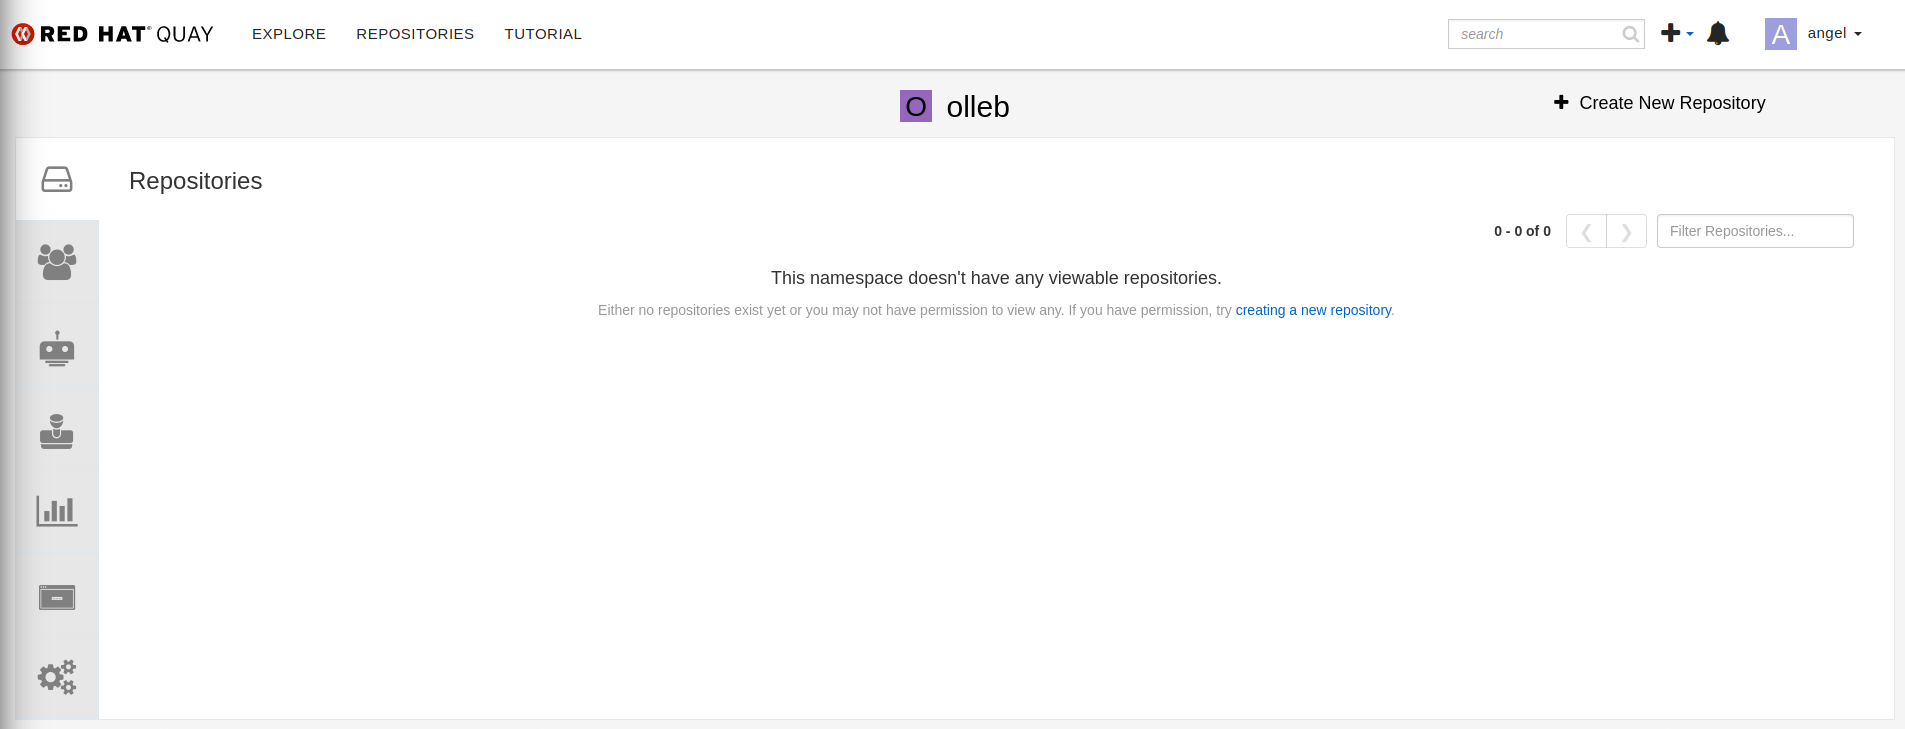
Organizations in Red Hat Quay allow you to group repositories, manage permissions, and share container images efficiently across teams.
-
Log in to the Red Hat Quay web console if you are not already logged in.
-
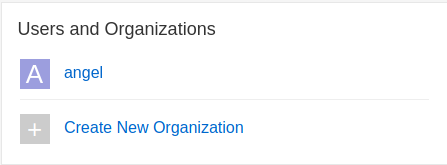
On the top navigation bar or dashboard, click Create Organization.
-
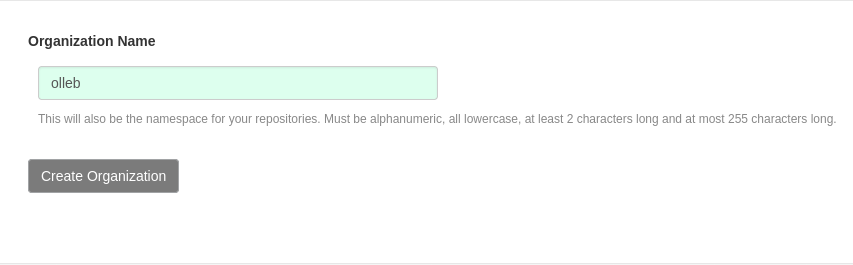
Enter the desired Organization Name.
-
Click Create.
Creating Teams and Assigning Roles
Organizations use teams to manage group permissions across repositories efficiently.
-
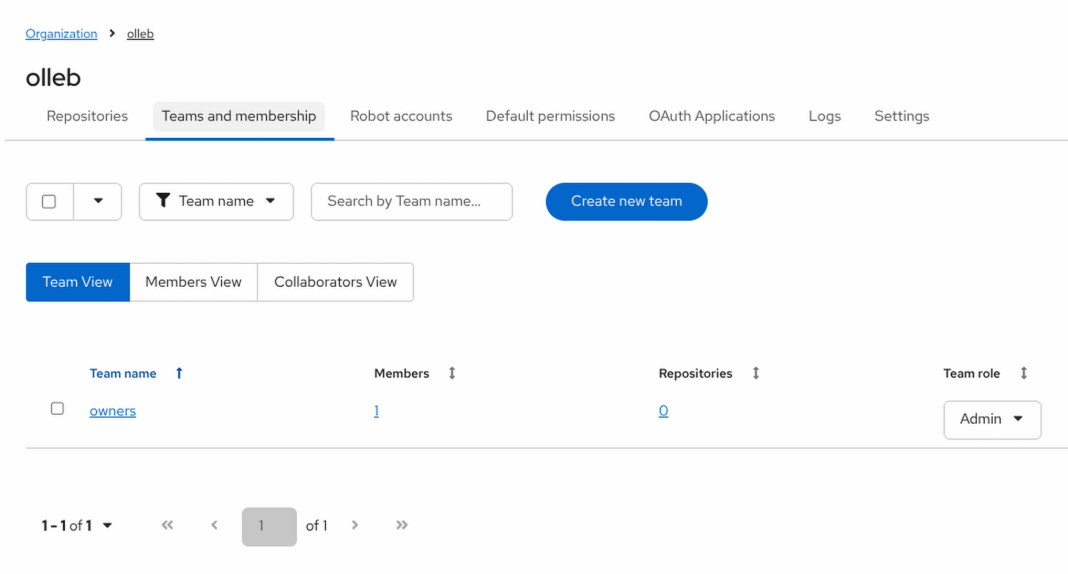
Inside your newly created organization, click the Teams and Membership tab.
-
Click Create new team, enter
developersas the team name.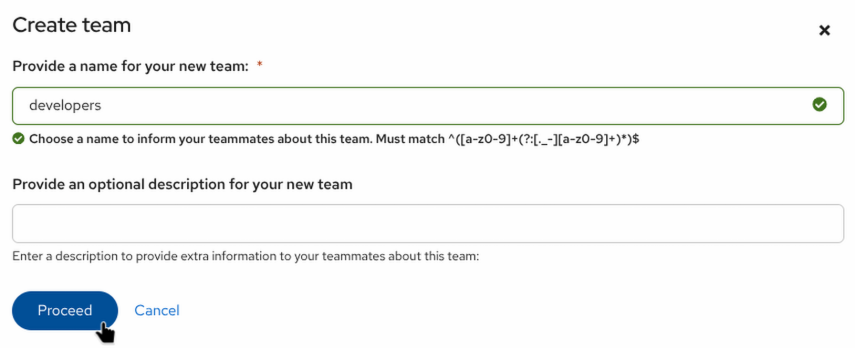
and click Proceed to launch the creation wizard:
-
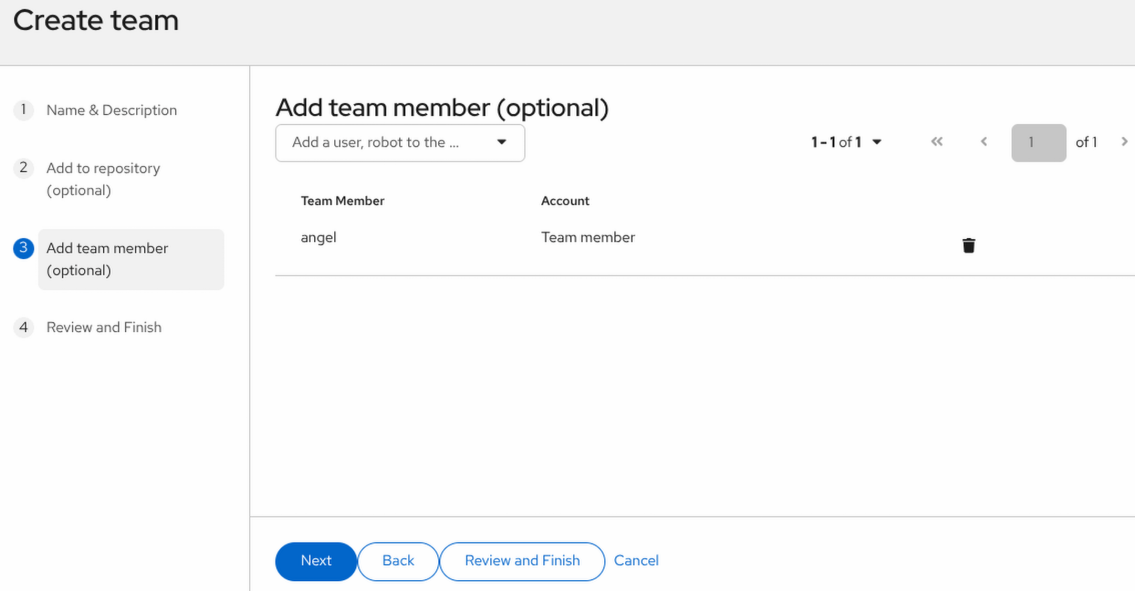
Name & description: click Next.
-
Add to repository (optional): Skip this step for now by clicking Next.
-
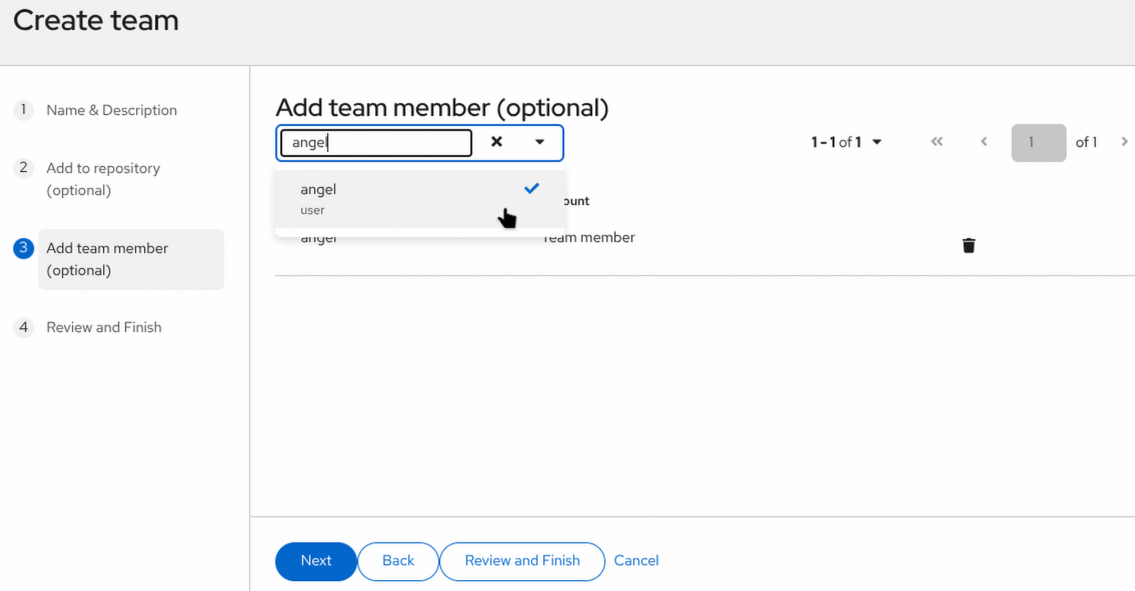
Add team member (optional): Search for your user (or any secondary user account), add them to the team, and click Next.
-
Review and Finish: Review the team details and click the confirmation button to create the team.
Creating Robot Accounts for Automation
Robot accounts are attached to an organization and are ideal for CI/CD pipelines and automated deployments. In this section, you will create a robot account that can be used for automated operations in later modules.
-
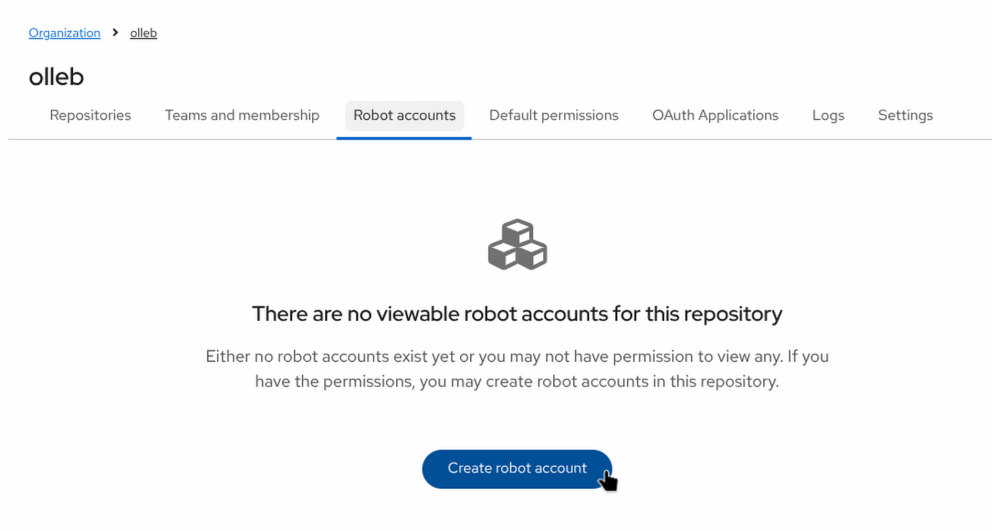
Select your organization and navigate to the Robot Accounts tab.
-
Click Create Robot Account to open the wizard:
-
Complete the wizard steps as follows:
-
Name: Enter
pipeline_builderin the name field and click Next. -
Add to team (optional): Skip this step for now and click Next.
-
Add to repository (optional): Skip this step for now and click Next.
-
Default permissions (optional): Leave the default selection as None (you can choose between None, Read, Write, or Admin when assigning repository access) and click Next.
-
Review and finish: Review the configuration and click the confirmation button to complete the creation.
-
-
Once created, click on the newly created
pipeline_builderaccount to view its credentials.
| You can view or regenerate the robot account’s token or download the Kubernetes secret configuration at any time. We will use these credentials in upcoming CI/CD and automation exercises. |