Prerequisites
|
This tutorial was developed and tested with:
|
The following tools are required to run the exercises in this tutorial. Please ensure that they are installed and properly configured before proceeding with any of the tutorial chapters.
| Tool | Reference |
|---|---|
|
|
|
|
|
|
|
|
|
|
|
|
|
Note: Some of these tools are also available through the web terminal provided by the operator.
ODF Operator
Install OpenShift Data Foundation Operator by following these steps:
-
Open a browser window and log in to the Red Hat OpenShift Container Platform web console.
-
From the Administrator perspective, click
Operators, and then selectOperatorHub. -
In the Filter by keyword field, type
ODF.
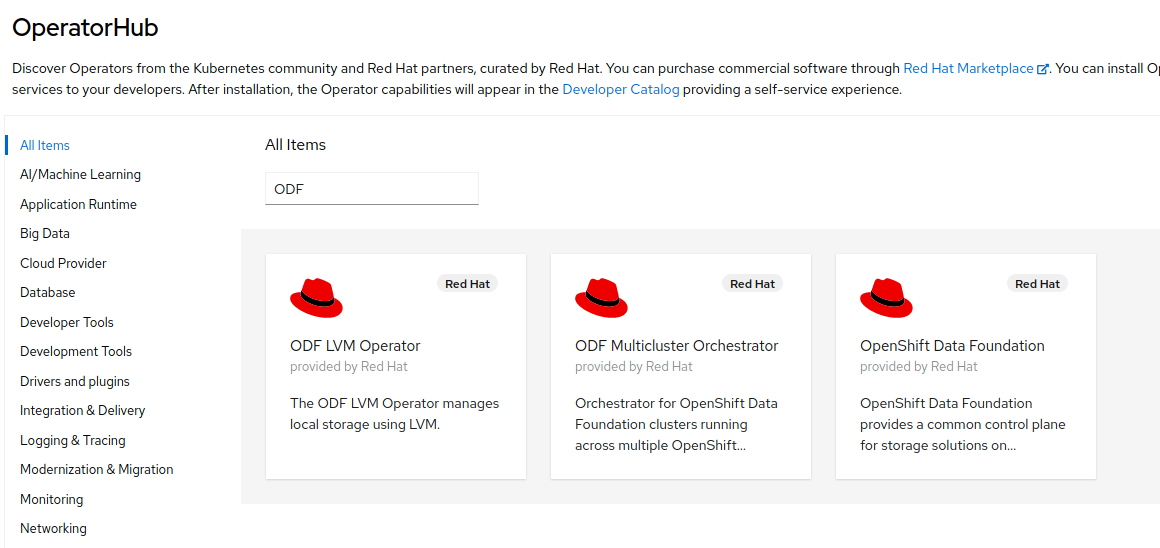
-
Select the Red Hat OpenShift Data Foundation tile and click the
Installbutton.

-
On the Install Operator page, select
stable-4.19from the list of available Update Channel options, and then choose A specific namespace on the cluster. Leave the default value for Installed Namespace asopenshift-storage, and set Update Approval toAutomatic. Also, make sure to enable the console plug-in.
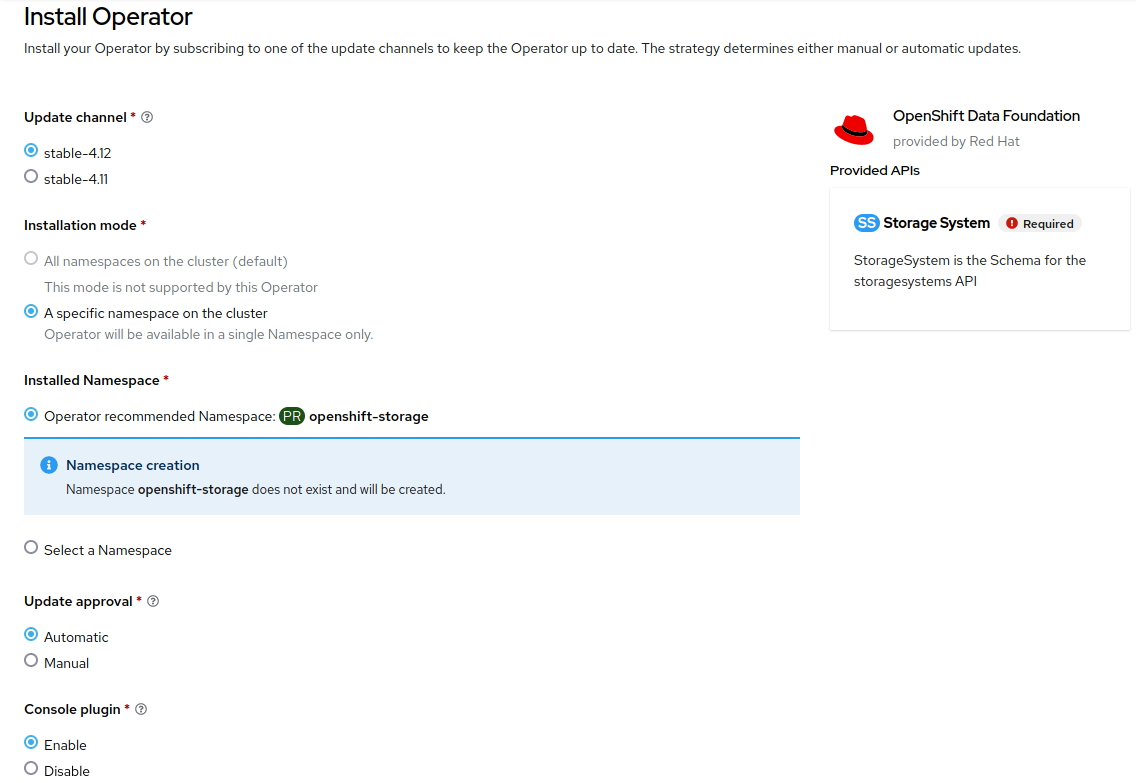
-
Click
Install.
Creating the ODF Cluster
OpenShift Data Foundation (ODF) offers multiple deployment models depending on the storage capabilities required by the workload. In this guide, we focus on the Multicloud Object Gateway (MCG) mode, which provides a lightweight and S3-centric object storage service.
The Multicloud Object Gateway (MCG) is the lightweight deployment mode of ODF. Unlike the full storage deployment that includes a complete Ceph cluster, the MCG mode provides only an S3-compatible object storage gateway layer. It is primarily designed for:
-
Distributed caching use cases
-
Cloud-to-cloud or on-prem-to-cloud replication
-
Unified access to remote buckets
-
Workloads that require S3 object storage only (no block or file storage)
Because the MCG does not deploy a full Ceph data plane, it has significantly lower resource consumption and is often referred to as a lightweight mode.
With this context in mind, the next step is to create the ODF resources in the cluster. The deployment process begins by creating an ODF StorageCluster through the OpenShift web console.
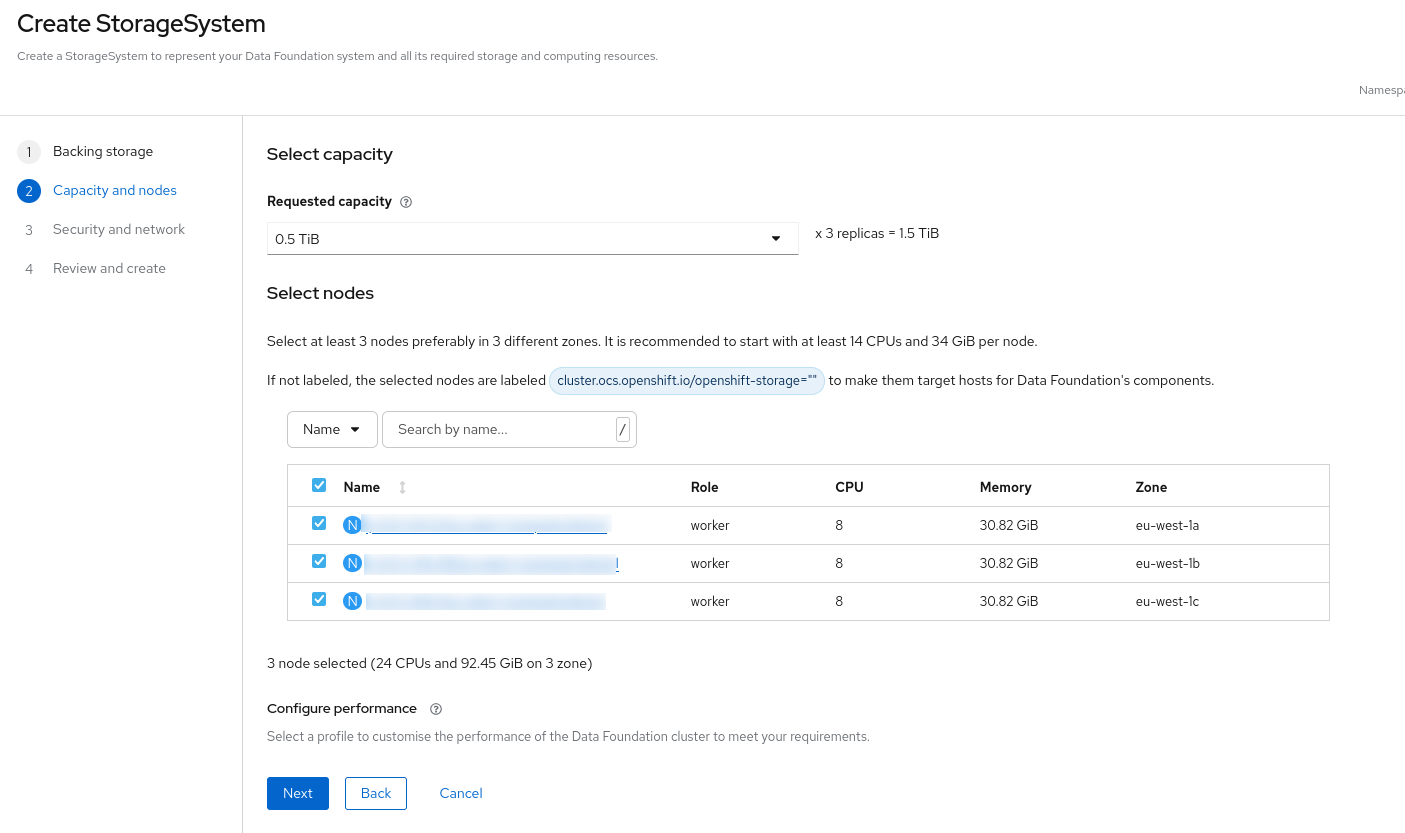
Proceed with the following steps to deploy the ODF StorageCluster in Multicloud Object Gateway mode.
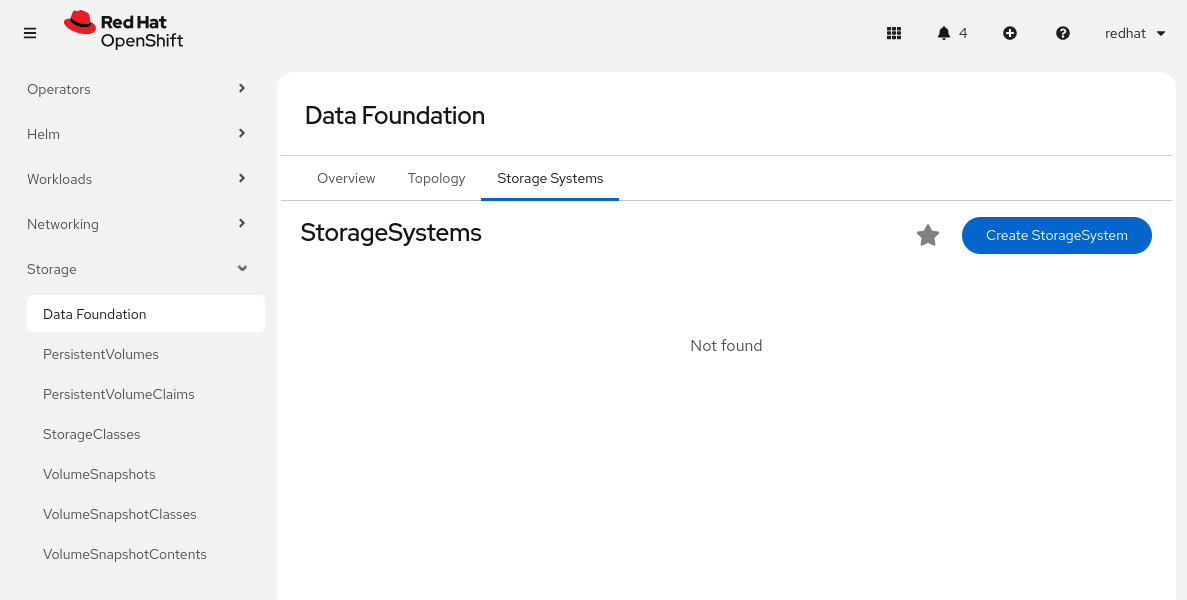
-
From the Administrator perspective in the OpenShift console, navigate to
Storage>Data Foundation. -
Go to the Storage System tab.
-
Click
Create StorageSystem.
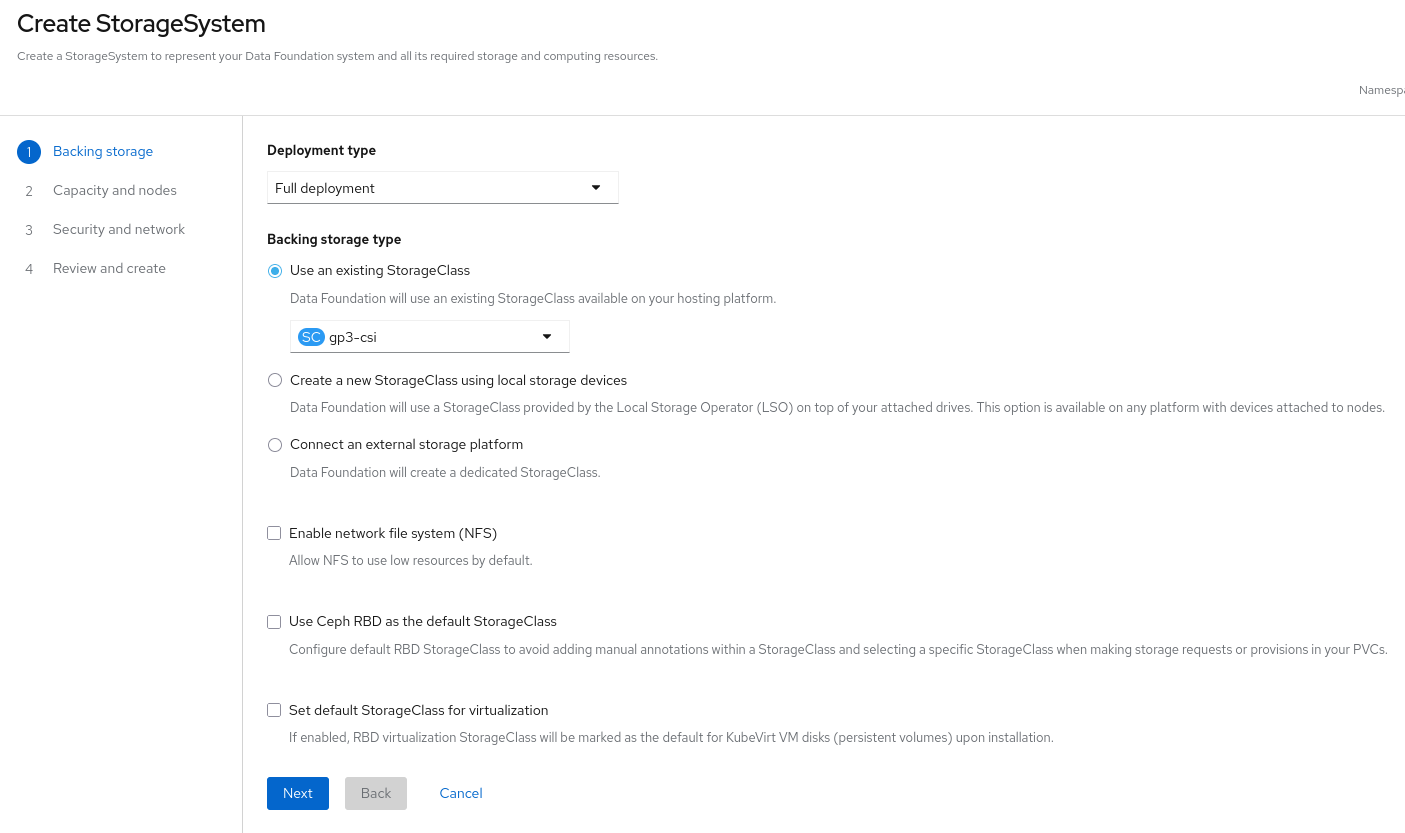
Deployment type:
-
MultiCloud Object Gateway.
Select the backing storage type:
-
On the first page of the wizard (Backing storage), select
Use an existing StorageClass. For example,gp3-csi. -
Click
Next.
-
Then click
NextandCreate StorageSystem.
| Wait until the OpenShift Data Foundation components are fully deployed before proceeding. |
Installing the Quay Operator
Subscribe to and deploy the Red Hat Quay Operator.
-
Open a browser window and log in to the Red Hat OpenShift Container Platform web console.
-
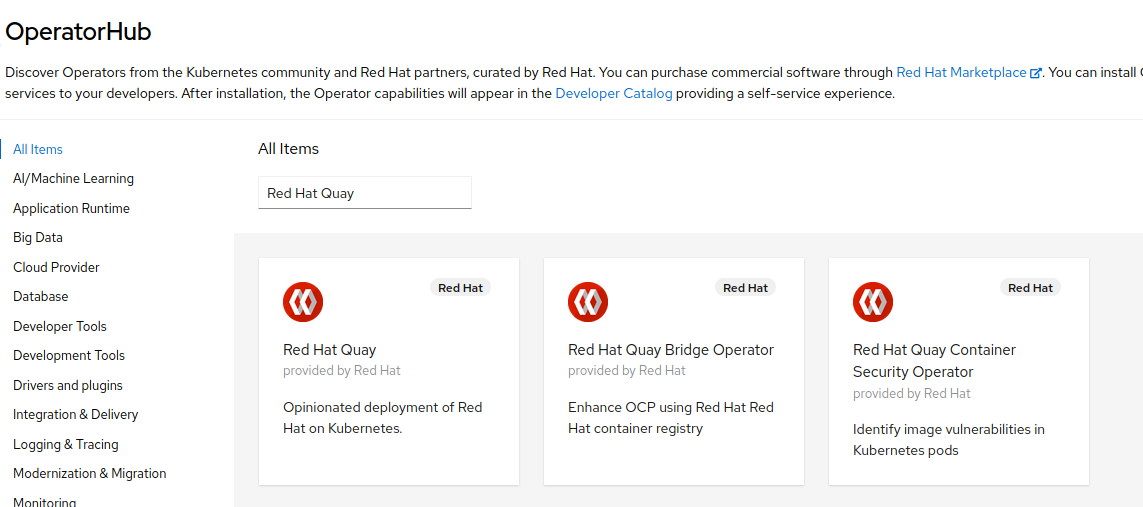
From the Administrator perspective, click
Operators, and then selectOperatorHub. -
In the Filter by keyword field, type
Red Hat Quay.
-
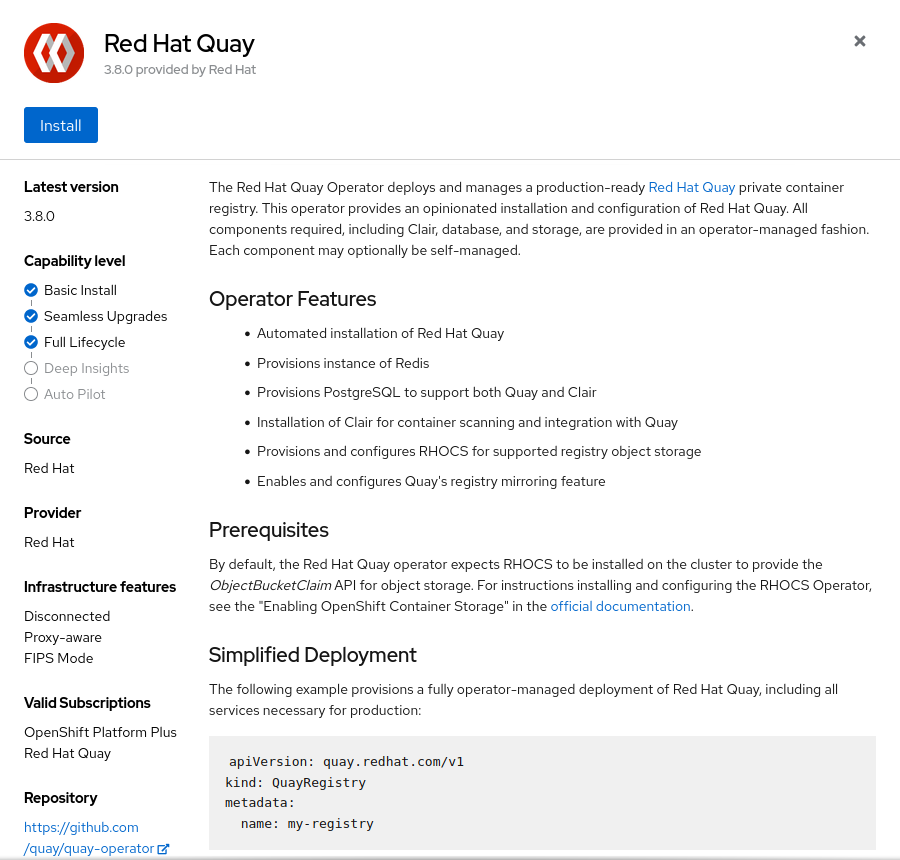
Select the Red Hat Quay tile and click the
Installbutton.
-
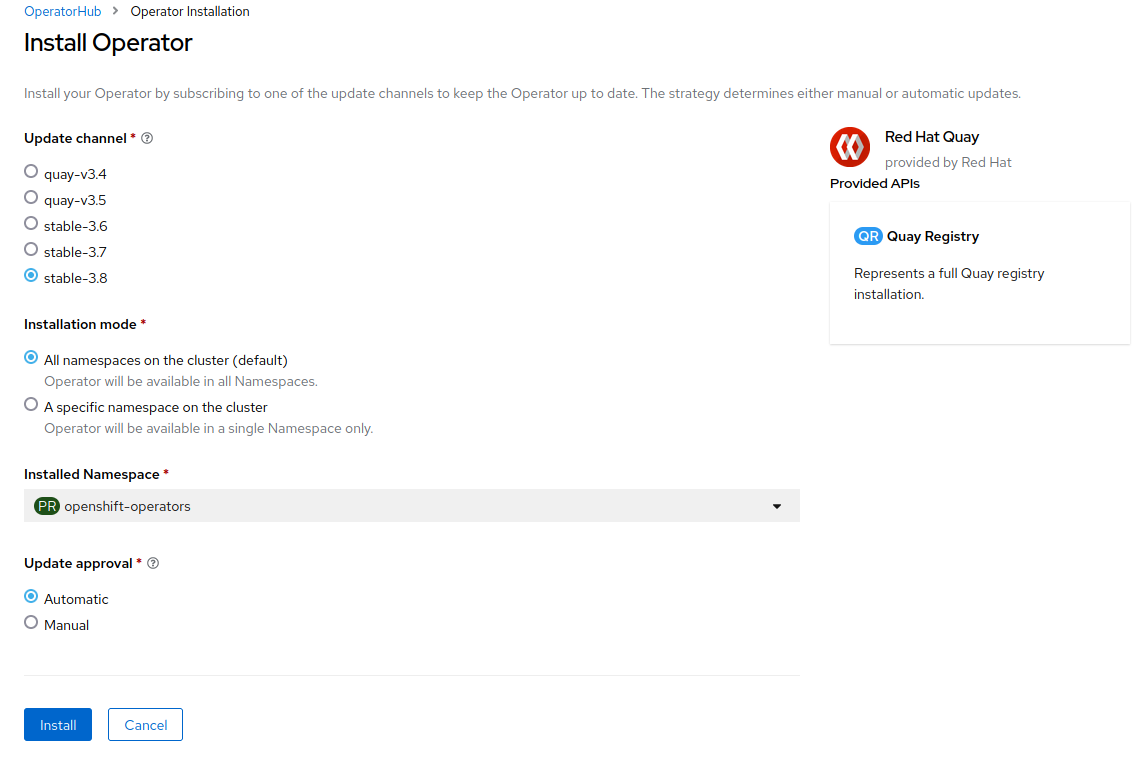
On the Install Operator page, select
stable-3.15from the list of available Update Channel options. Then, chooseAll namespaces on the cluster (default)as the installation mode and selectAutomaticfor update approval.
-
Click
Install.
Deploying Quay
-
Create a new project named
quay-workshop. -
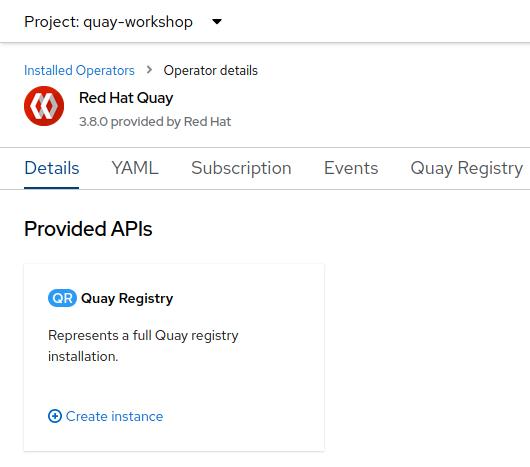
From the Administrator perspective, navigate to
Operators, and then selectInstalled Operators. Choose thequay-workshopproject and select the Red Hat Quay Operator. -
Click
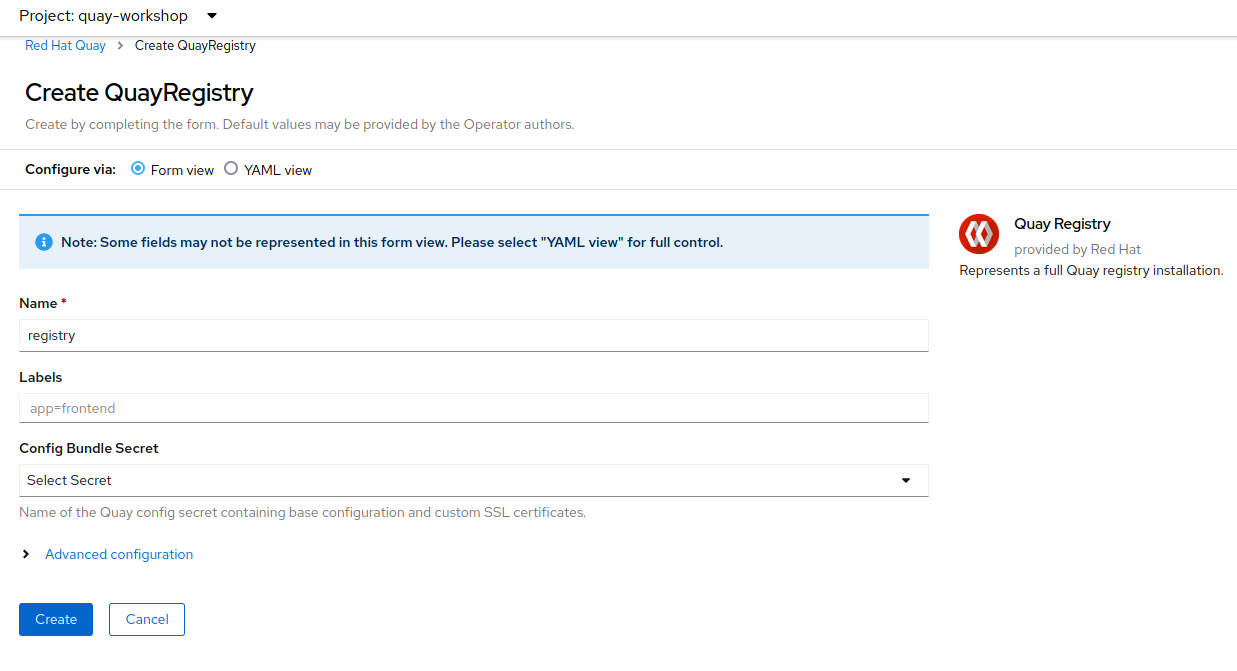
Create instanceto create a new Quay registry instance.
-
If desired, change the name, and then click
Create.
Exporting Environment Variables
It is recommended to set the QUAY_HOSTNAME environment variable in the working terminal before running the commands. Alternatively, you can specify the hostname directly within the commands as needed.
|
QUAY_HOSTNAME=$(oc get route registry-quay -n quay-workshop -o jsonpath={.spec.host})Adding the Quay Certificate as a Trusted CA in OCP (Optional)
This step is recommended if your Quay registry uses a self-signed or internal certificate.
-
Obtain the Quay registry certificate:
echo -n | openssl s_client -showcerts -connect $QUAY_HOSTNAME:443 | sed -ne '/-BEGIN CERTIFICATE-/,/-END CERTIFICATE-/p' > quay.crt-
Create a ConfigMap containing the CA:
oc create -n openshift-config configmap quay-ca --from-file=$QUAY_HOSTNAME=quay.crt

# Verify
oc get -n openshift-config configmap quay-ca -o yaml-
Associate the CA with the cluster:
oc patch image.config.openshift.io/cluster --type=merge -p '{"spec":{"additionalTrustedCA":{"name":"quay-ca"}}}'-
Verify:
oc get image.config.openshift.io/cluster -o yaml
Installing Red Hat build of Keycloak (Optional)
This step is optional and only required if you plan to configure Quay authentication with Keycloak via OpenID Connect.
In this section, you will deploy Red Hat build of Keycloak on OpenShift.
-
Open a browser window and log in to the Red Hat OpenShift Container Platform web console.
-
From the Administrator perspective, click
Operators, thenOperatorHub. -
In the Filter by keyword field, type
rhbk.
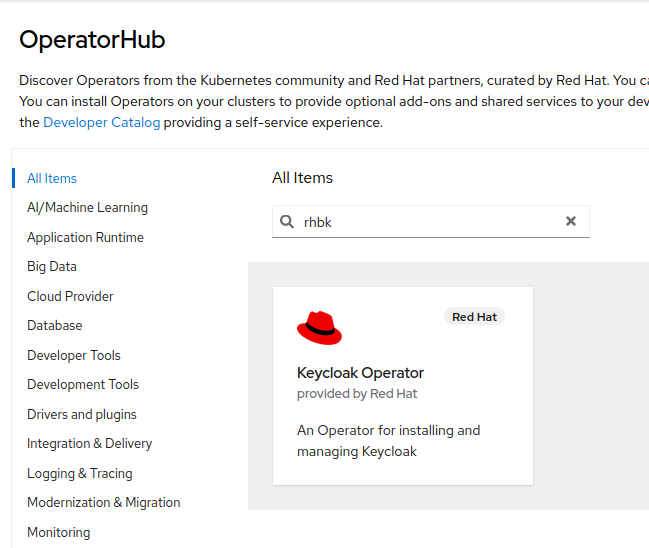
-
Select the
Keycloak Operatortile and click Install.
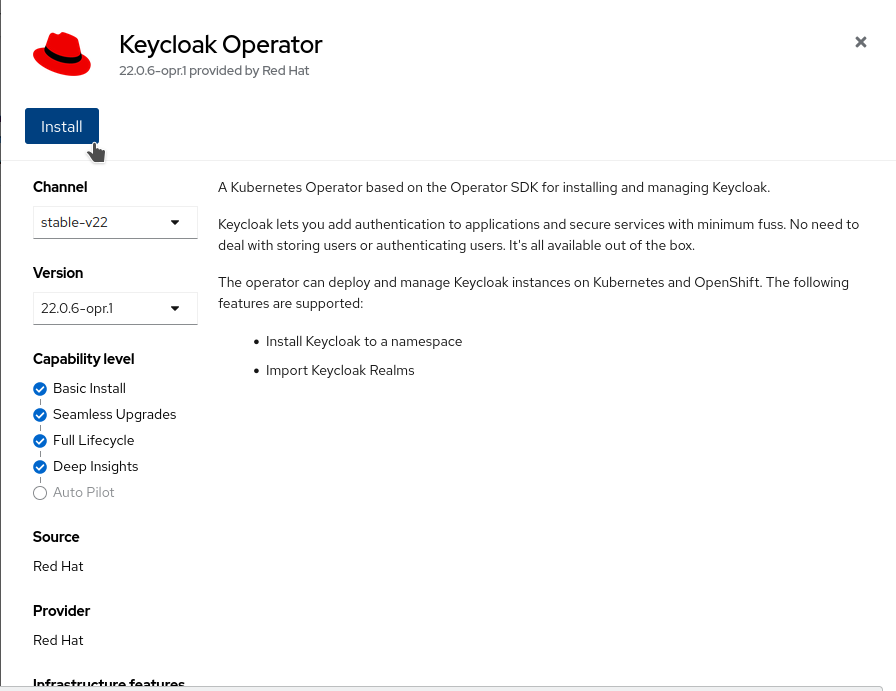
-
On the Install Operator page, keep the
stable-v22option from the list of available Update Channels. The Operator only supports the installation mode A specific namespace on the cluster. Create therhbkproject and choose Automatic update approval.
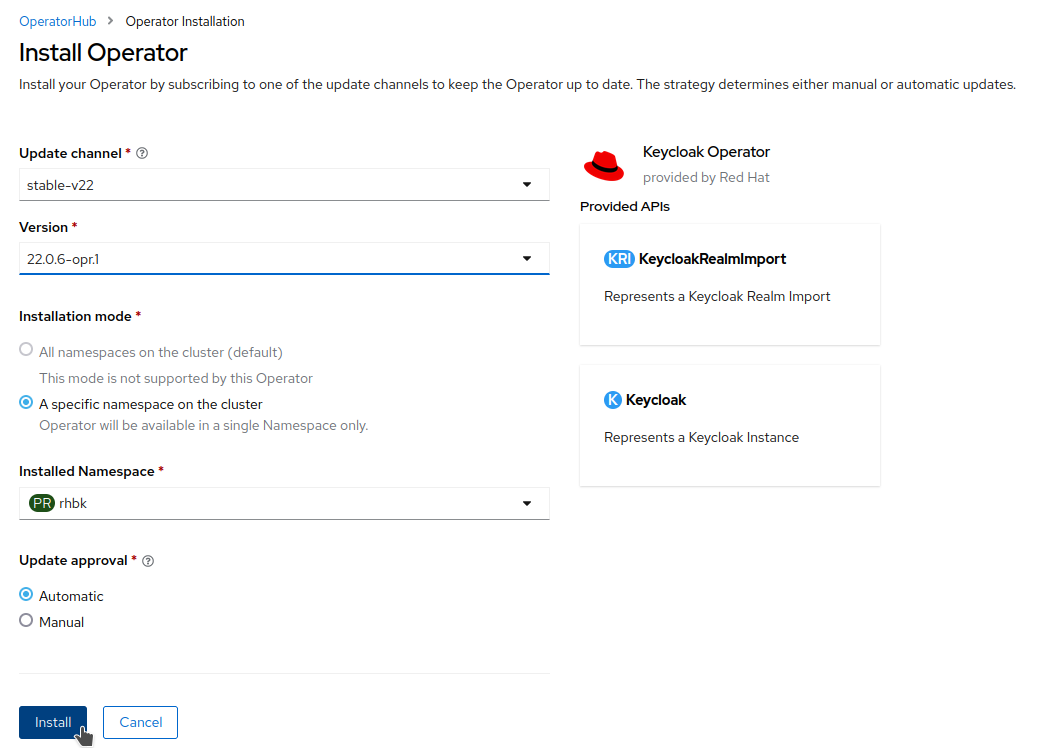
-
Click Install.
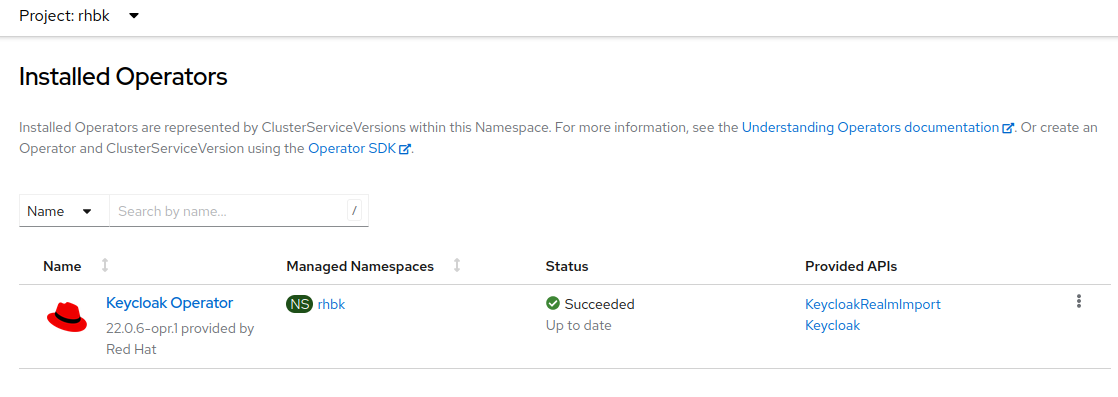
Once installed, the Keycloak Operator will appear in the list of installed operators under Operators → Installed Operators.
Keycloak requires several prerequisites (unless running in start-dev mode), which we will now install and configure.
We will set up a PostgreSQL database for this workshop.
-
Deploy the database instance:
-
Create the secrets:
oc -n rhbk create secret generic keycloak-db-secret \
  --from-literal=username=keycloak \
  --from-literal=password=keycloak
The YAML file already includes the keycloak database credentials, which is acceptable for workshop purposes.
In production, these values must be securely defined and stored in a secret.
|
-
Create a self-signed certificate:
openssl req -subj '/CN=<YOUR_KEYCLOAK_HOSTNAME>/O=Keycloak/C=ES' -newkey rsa:2048 -nodes -keyout key.pem -x509 -days 365 -out certificate.pem

openssl req \
  -newkey rsa:2048 -nodes \
  -keyout key.pem \
  -x509 -days 365 \
  -out certificate.pem \
  -subj "/CN=<KEYCLOAK_HOSTNAME>/O=Keycloak/C=ES" \
  -addext "subjectAltName=DNS:<KEYCLOAK_HOSTNAME>"

oc create secret -n rhbk tls keycloak-tls-secret --cert=certificate.pem --key=key.pem-
Deploy the Red Hat build of Keycloak instance:
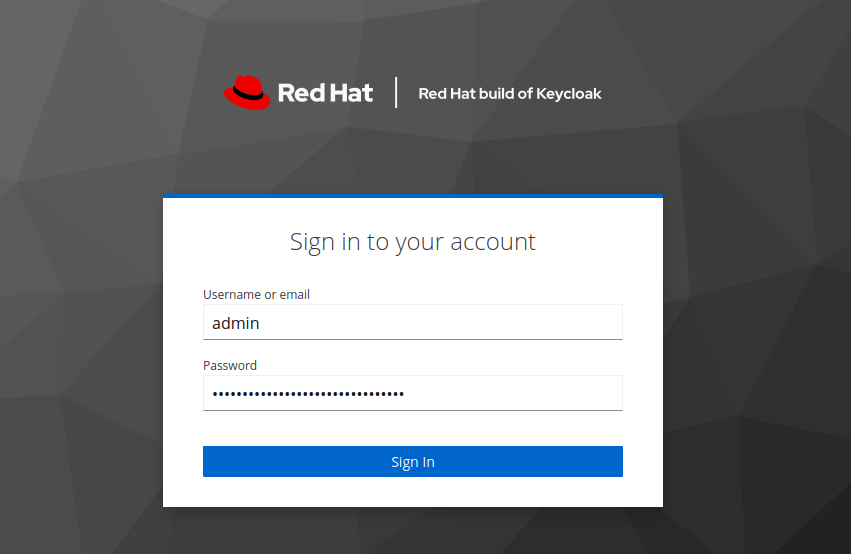
After deploying and confirming that the Keycloak instance is running successfully, retrieve the automatically generated admin credentials:
oc -n rhbk get secret keycloak-initial-admin -o jsonpath='{.data.username}' | base64 --decode
oc -n rhbk get secret keycloak-initial-admin -o jsonpath='{.data.password}' | base64 --decode| In production, always change the default credentials and enable multi-factor authentication. |
-
Access the administration console using the retrieved credentials.
Add the CA as a trusted certificate in Quay:
-
Encode the certificate in Base64:
base64 certificate.pem -w 0-
Copy the output; it will be used in the next step.
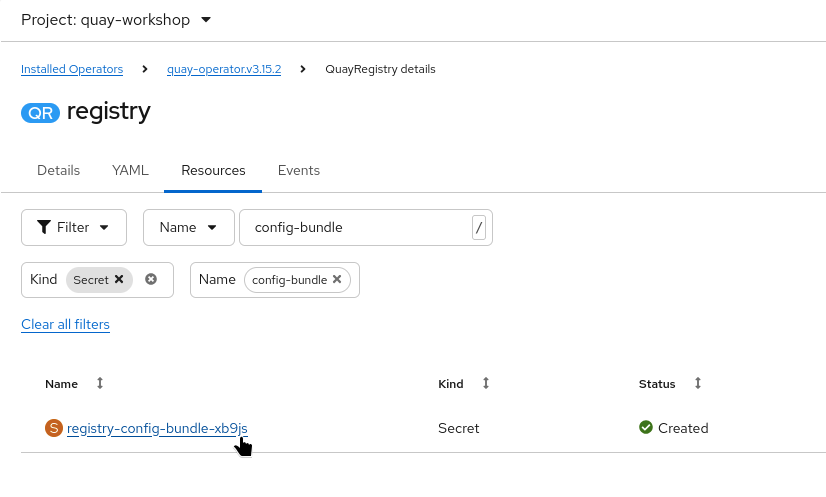
The Secret containing Quay’s configuration is located in the quay-workshop namespace.
Its name starts with registry-config-bundle- followed by a random suffix generated by the operator.
-
Log in to the OpenShift web console.
-
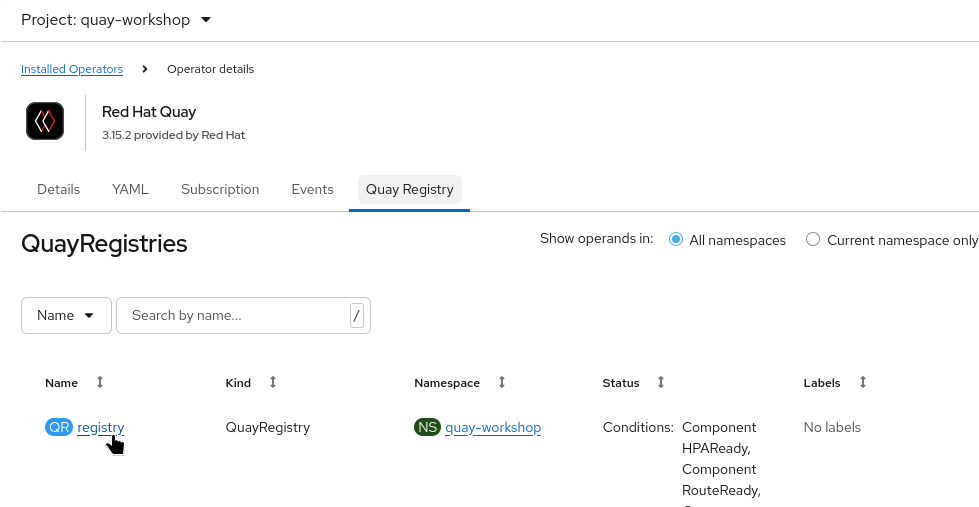
Navigate to the namespace where your QuayRegistry is deployed (e.g.
quay-workshop):Operators → Installed Operators → Red Hat Quay → Quay Registries
-
Click on your target QuayRegistry instance.
-
In the Resources tab, locate the configuration bundle Secret. The name typically begins with
registry-config-bundle-.
-
Click on the Secret and select the YAML tab.
-
Add or replace the key
extra_ca_cert_certificate_rhbkunder thedatasection:
kind: Secret
apiVersion: v1
metadata:
<..>
data:
  config.yaml: QUxMT1dfUFVMTFN..
  extra_ca_cert_certificate_rhbk: LS0tLS1CRUdJTiBDRVJUSUZJQ0FURS0..
type: Opaque
<..>-
Save the changes using the Save button.