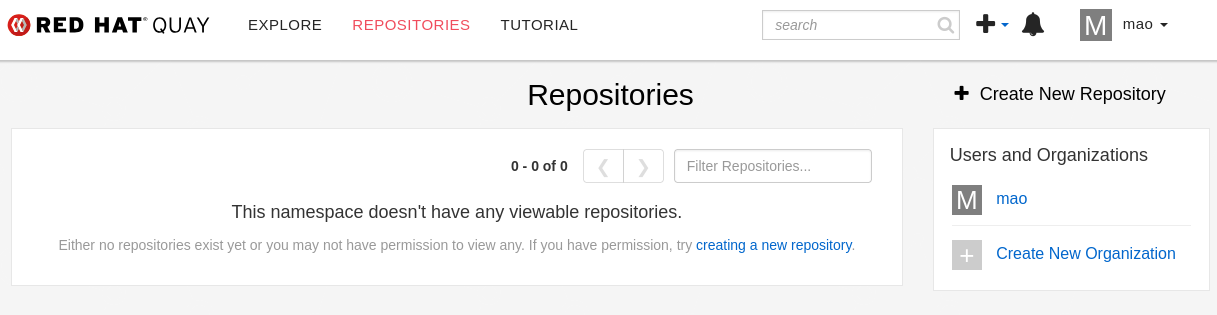
Quay Integration with Keycloak (OpenID Connect)
Configuring Keycloak for Quay
This section describes how to prepare Red Hat build of Keycloak so that Quay can use it as an external identity provider through the OpenID Connect (OIDC) protocol. These steps include creating a new realm, defining a Quay client, configuring redirect URIs, assigning the required scopes, and preparing user identities.
The following subsections assume that the Keycloak Operator is already installed and that a Keycloak instance is running in the cluster.
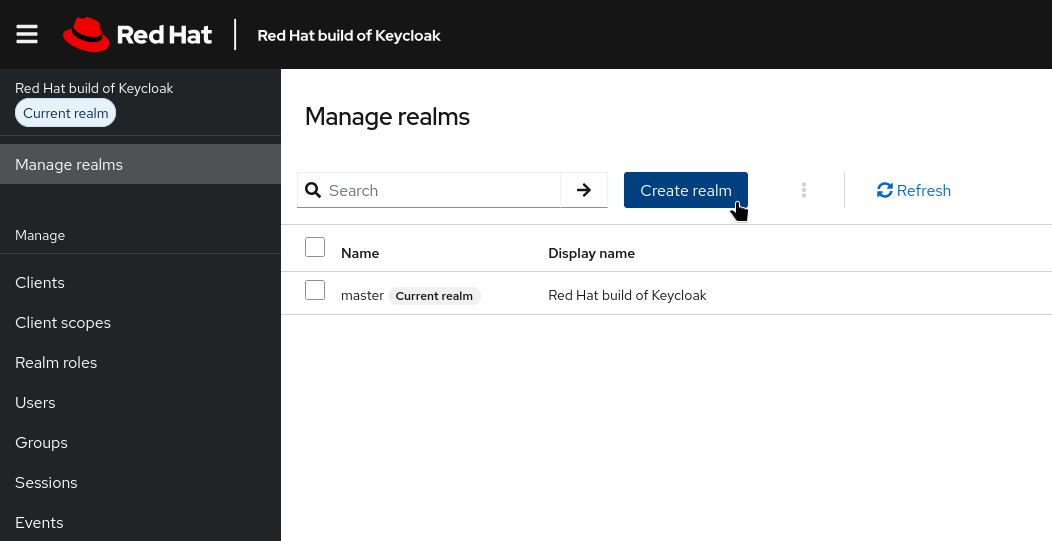
Creating a New Realm
Quay can be integrated into an existing realm, such as the default realm. However, it is recommended to create a dedicated realm to logically separate workshop environment.
To create a new realm:
-
Log in to the Keycloak administration console.
-
Navigate to Manage realms.
-
Click on Create Realm.
-
Provide a name, such as
quay. -
Click Create to create the new realm.
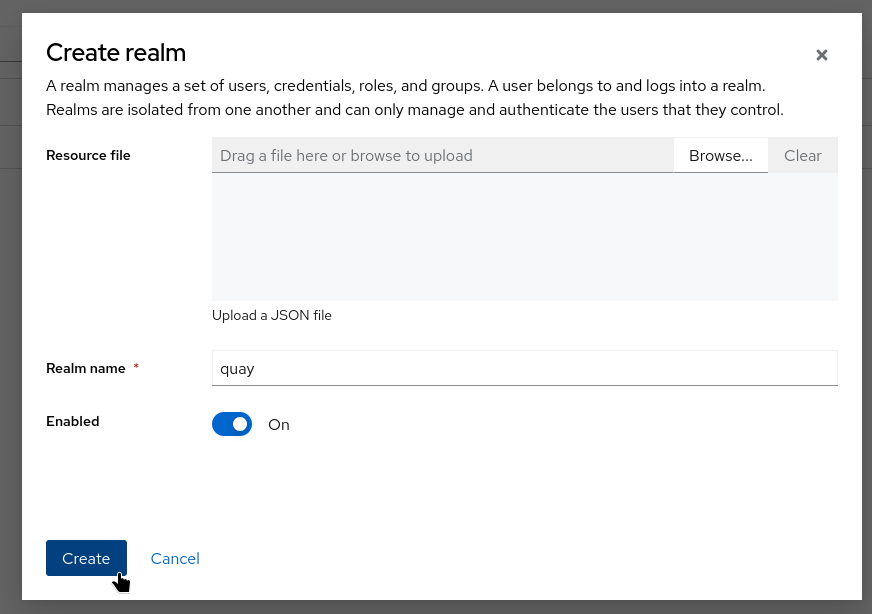
The remainder of this configuration will assume that the realm name is quay.
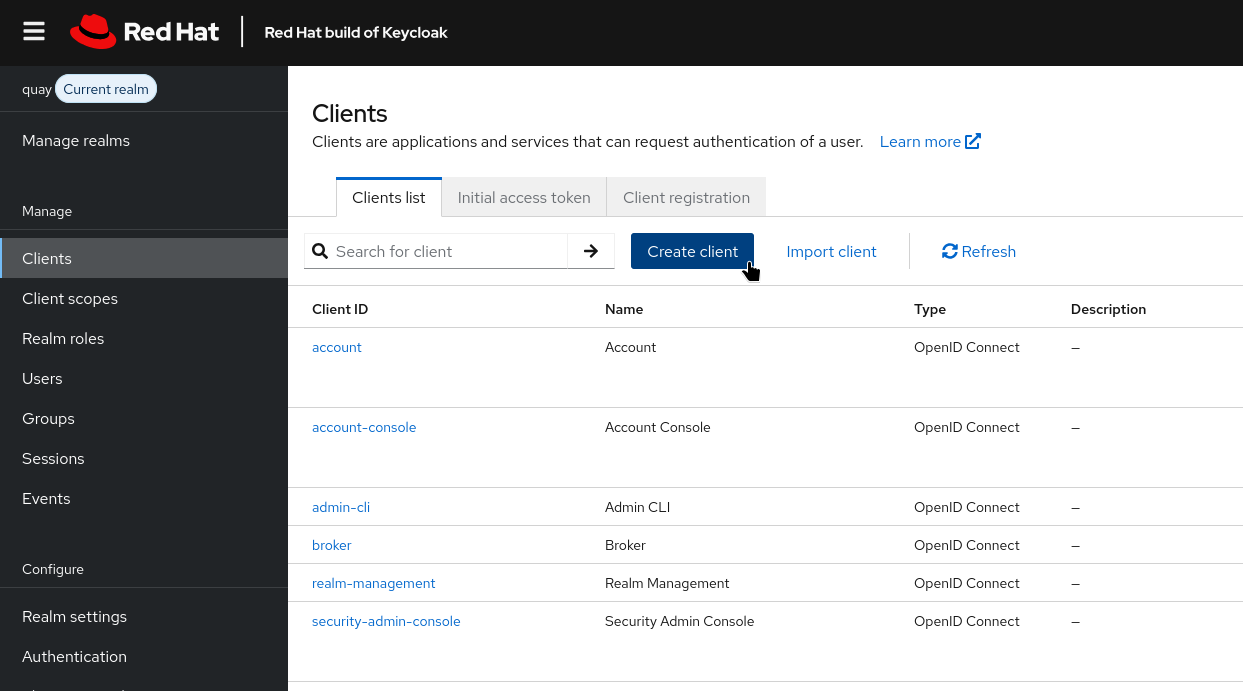
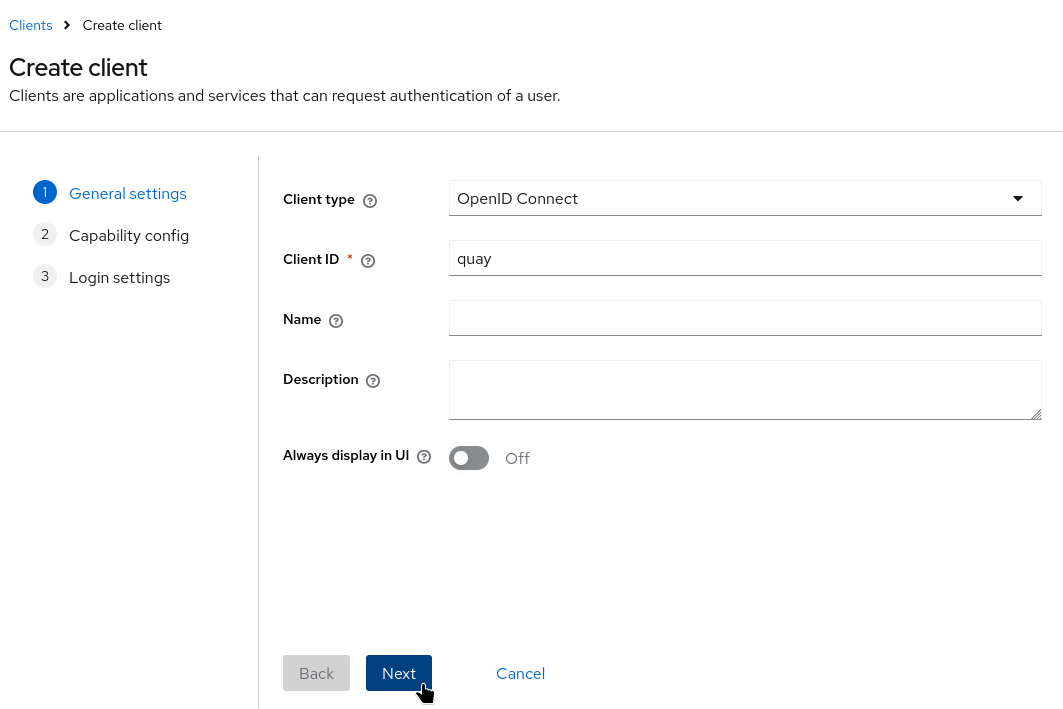
Creating a Quay Client
A Keycloak client represents an application that will interact with Keycloak for authentication. In this case, Quay will use the client to perform OpenID Connect authorization flows.
To create the client:
-
In the selected realm, navigate to Clients → Create Client.
-
Set the Client Type to
OpenID Connect. -
Enter a Client ID such as
quay. -
Click Next.
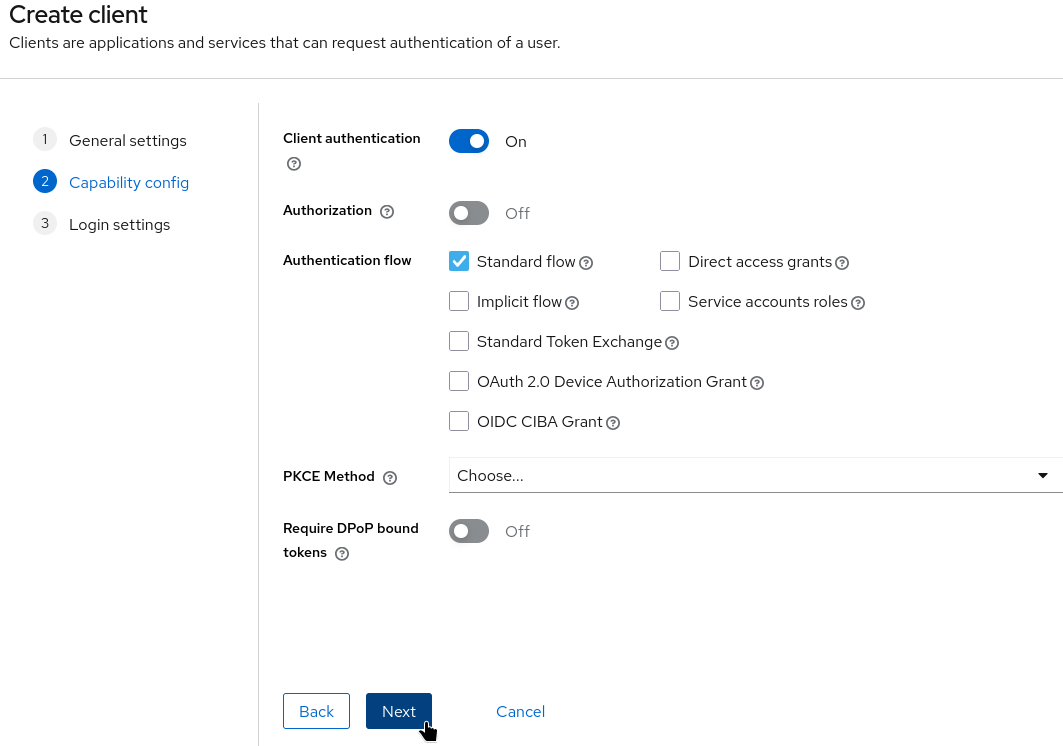
-
Set Client authentication to On.
-
Enable the Standard flow.
-
Click Next.
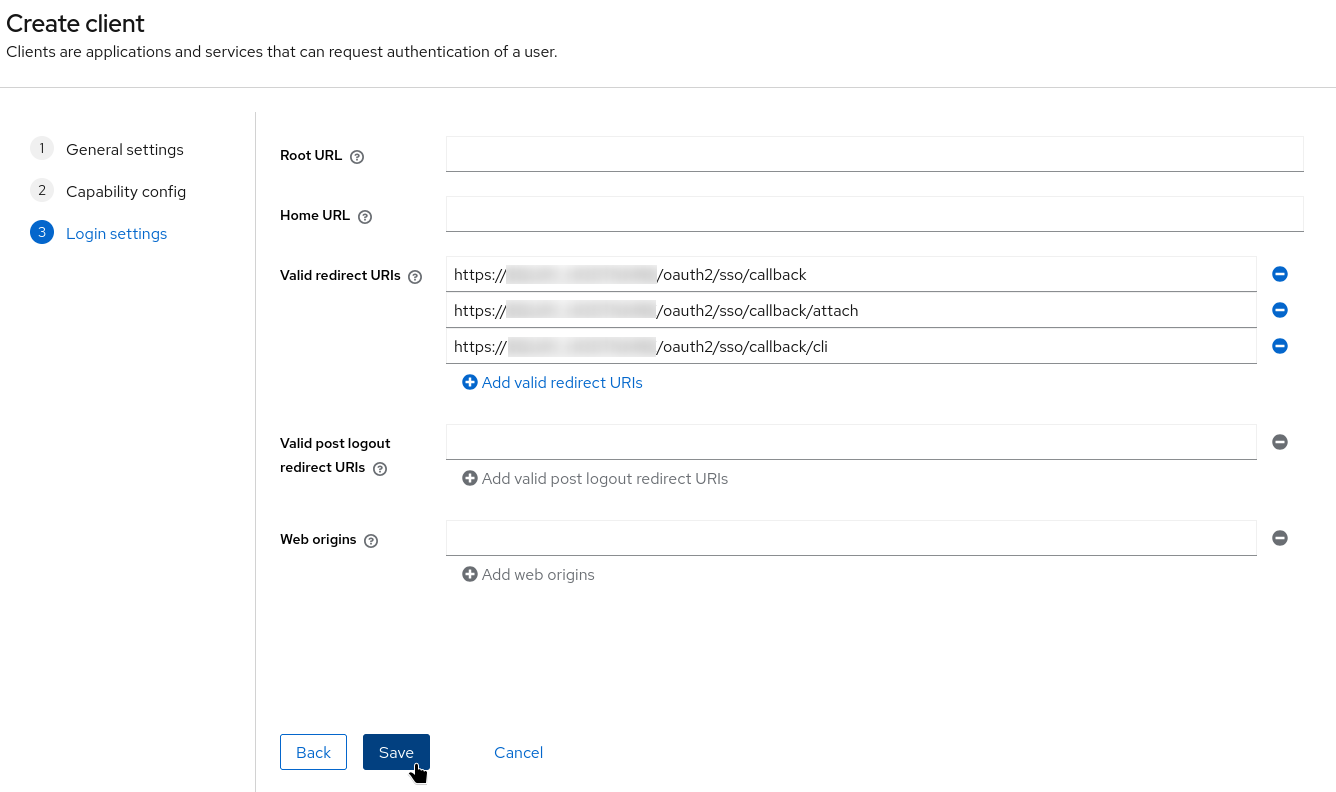
-
Add valid redirect URIs (replace
$QUAY_HOSTNAMEwith your Quay registry hostname): -
Click Save.
The service sso (service name) is required later when configuring OIDC in Quay.
|
The newly created client will be later referenced in the Quay configuration bundle.
After creating the client, copy its credentials:
-
Open the client in Keycloak.
-
Navigate to Credentials.
-
Copy the Client Secret.
-
Store it securely; you will paste it later into the
CLIENT_SECRETfield of theSSO_LOGIN_CONFIGsection in Quay’sconfig.yaml.
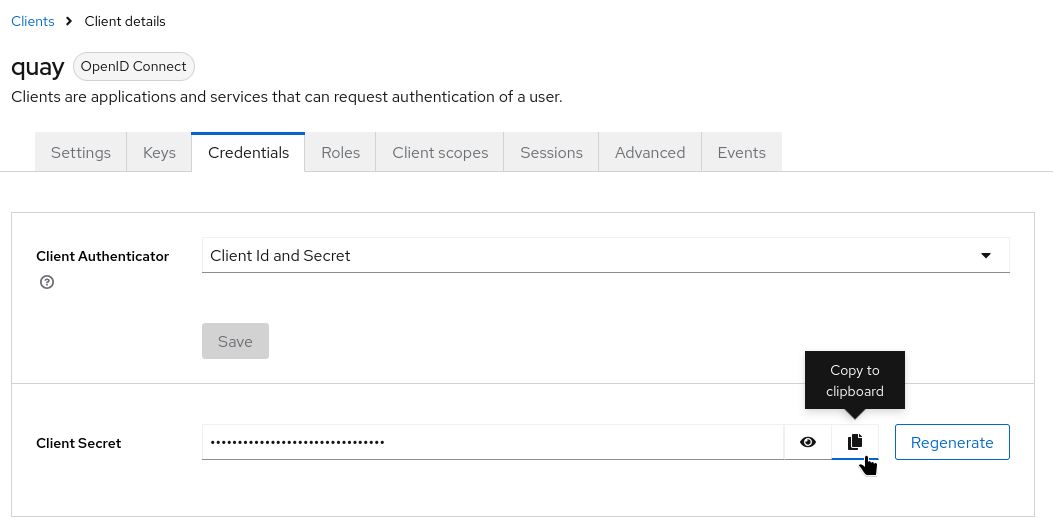
Without this secret, Quay cannot complete OIDC authentication with Keycloak.
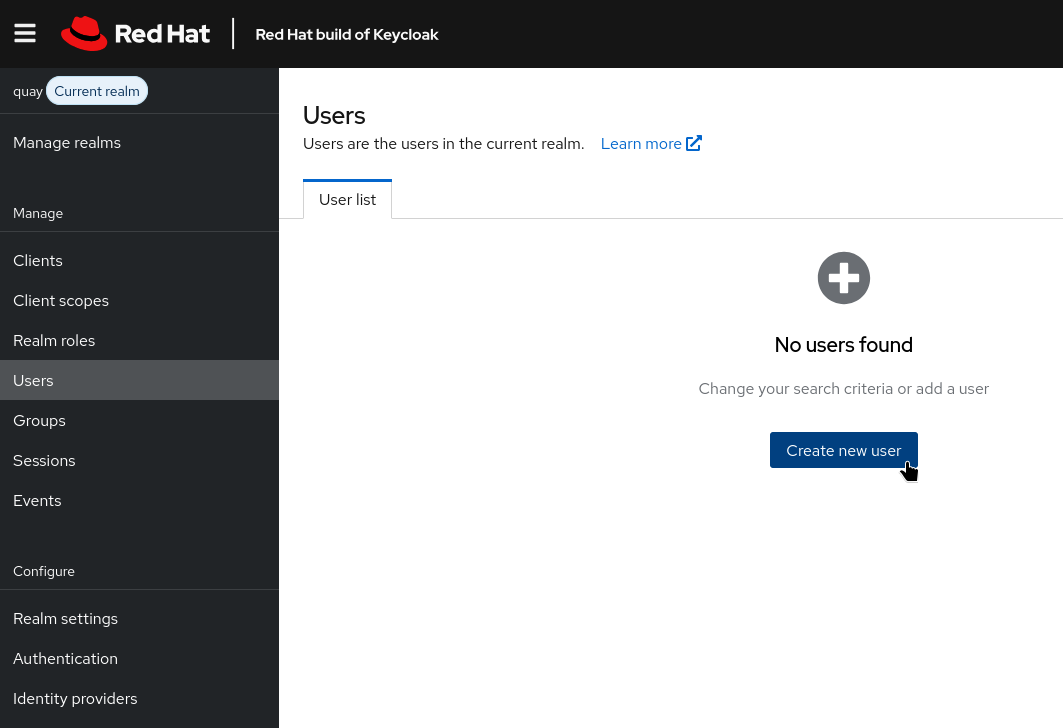
Creating Users
Keycloak requires user identities to authenticate into Quay. For this workshop, we will create local users:
-
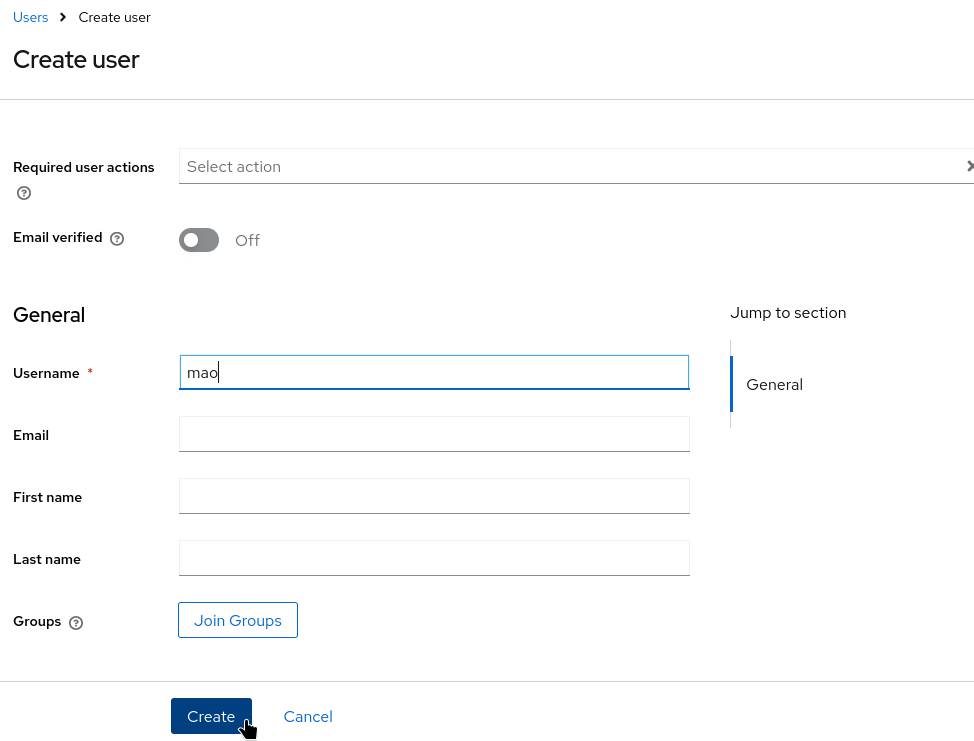
Navigate to Users → Create New User.
-
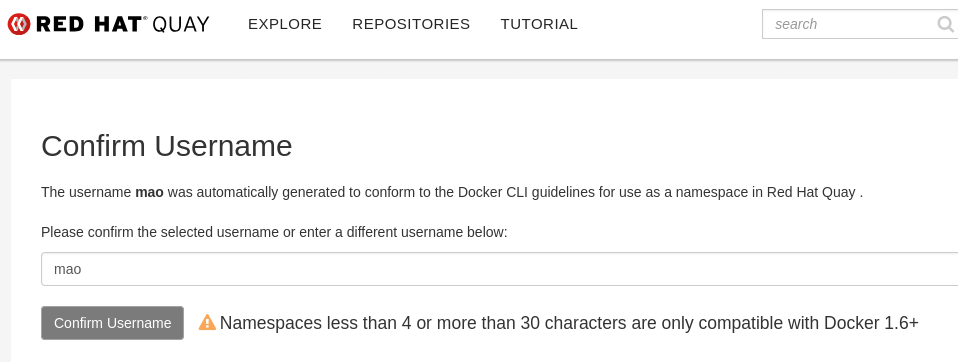
Provide a username (for example,
mao) and click Create.
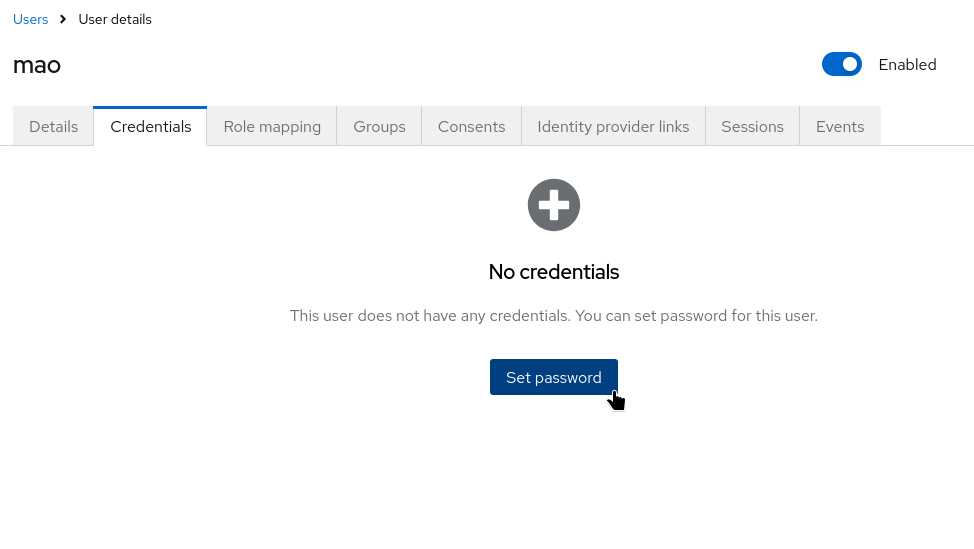
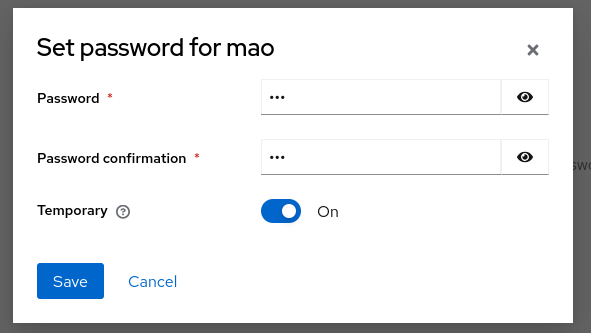
-
Go to Credentials and set an initial password. Enable Temporary if the user must reset it on first login.
Configuring Quay to Use Keycloak as an OpenID Provider
Edit the Quay Configuration Bundle:
-
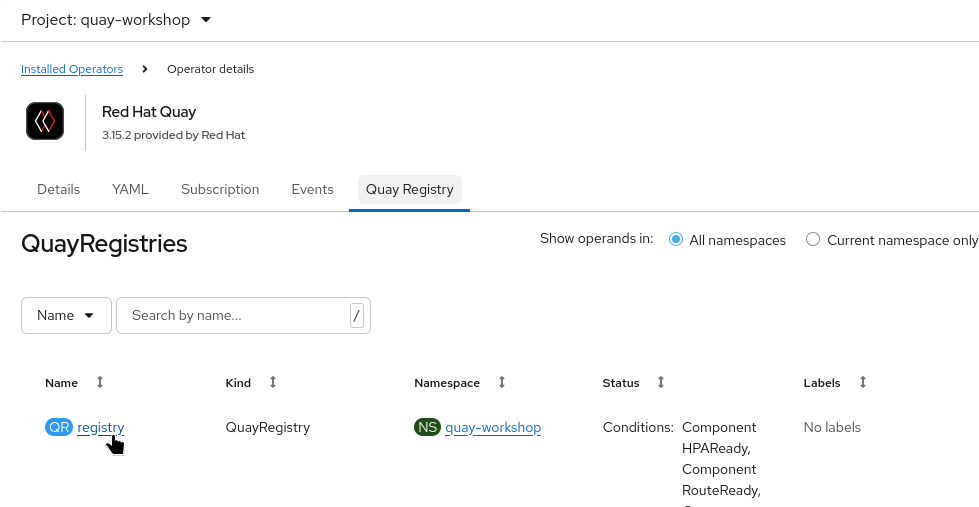
Navigate to the namespace where your QuayRegistry is deployed (e.g.,
quay-workshop):
Operators → Installed Operators → Red Hat Quay → Quay Registries
Click your QuayRegistry instance.
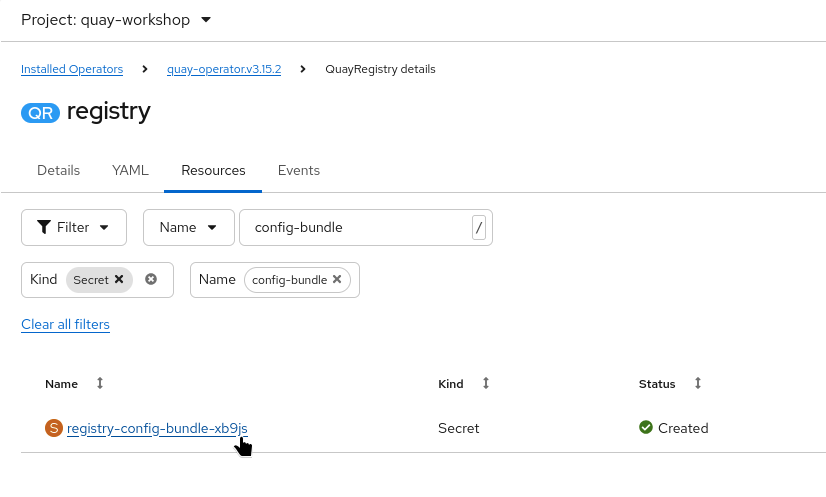
-
In the Resources tab, locate the configuration bundle Secret (name begins with
registry-config-bundle-).
-
Open the Secret, edit the
config.ymlkey,
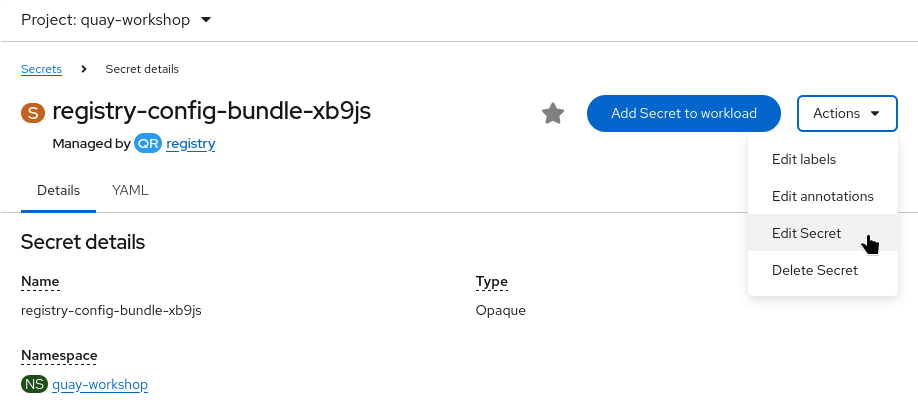
and add:
In the following configuration snippet, replace the placeholders with your real values:
-
Replace
<CLIENT_SECRET>with the client secret obtained from your Keycloak client. -
Replace
<KEYCLOAK_HOSTNAME>with the hostname of your Keycloak instance.
AUTHENTICATION_TYPE: OIDC
SSO_LOGIN_CONFIG:
   CLIENT_ID: quay
   CLIENT_SECRET: <CLIENT_SECRET>
   OIDC_SERVER: https://<KEYCLOAK_HOSTNAME>/realms/quay/
   SERVICE_NAME: Red Hat build of Keycloak
   VERIFIED_EMAIL_CLAIM_NAME: email
   PREFERRED_USERNAME_CLAIM_NAME: preferred_username
   LOGIN_SCOPES:
      - openid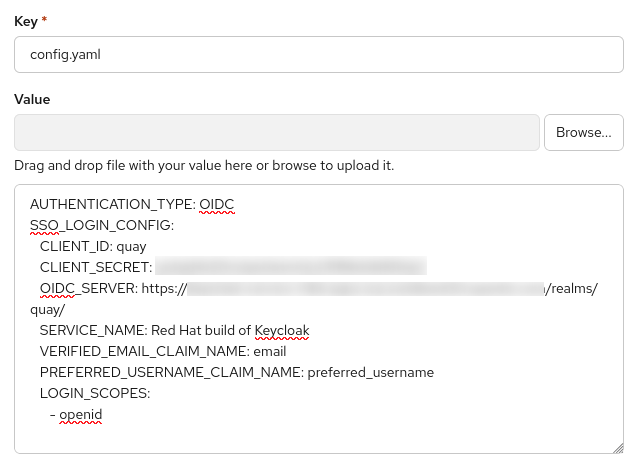
-
Save the Secret.
The Quay Operator will detect the update and perform a controlled reconciliation:
-
Deploy new Quay pods using the updated configuration.
-
Gracefully terminate old pods.
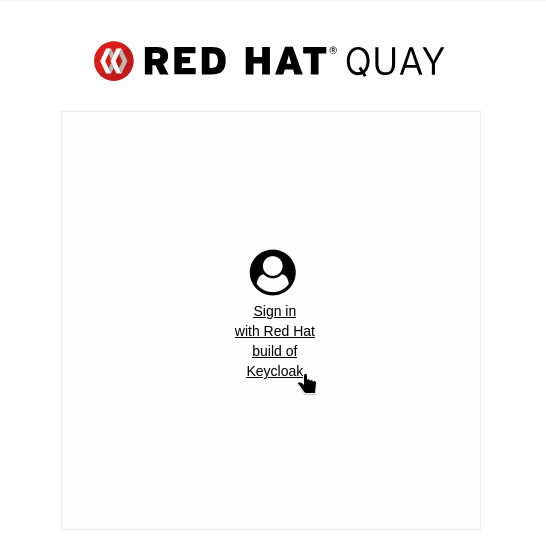
After reconciliation, the Quay login screen will display a "Sign in with RedHat build of Keycloak" button.
Testing OpenID Login
Once the OIDC configuration is applied and reconciled:
-
Open the Quay UI in your browser. The login screen should include the OIDC option.
-
Click Sign in with Red Hat build of Keycloak.
-
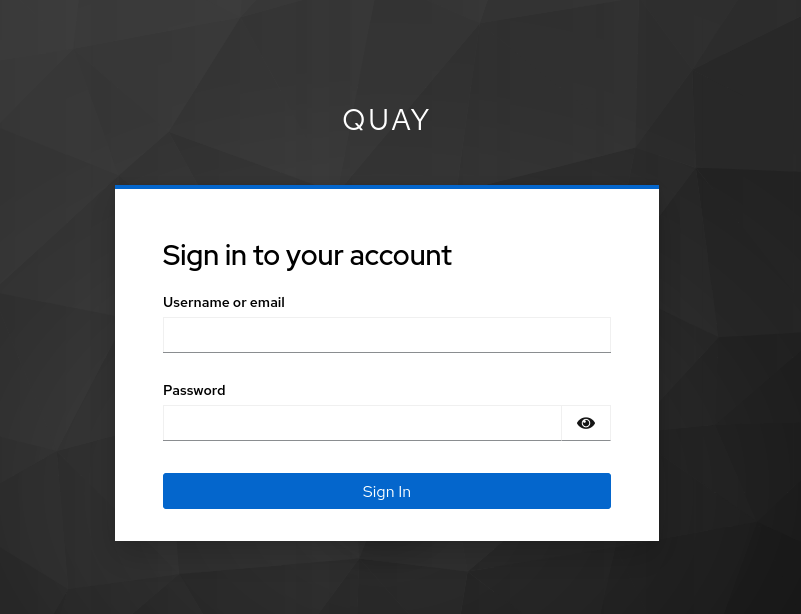
You will be redirected to the Keycloak login page for the configured realm and client.
-
Enter Keycloak credentials.
-
Update any required user information.
-
If successful, Keycloak issues an ID token and redirects back to Quay.
-
Quay validates the token and:
-
Automatically creates the user on first login (unless disabled)
-
Maps email and profile fields from the token
-
Optionally synchronizes groups if configuredc
-
You should now be logged into Quay under your Keycloak identity.