Securing Applications and Services
Configuring Realm, Roles, Groups and Users
Before proceeding with the next sections, we need to configure the realm, roles, and users in our Red Hat Single Sign-On instance.
-
Open a browser window and log in to the Red Hat Single Sign-On administration console.
-
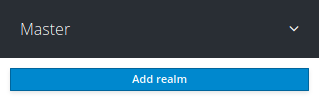
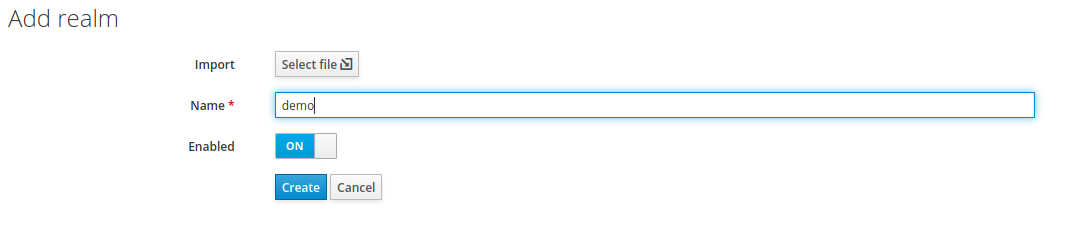
Create the
demorealm: clickAdd realm, provide the realm name, and clickCreate.
-
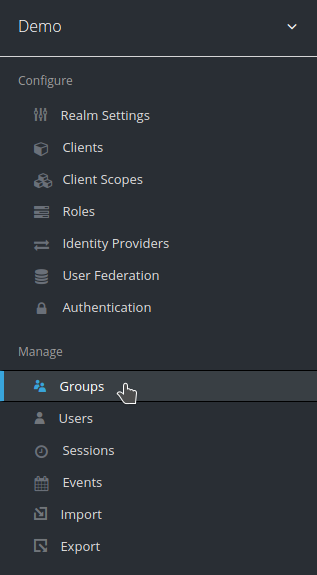
Create the
staffgroup: click onGroups, then clickNew.

-
Set
staffas the group name and clickSave.

-
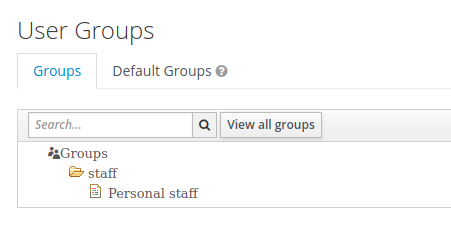
Create the subgroup
Personal staff: clickGroups, select thestaffgroup, and clickNew.

-
Set
Personal staffas the subgroup name and clickSave.
-
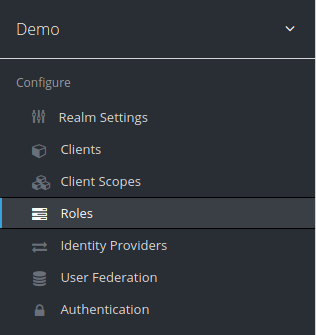
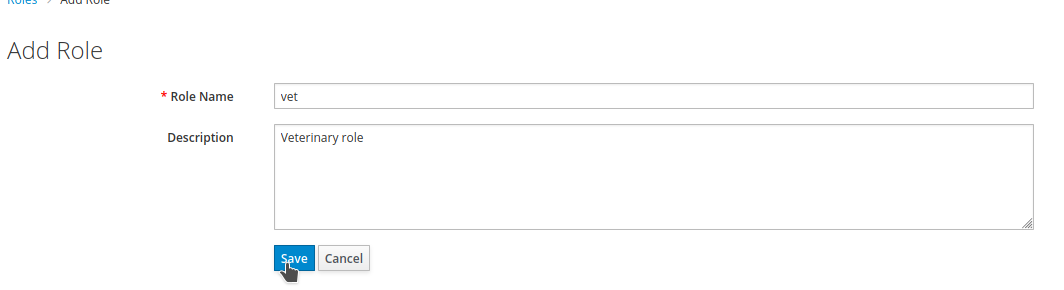
Create the role
vet: clickRoles, thenAdd Role.

-
Set the role name and click
Save.
-
Repeat the steps to create a role named
assistant. -
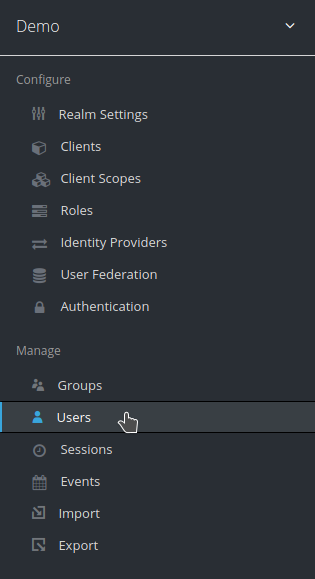
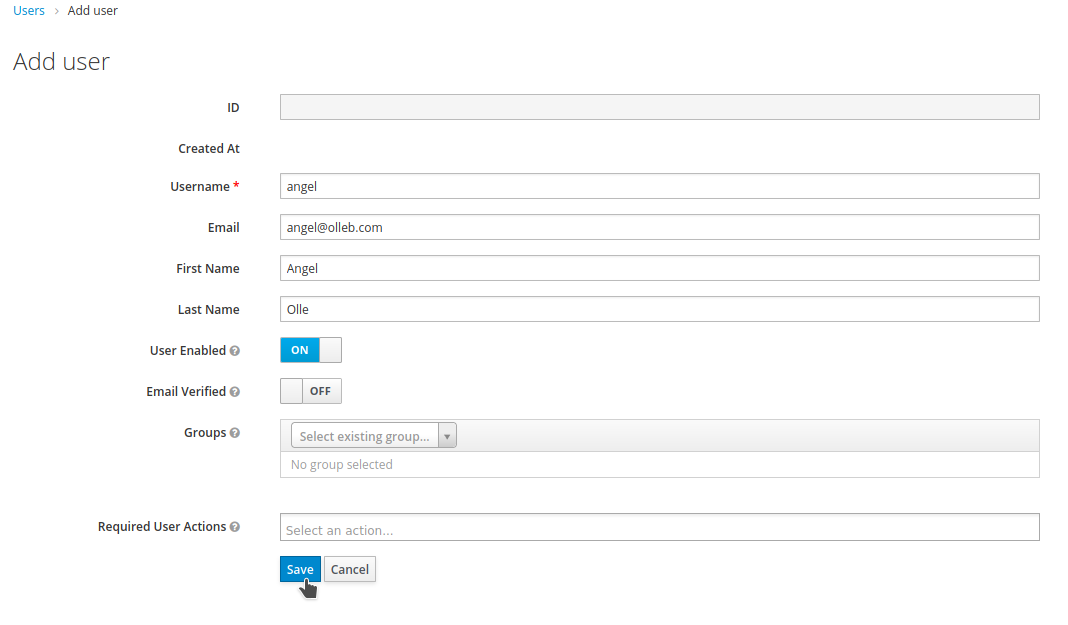
Create the user
angel: clickUsers, thenAdd user.

-
Set the username and click
Save.
-
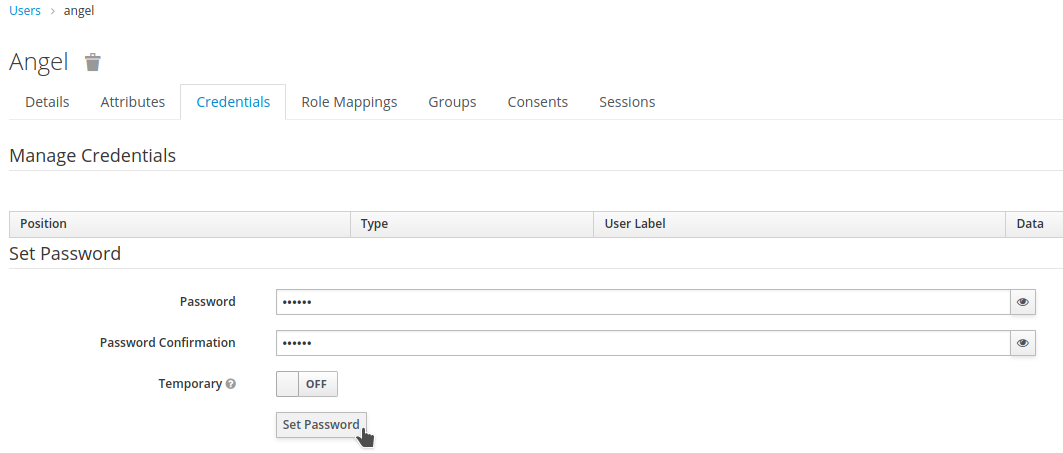
Open the
Credentialstab and set a password for the user. Make sure Temporary is set toOFFbefore setting the password.
-
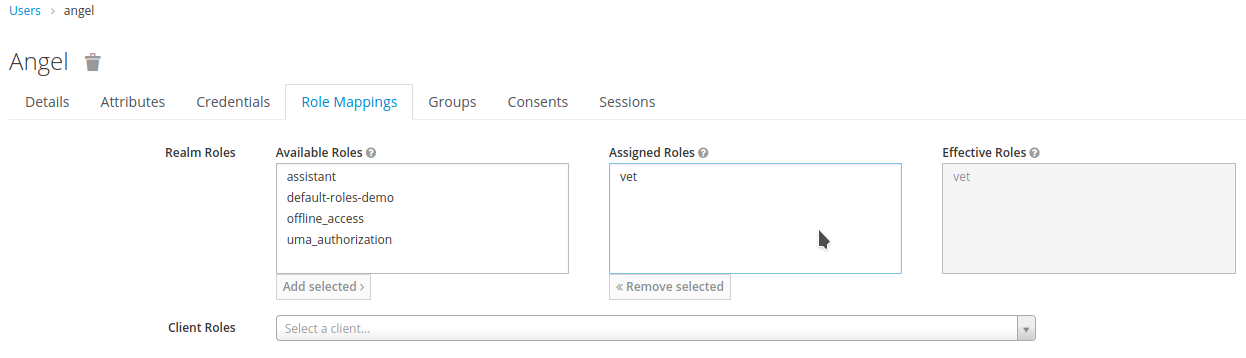
Open the
Role Mappingstab and assign thevetrole to the user.
-
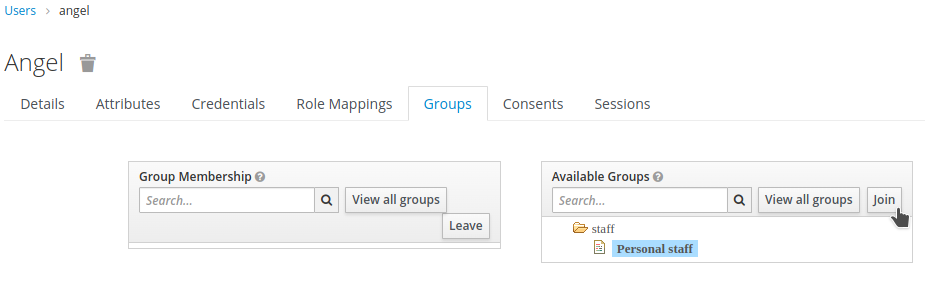
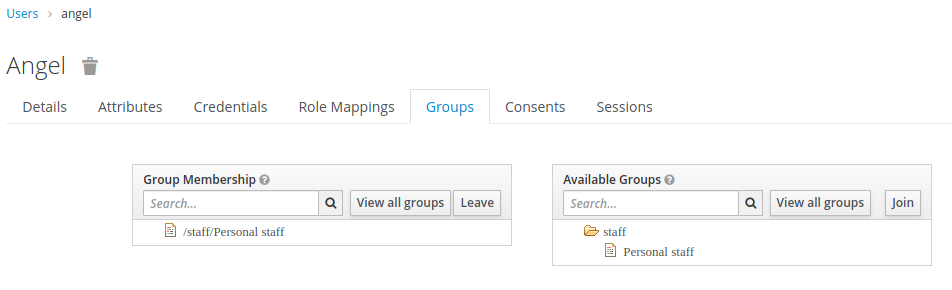
Open the
Groupstab and assignangelto thePersonal staffgroup by clicking the group and theJoinbutton.
-
Repeat the steps to create a user named
elisabeth. Assign theassistantrole and include the user in thePersonal staffgroup.
Red Hat Single Sign-On allows defining one or more default groups, where any new user is automatically added.
This makes it easier to assign multiple users to the same group without repeating the process. The option is available by clicking Groups, then Default Groups.
|
Securing Quarkus Applications with OIDC
The sample application used in this section is the Quarkus Petclinic project.
For this tutorial, we will work with a version modified specifically for the exercises. The repository for this modified version is:
To get started, clone the repository and switch to the rh-sso-base-7.6 branch:
git clone -b rh-sso-base-7.6 https://github.com/aolle/quarkus-petclinic.gitThe application is prepared for deployment on Red Hat OpenShift.
It includes the Quarkus OpenShift extension (k8s with s2i) to automatically generate the OpenShift resources and deploy the application.
Test the application by following these steps:
-
Log into your Red Hat OpenShift cluster.
-
Switch to the
ssoproject if you are not already using it. -
Deploy the application by executing the
ocp-deploy.shscript or, alternatively:
./mvnw install -Dquarkus.kubernetes.deploy=true
During the build, you may encounter an SSLHandshakeException/ValidatorException due to a self-signed certificate.
To resolve this, add -Dquarkus.kubernetes-client.trust-certs=true during the build.
|
-
Open a browser window and visit the application URL.
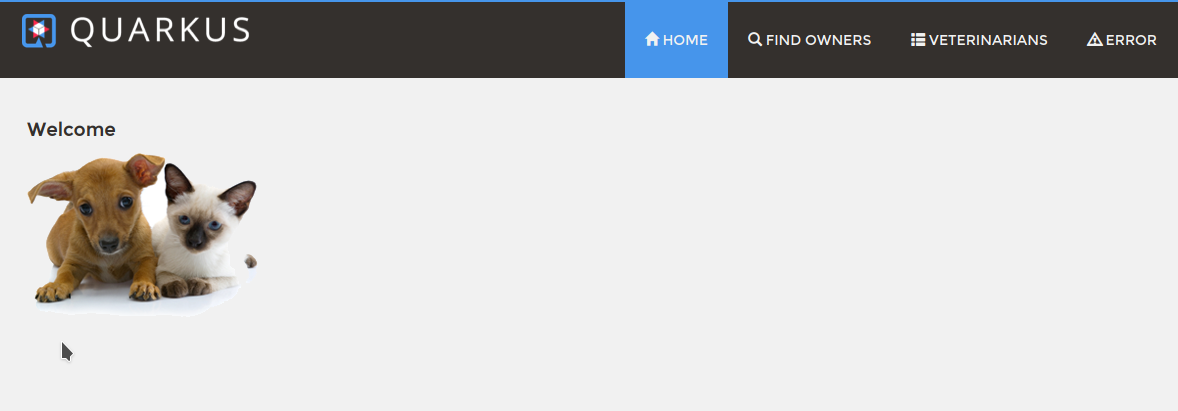
| Make a note of the application URL, as it will be required later during the security configuration. |
Before securing the application, configure a new client in the Red Hat Single Sign-On demo realm:
-
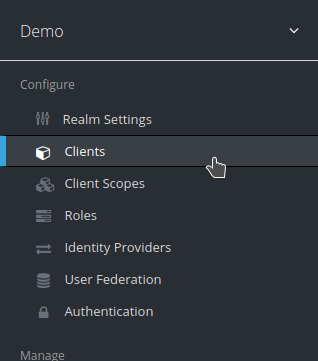
Open the Red Hat Single Sign-On administration console.
-
Select the
demorealm and clickClients. ClickCreate.

-
Set
quarkus-petclinicas theClient IDand clickSave.
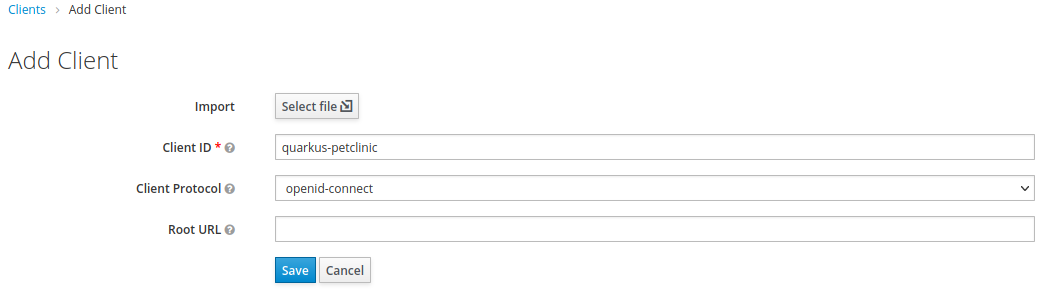
-
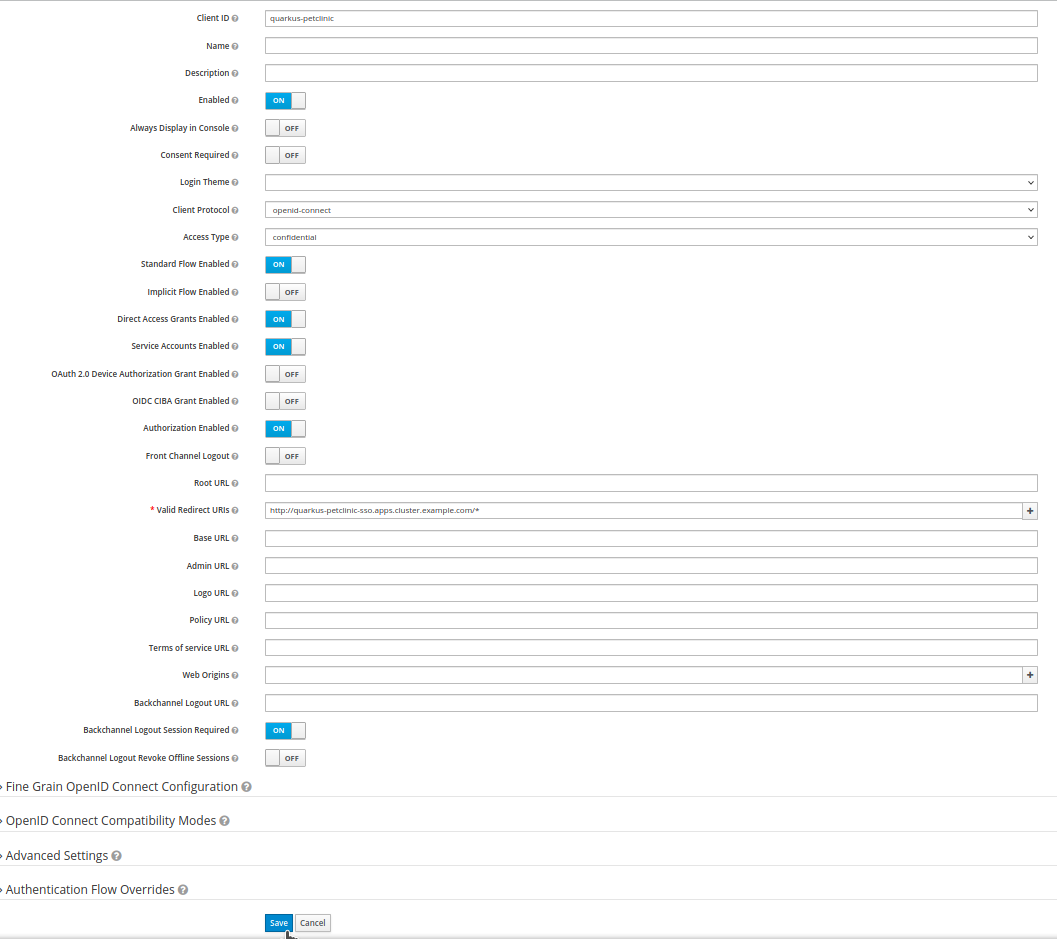
On the
quarkus-petclinicclient configuration page:-
Change
Access Typefrompublictoconfidential. -
Enable
Authorization Enabled. -
Set
Valid Redirect URIsto include the root context of your application, e.g.,http://domain.example.com/*. -
Click
Save.
-
At this point, we have:
-
The
demorealm with thequarkus-petclinicclient. -
Two roles:
vetandassistant. -
Two users:
angel(rolevet) andelisabeth(roleassistant).
Authorization rules for our application:
-
Any user in the
demorealm, likeelisabeth, can browse the application except theVETERINARIANSresource. -
Only users with the
vetrole can access the/vets.htmlresource. -
Any other user outside the realm will be denied access.

Configuring Client Authorization
-
Open the Red Hat Single Sign-On administration console, select the
quarkus-petclinicclient, then browse to theAuthorizationtab and clickResources.

-
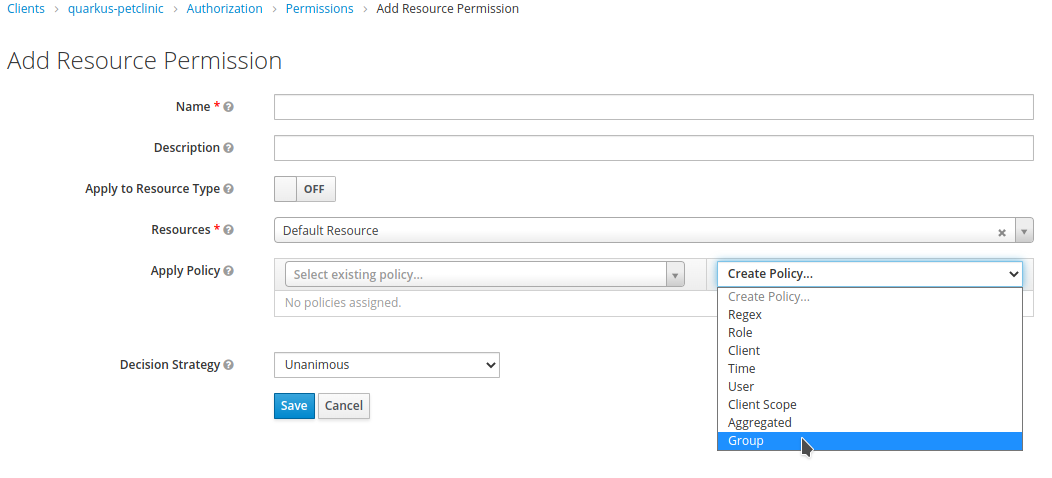
Click
Create Permissionfor theDefault Resource.

-
Click
Create Policy…and selectGroup.
-
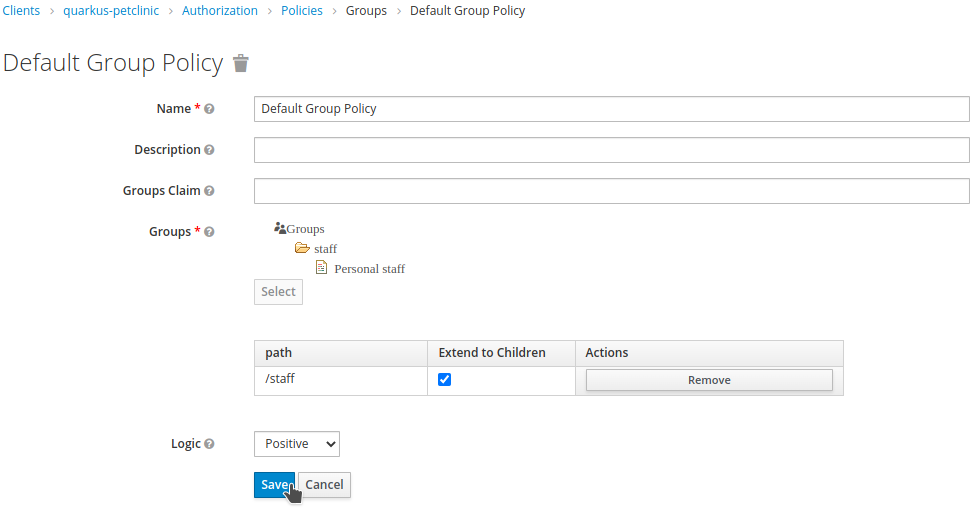
Set
Default Group Policyas theName. Selectstafffrom theGroupslist, ensureLogicisPositive, and checkExtend to Children. ClickSave.
-
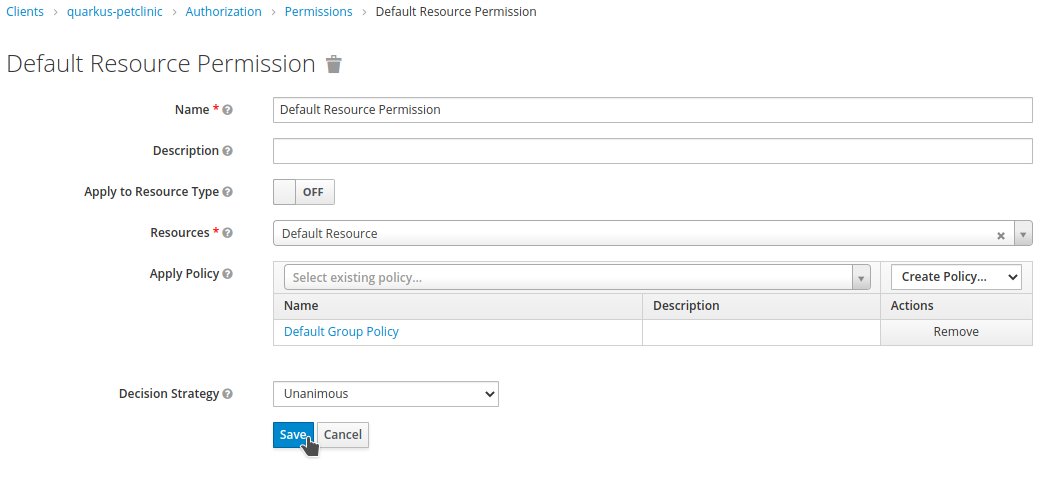
Back on the
Add Resource Permissionpage, setDefault Resource PermissionasName, selectDefault ResourceasResources. The recently created policy should be applied automatically. ClickSave.
-
Create a new resource:

-
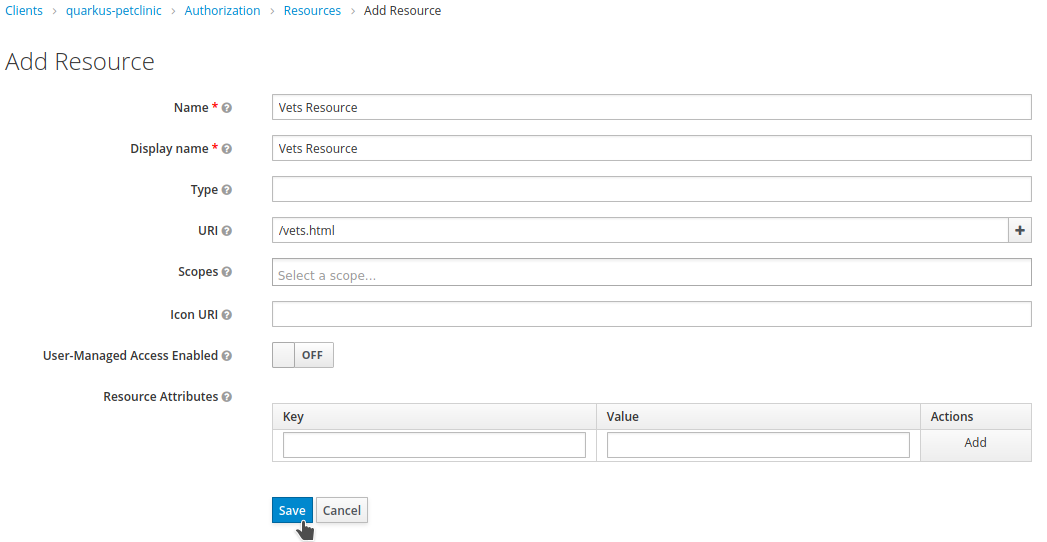
Set
Vets Resourceas theNameandDisplay Name, and/vets.htmlas the URI. ClickSave.
-
Browse to
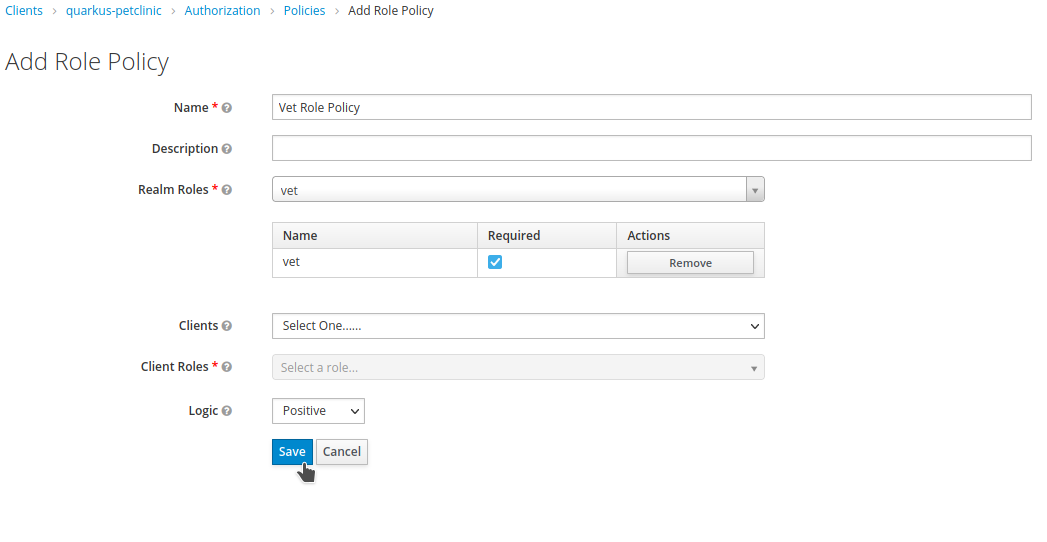
Authorization→Policies. ClickCreate Policy…and selectRole.

-
Set
Vet Role PolicyasName, selectvetinRealm Roles, checkRequired, and clickSave.
-
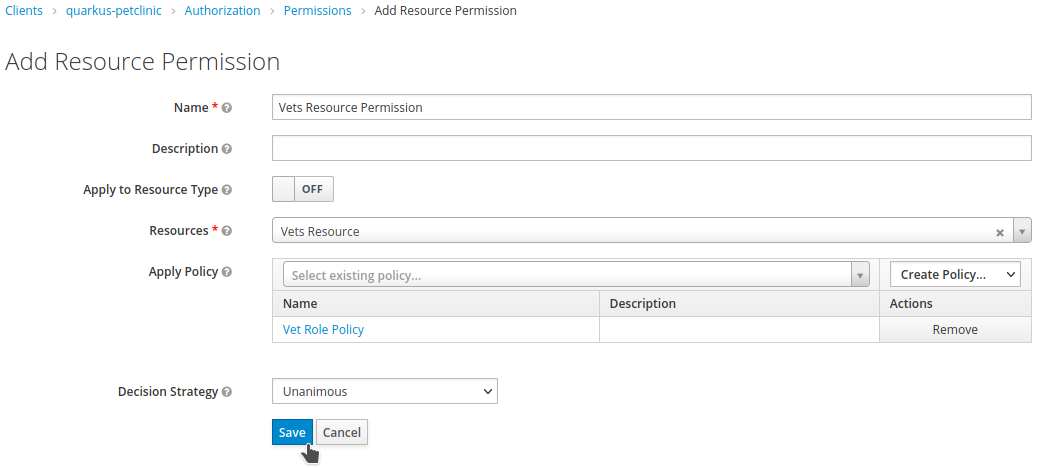
Browse to
Authorization→Resources, clickCreate Permissionfor theVets Resource.

-
Set
Vets Resource PermissionasNameand apply theVet Role Policy. ClickSave.
Configuring the Application
-
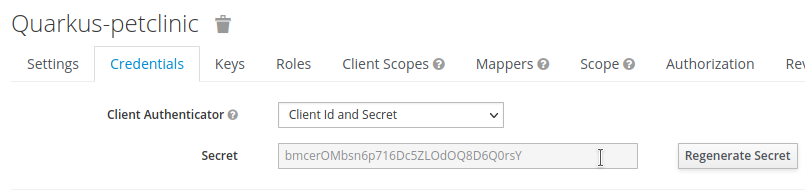
In the Red Hat Single Sign-On administration console, select the
quarkus-petclinicclient and click theCredentialstab. Write down theSecretvalue — it will be required later.
-
Create a ConfigMap with the
SSO_HOSTenvironment variable:
oc create configmap quarkus-petclinic-config --from-literal=SSO_HOST={YOUR_SSO_HOST} -n sso-
Create a Secret with the OIDC client credentials:
oc create secret generic quarkus-petclinic-secret --from-literal=SSO_CLIENT_SECRET={YOUR_SSO_CLIENT_SECRET} -n sso-
Update
application.propertieswith the following configuration:
quarkus.openshift.env.secrets=quarkus-petclinic-secret
quarkus.openshift.env.configmaps=quarkus-petclinic-config

quarkus.oidc.auth-server-url=https://${SSO_HOST:localhost:8080}/auth/realms/demo
quarkus.oidc.client-id=quarkus-petclinic
quarkus.oidc.credentials.secret=${SSO_CLIENT_SECRET:secret}
quarkus.oidc.tls.verification=none
quarkus.oidc.roles.source=accesstoken

quarkus.oidc.application-type=web-app
quarkus.oidc.webapp.auth-server-url=${quarkus.oidc.auth-server-url}
quarkus.oidc.webapp.client-id=${quarkus.oidc.client-id}
quarkus.oidc.webapp.credentials.secret=${quarkus.oidc.credentials.secret}
quarkus.oidc.webapp.roles.source=${quarkus.oidc.roles.source}

quarkus.keycloak.policy-enforcer.enable=true-
Redeploy and test application access:
-
Open a new incognito browser session and browse to the application root. You will be redirected to the Red Hat Single Sign-On login page. Anonymous access is forbidden.
-
Log in as
elisabeth. Access to/vets.htmlwill be denied. -
Close the browser, open a new incognito session, and log in as
angel. -
Access to
/vets.htmlwill be granted, asangelhas thevetrole.
-
A fully working OIDC Petclinic Quarkus application is available at the rh-sso-oidc-7.6 branch.
|