JSON Web Tokens (JWT)
JWT stands for "JSON Web Token", which is an open standard (RFC 7519) for securely transmitting information between parties as a JSON object. It’s often used for authentication and authorization in web applications, APIs, and microservices.
JWTs consist of three parts: a header, a payload, and a signature. The header typically contains metadata about the token, such as the algorithm used for signing the token. The payload contains the actual data being transmitted, such as user information or permissions. The signature is used to verify that the token was not tampered with during transmission.
JWTs are commonly used in OAuth 2.0 and OpenID Connect (OIDC) flows, where they are used to securely transmit information about the user and their authorization status between the client and the authorization server.
One of the key advantages of JWTs is that they are stateless, meaning that the server doesn’t need to maintain a session or store the token. This makes JWTs ideal for use in microservices and distributed systems.
In terms of security, JWTs are generally considered to be secure as long as the signature is properly implemented and verified. The signature is generated using a secret key that is known only to the issuing server, and is used to verify that the token has not been tampered with during transmission.
Note that while this section on JWTs could be included in the context of the section 2.1.2, I decided to create a separate section to specifically address the topic. However, it’s important to note that the scenarios we’re starting from are those of a web application that has already been secured using OpenID Connect (OIDC).
Adding a custom JWT claim
Once we have secured the application using OIDC (see section 2.1.2 - Securing Quarkus web applications using OpenID Connect (OIDC)), we may have a need to add a custom claim to the JWT token based on a user attribute, in order to use that attribute for authorization.
In this section, we will see how Red Hat Single Sign-On allows us to map user attributes to claims.
-
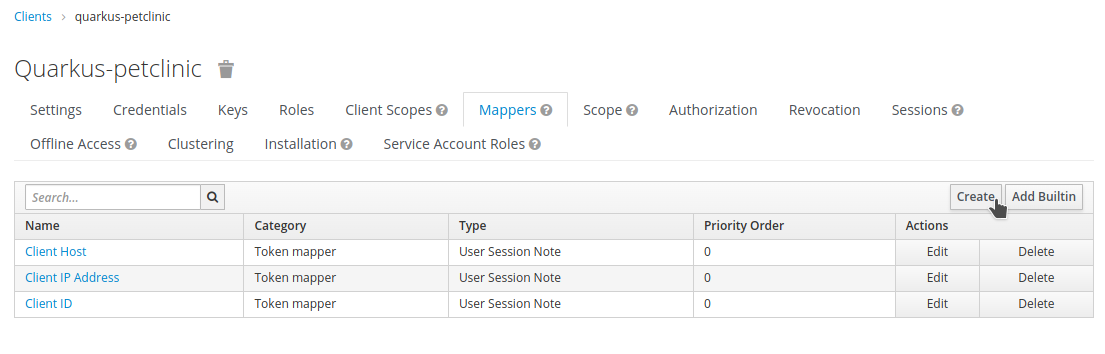
Open a web browser and log in to the Red Hat Single Sign-On administration console. Navigate to
Clientsand select thequarkus-petclinicclient from ourDemorealm. Then, click on theMapperstab and select theCreatebutton.
-
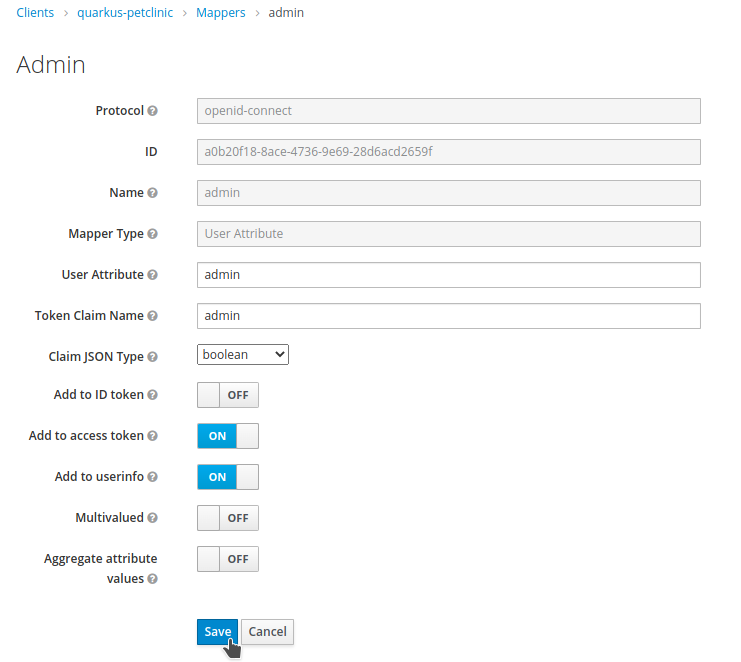
Fill out the information for the attribute that we want to map to a claim. Under the
Mapper Typeoption, selectUser attribute. Then, select the data type for the JSON claim.
For our example, we will map the admin attribute, which is a boolean. Once we have completed these steps, click on the Save button.
-
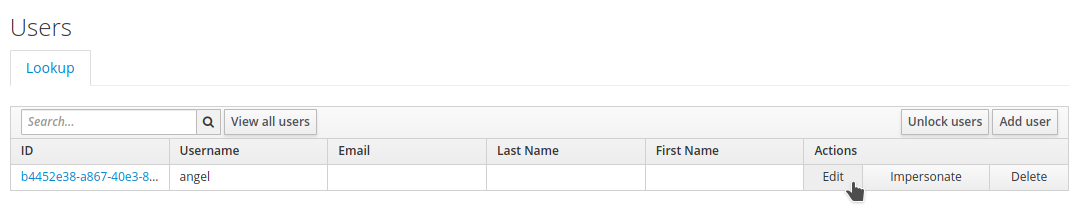
After creating the mapper, we need to add the attribute to our test user. Navigate to
Usersand click on View all users. Select the previously created user, angel, to edit.
| We may want the attribute to be added to the ID token. If so, please configure it to "On". |
-
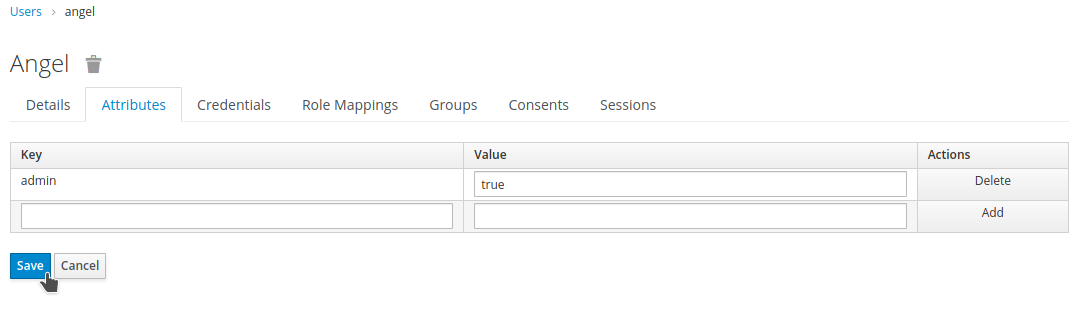
Go to the
Attributestab, fill in the fields and clickAdd. Then, click onSave.
We should now have the new claim present in the JWT. In my case, I will verify this by inspecting its value from the Quarkus petclinic application. I will use CDI to inject the JsonWebToken and then inspect it. Of course, any other valid procedure could be used.
After logging in to the application with an authorized user, we can check the JWT.
eyJhbGciOiJS...xmRqTndwIf we decode the JWT, we can see that the new attribute has been added.
{
  "alg": "RS256",
  ...
}
{
  ...
  "azp": "quarkus-petclinic",
  ...
  "realm_access": {
    "roles": [
      "vet"
    ]
  },
  ...
  "admin": true,
  "preferred_username": "angel"
}
{
  ...
}