Authorization Services
Configuration
Before proceeding with the next sections, we need to configure the realm, roles and users in our Red Hat build of Keycloak instance.
-
Open a browser window and log in to the Red Hat build of Keycloak administration web console.
-
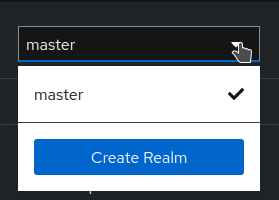
Create the
demorealm. Click on themasterrealm dropdown menu, clickCreate Realm.
-
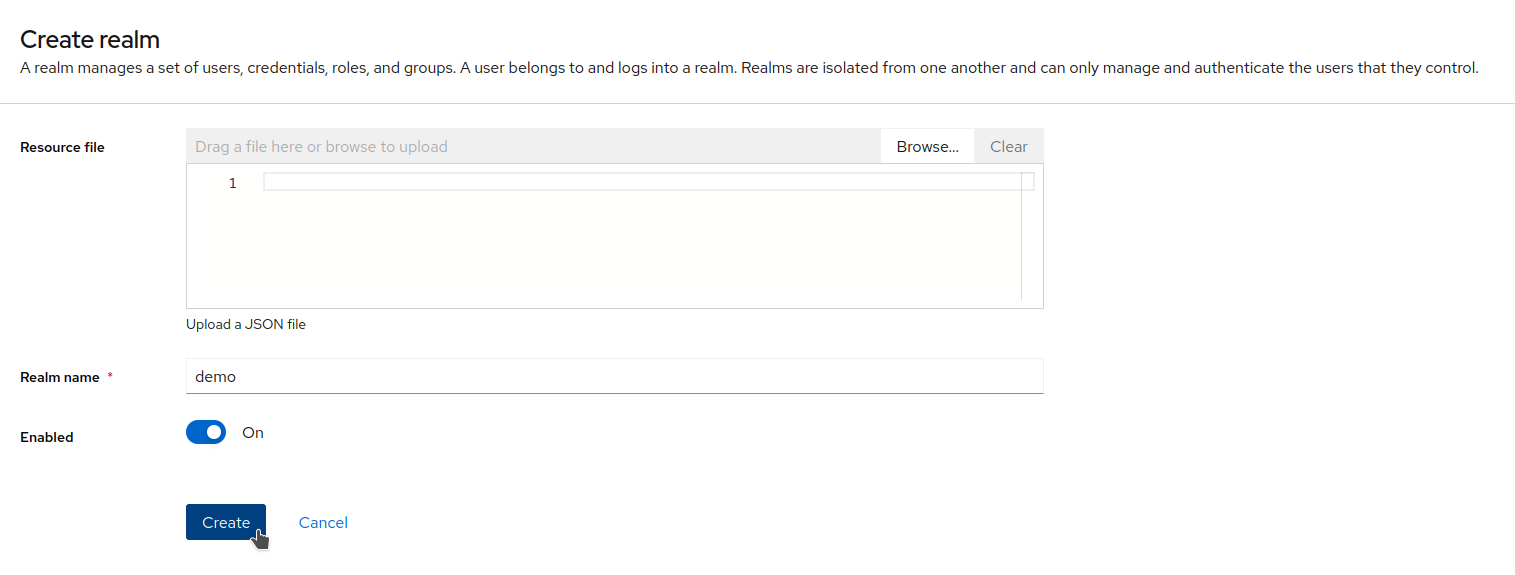
Click
Create.
-
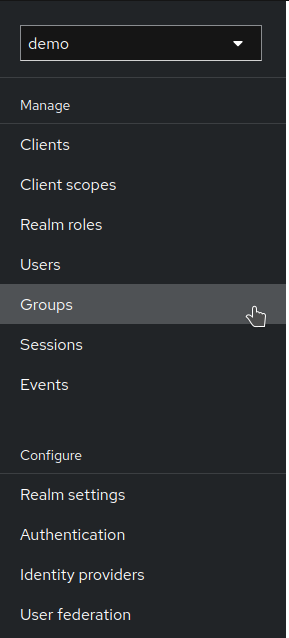
Create the
staffgroup. Click onGroups.
-
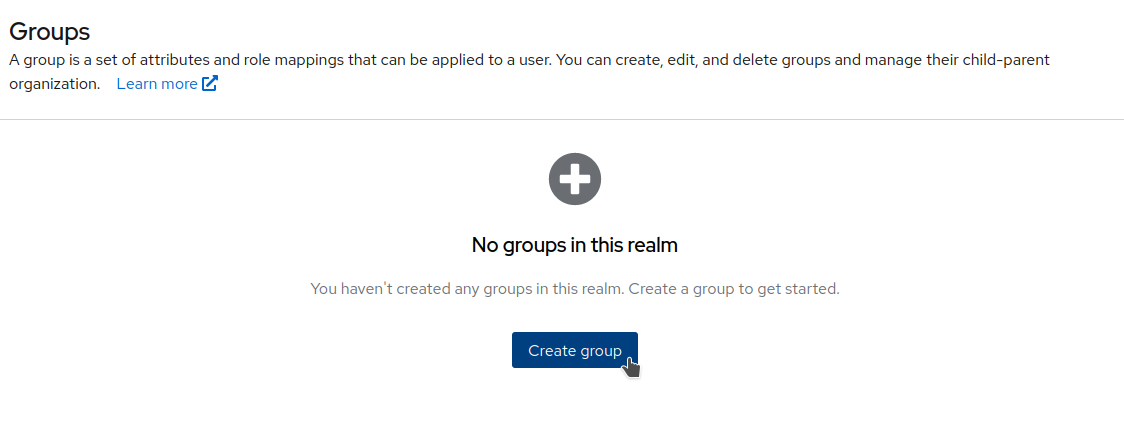
Then click
Create group.
-
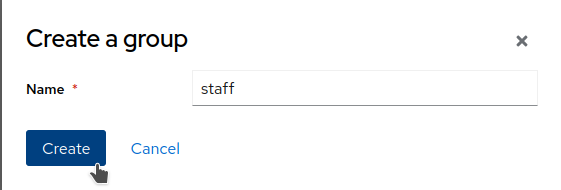
Set
staffas the group name, and clickCreate.
-
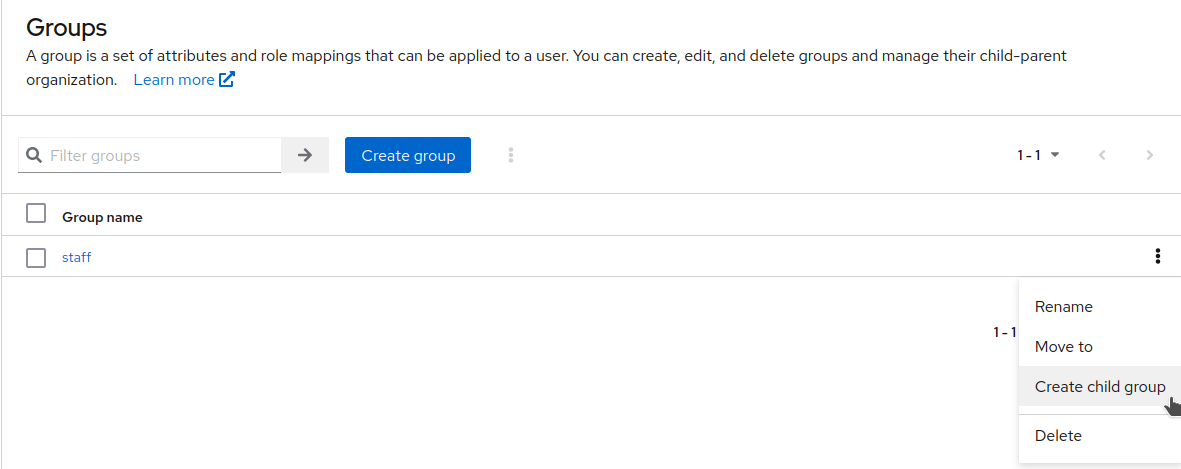
Create the child group named
Personal staff. Click on the kebab button of thestaffgroup and clickCreate child group.
-
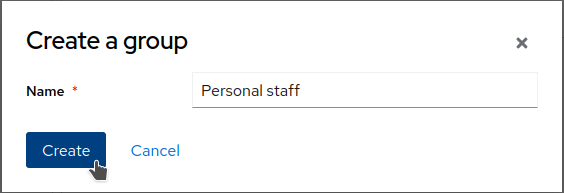
Set
Personal staffas the name, and clickCreate.
-
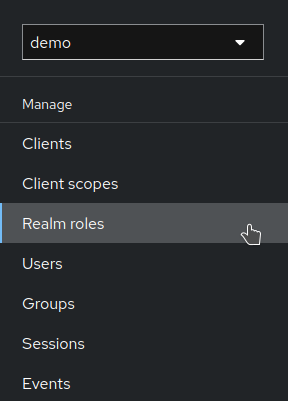
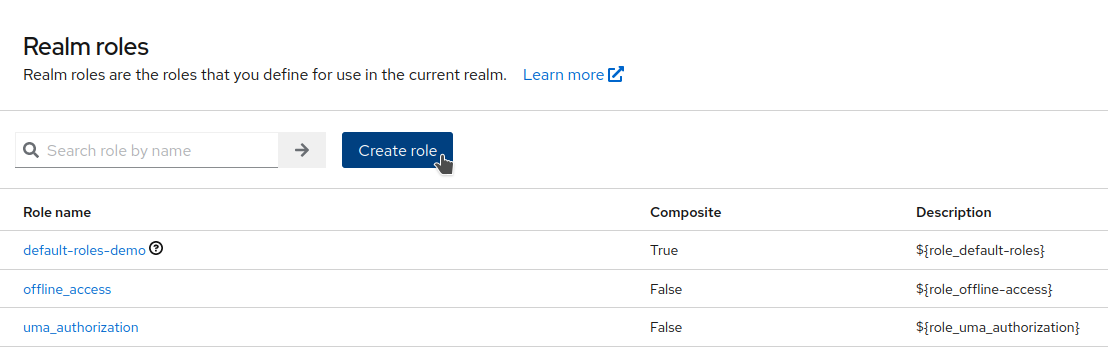
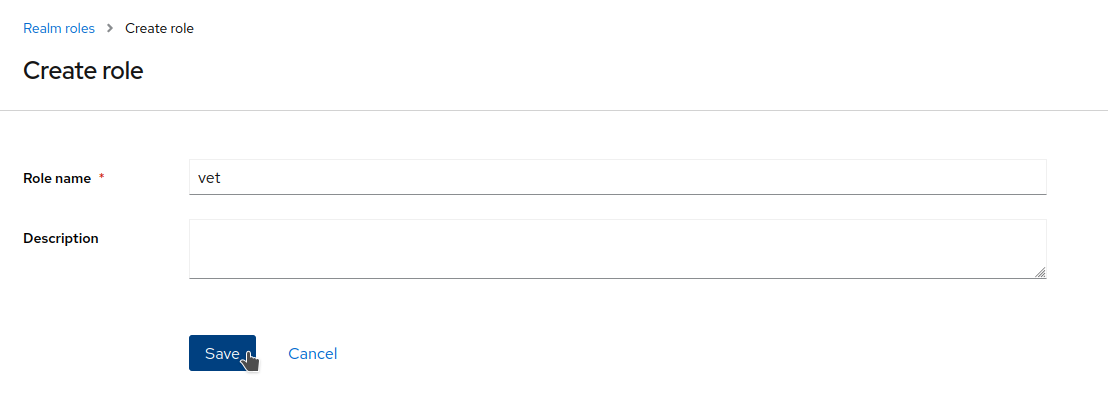
Create the role
vet. Click onRealm roles, thenCreate role.
-
Set the Role name, and click
Save.
-
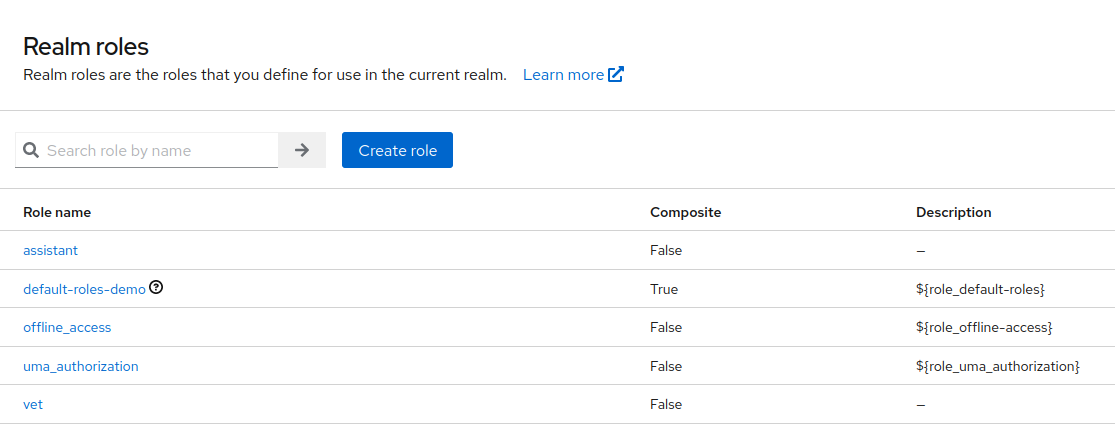
Repeat the same steps for creating a role named
assistant.
-
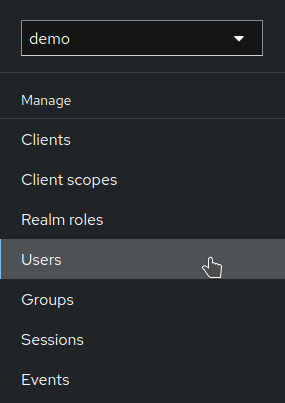
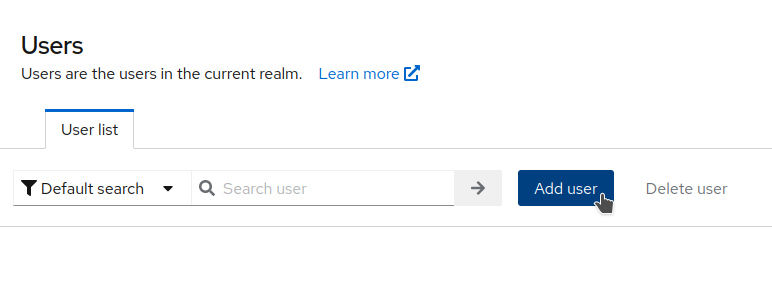
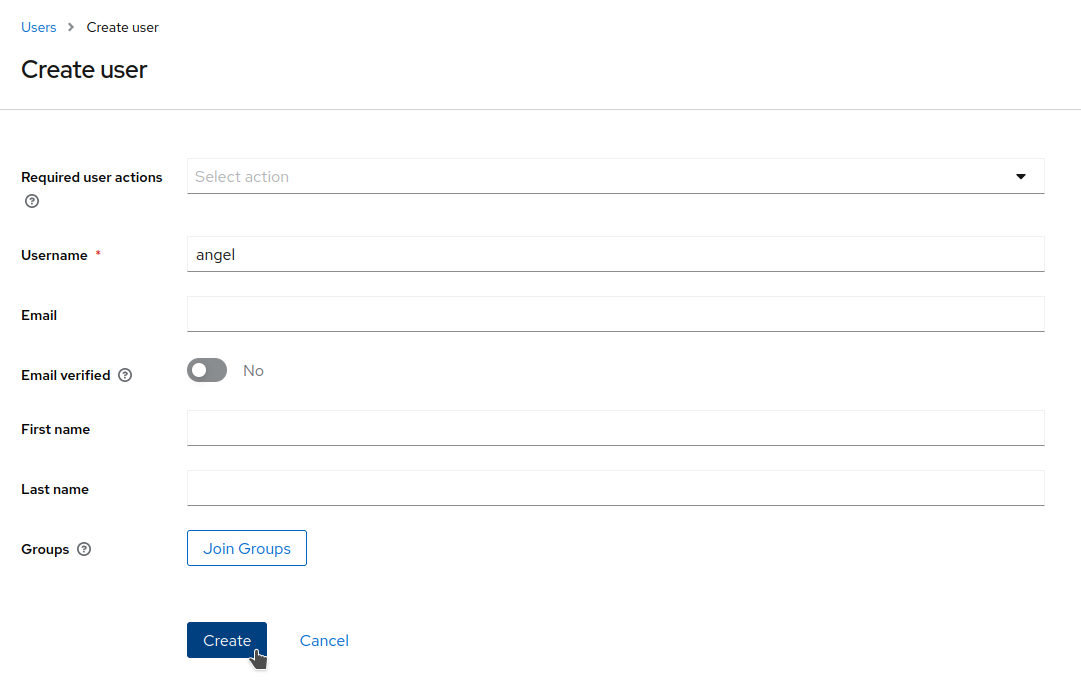
Create the user
angel. Click onUsers, thenAdd user.
-
Set the username, and click
Create.
-
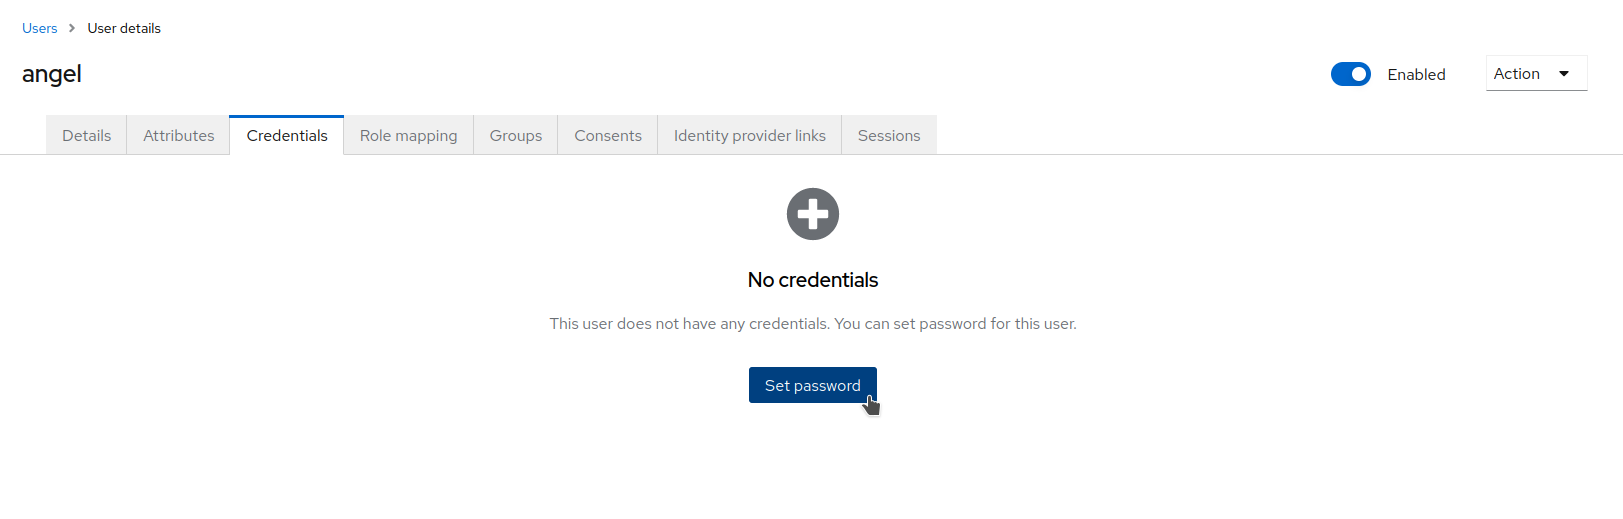
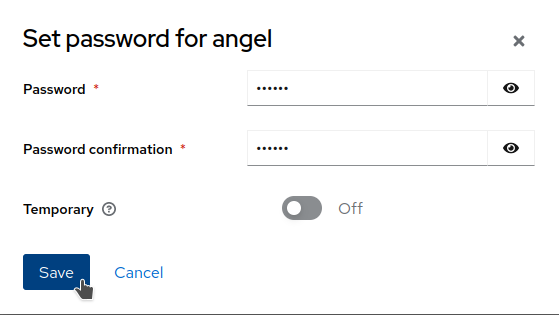
Open the
Credentialstab and set the password for the user. Make sure to setTemporarytoOFFbefore setting the password.
-
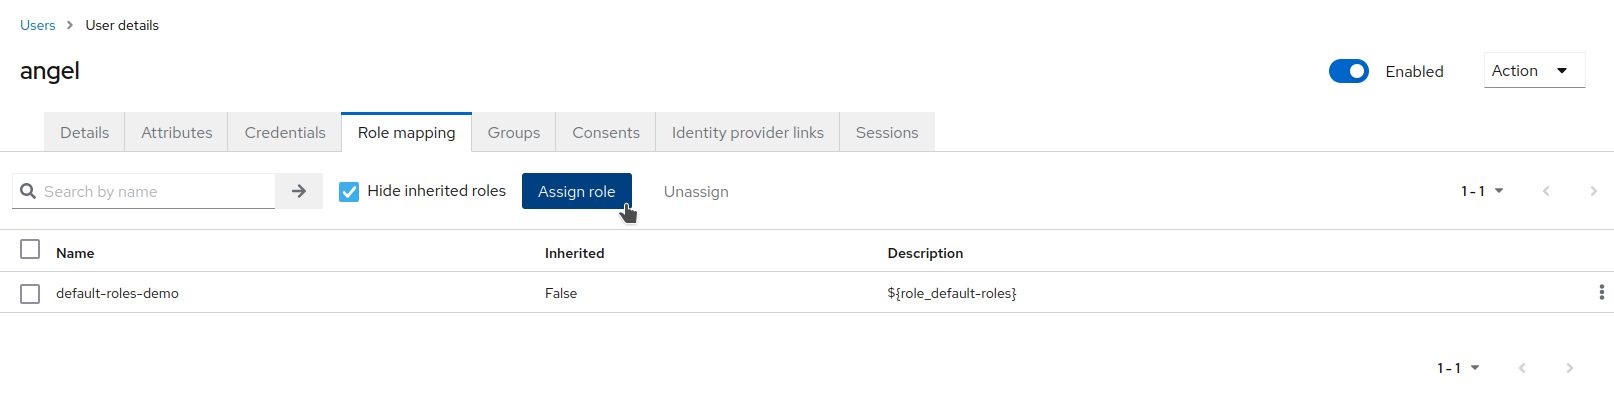
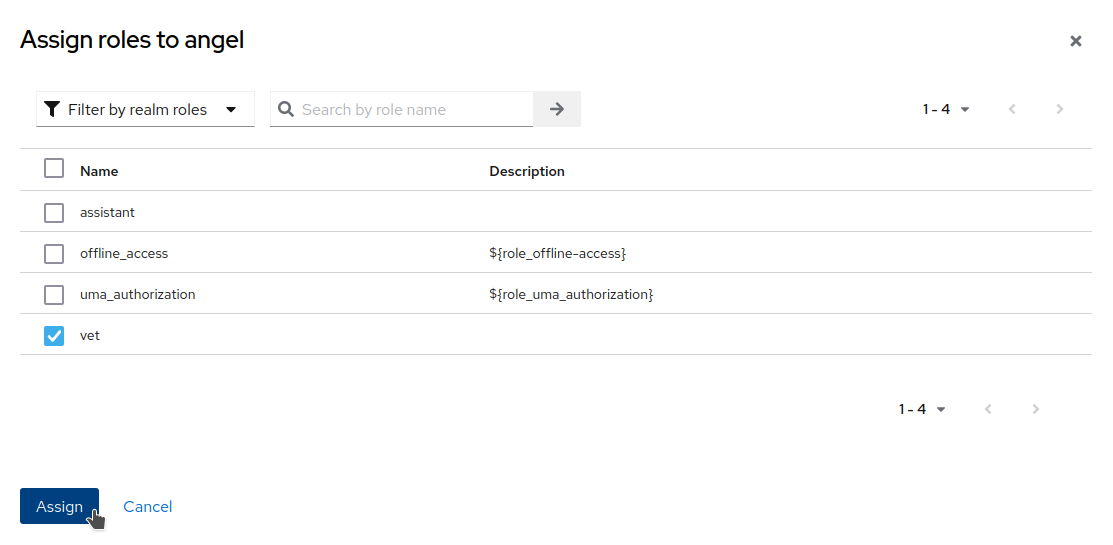
Open the
Role Mappingstab and assign thevetrole to the user.
-
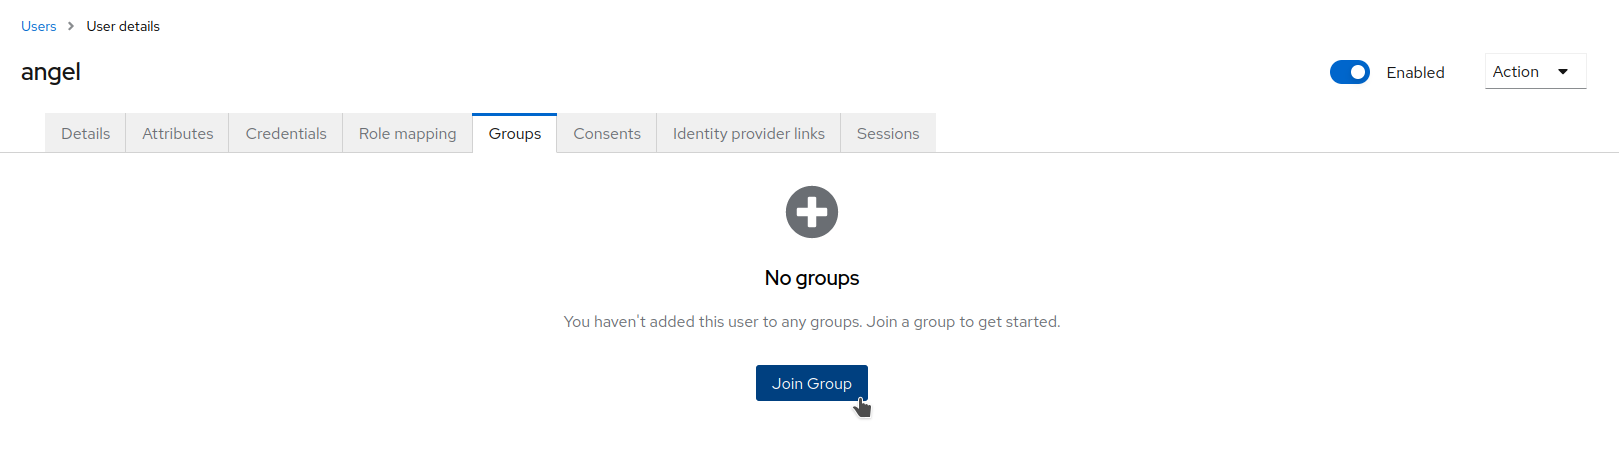
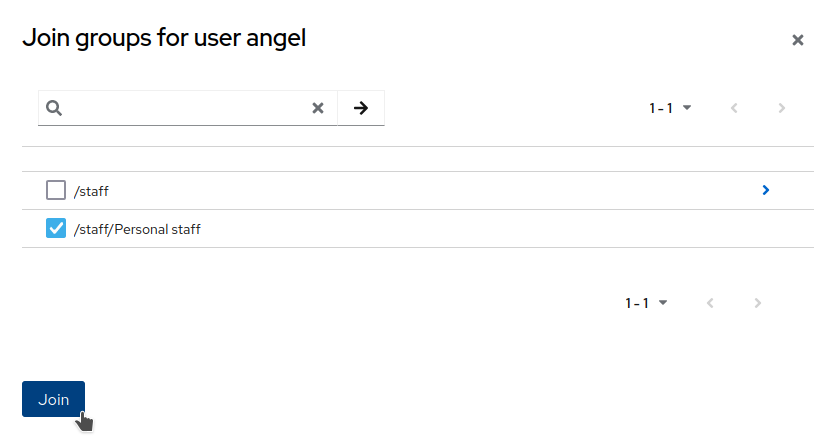
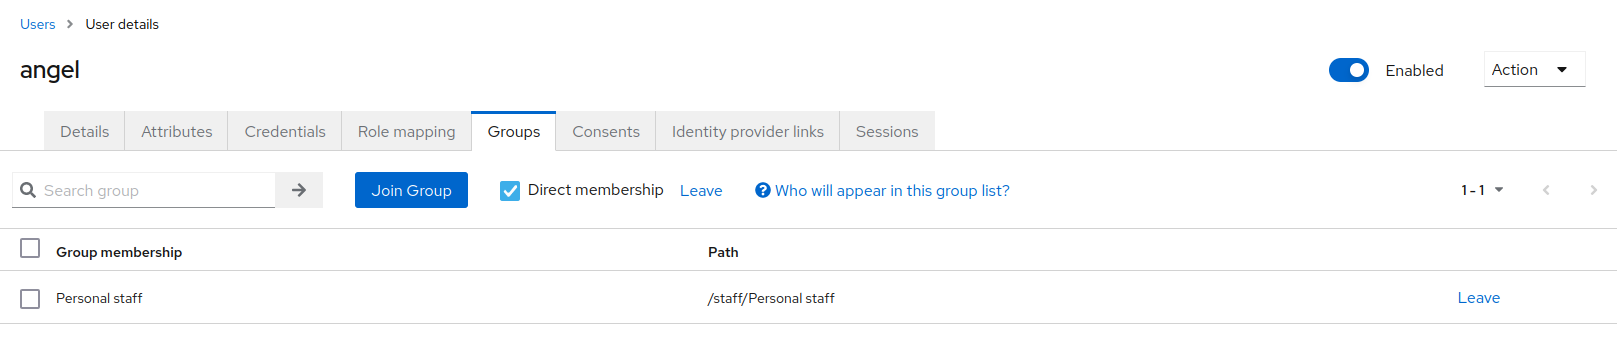
Open the
Groupstab and assign the userangelto thePersonal staffgroup.
-
Repeat the same steps for creating a user named
elisabethbut assign theassistantrole. Also, remember to incude the user in thePersonal staffgroup.
Securing Web Applications
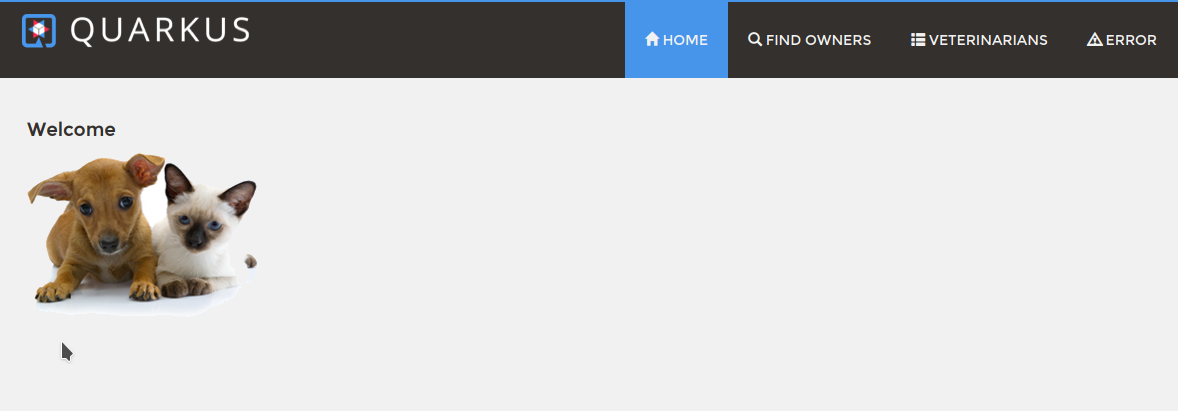
The sample application that we will use in this section is the Quarkus Petclinic project.
In this tutorial, we will work with a version that has been modified for the tutorial.
The repository for this modified version is:
To get started, clone the repository and switch to the rhbk-base-22 branch:
git clone -b rhbk-base-22 https://github.com/atarazana/quarkus-petclinic.gitTest the application:
./mvnw clean quarkus:dev-
Open a browser window and visit the application URL.
Before securing the application, let’s configure a new client in our Red Hat build of Keycloak realm.
-
Open a browser window and log in to the Red Hat build of Keycloak administration web console.
-
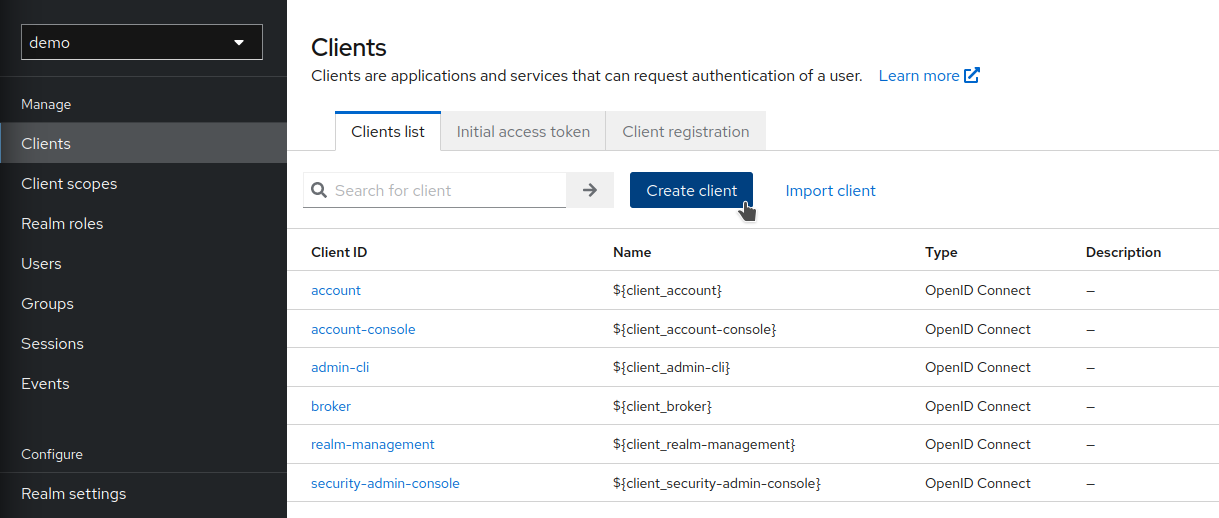
Select our
demorealm and clickClients. ClickCreate client.
-
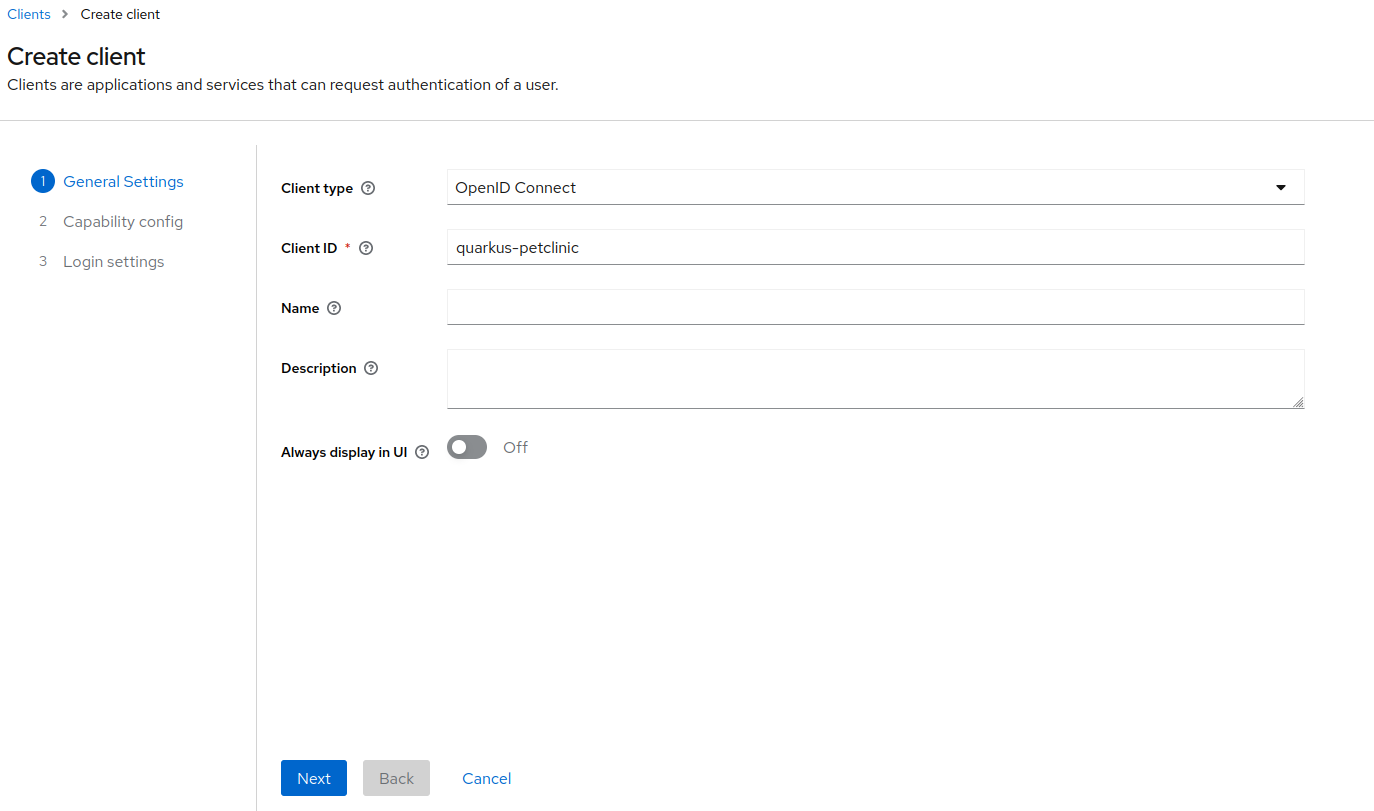
Set
quarkus-petclinicasClient ID. ClickNextuntilSave.
-
On the
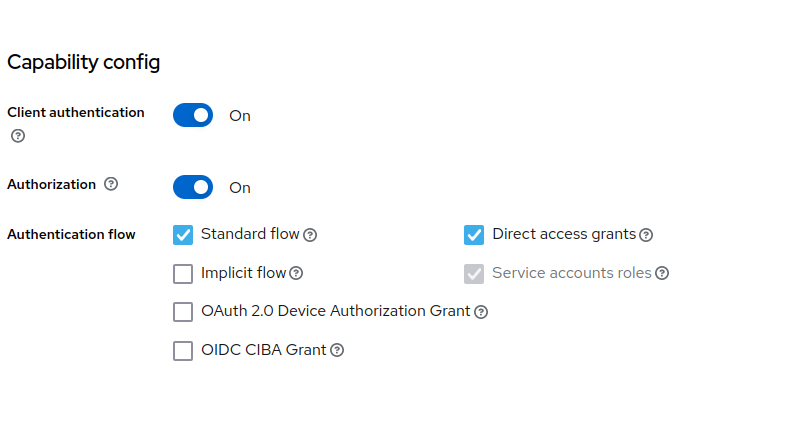
quarkus-petclinicclient configuration page:-
Enable
Client authentication. -
Enable
Authorization. -
Set
Valid Redirect URIsto include the root context of your application. -
Click
Save.
-
At this point, we have the demo realm with the quarkus-petclinic client; additionally, we created two roles and two users: the user angel that has the vet role and the user elisabeth that has the role assistant.
-
The authorization granularity that we want to configure based on our application is the following:
-
Any user that belongs to the
demorealm, likeelisabeth, can browse the application except theVETERINARIANSresource. -
Only the users with the role
vetcan view theVETERINARIANSresource (which has the/vets.htmlcontext). -
Any other user access outside the realm will be rejected.
-

Let’s configure our client authorization.
-
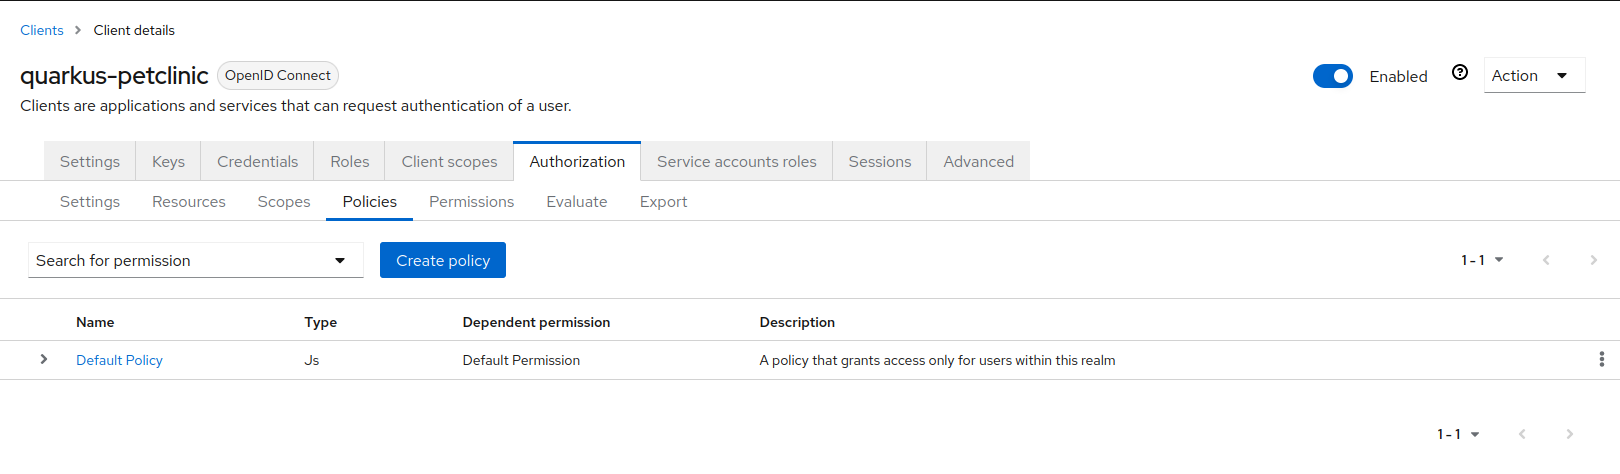
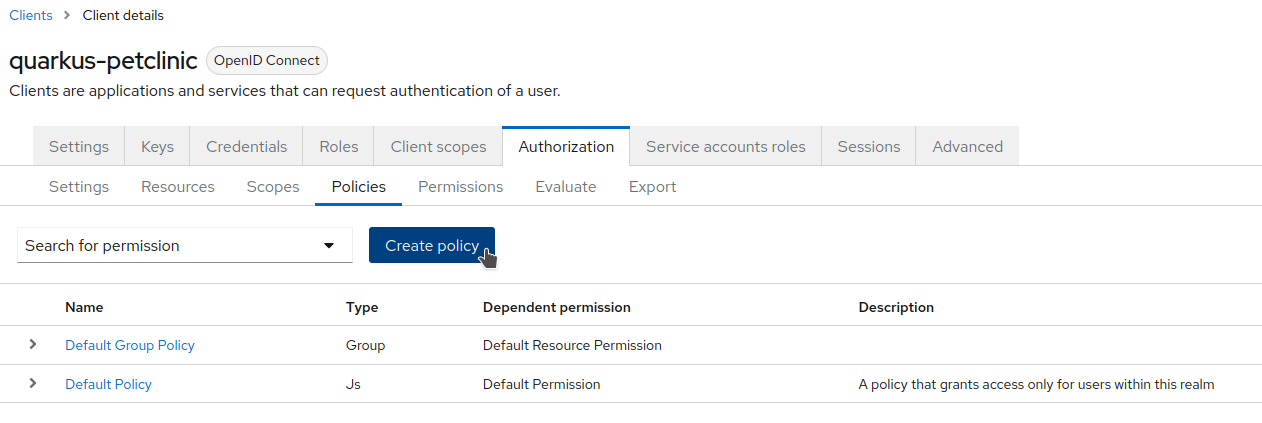
Open a browser window and log in to the Red Hat build of Keycloak administration web console. Browse to our
quarkus-petclinicclient and click theAuthorizationand thenPoliciestabs.
-
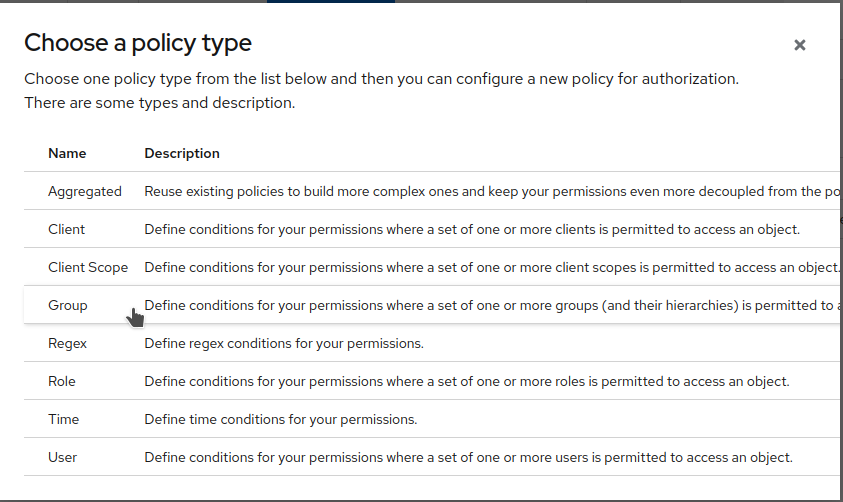
Click
Create policy, selectGroup.
-
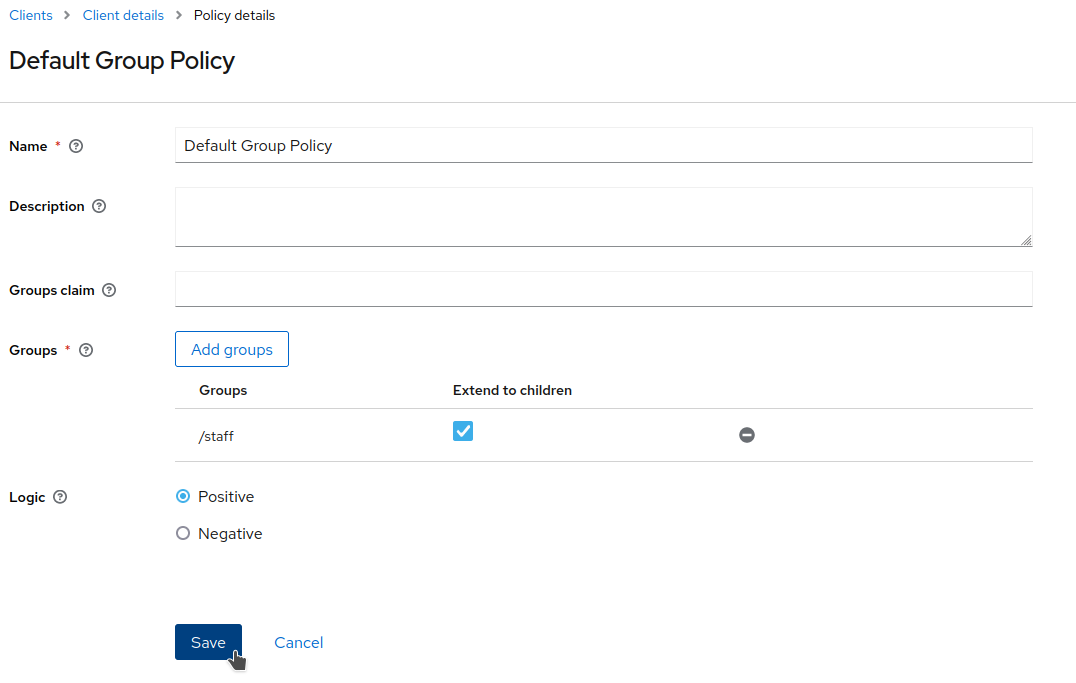
Set
Default Group Policyas theName. Add thestaffgroup to theGroupslist. Make sure that theLogicis set toPositiveandExtend to Childrenis checked (to enable the checkbox, you may need to clickSavefirst). Finally, clickSave.
-
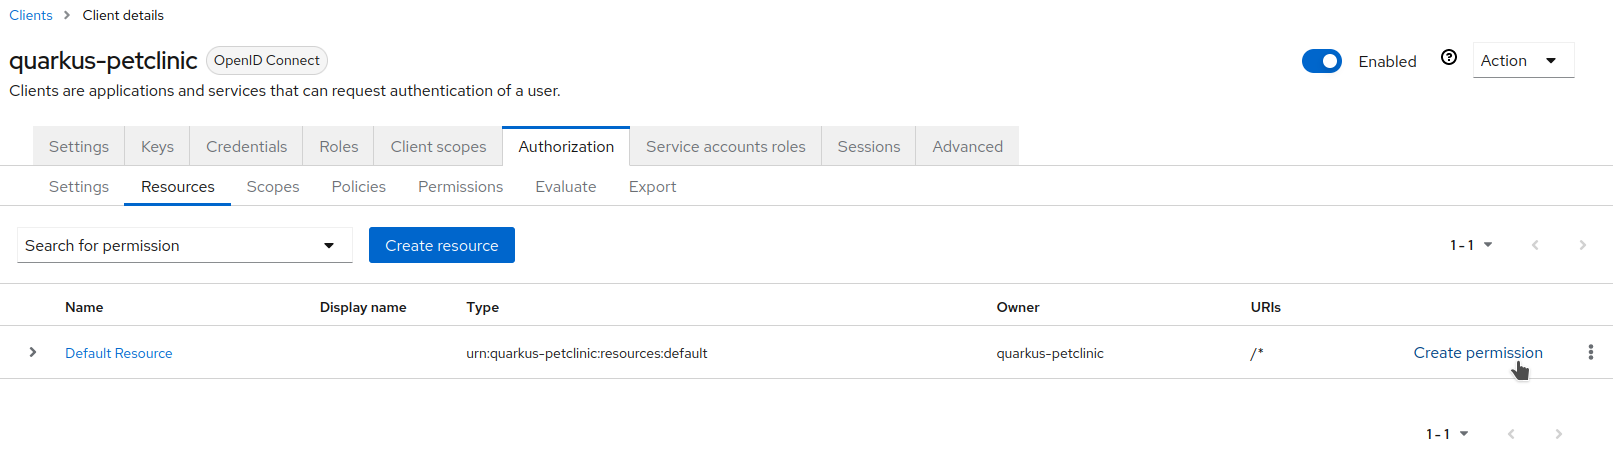
Come back, select the
Resourcestab and clickCreate Permissionfor theDefault Resource.
-
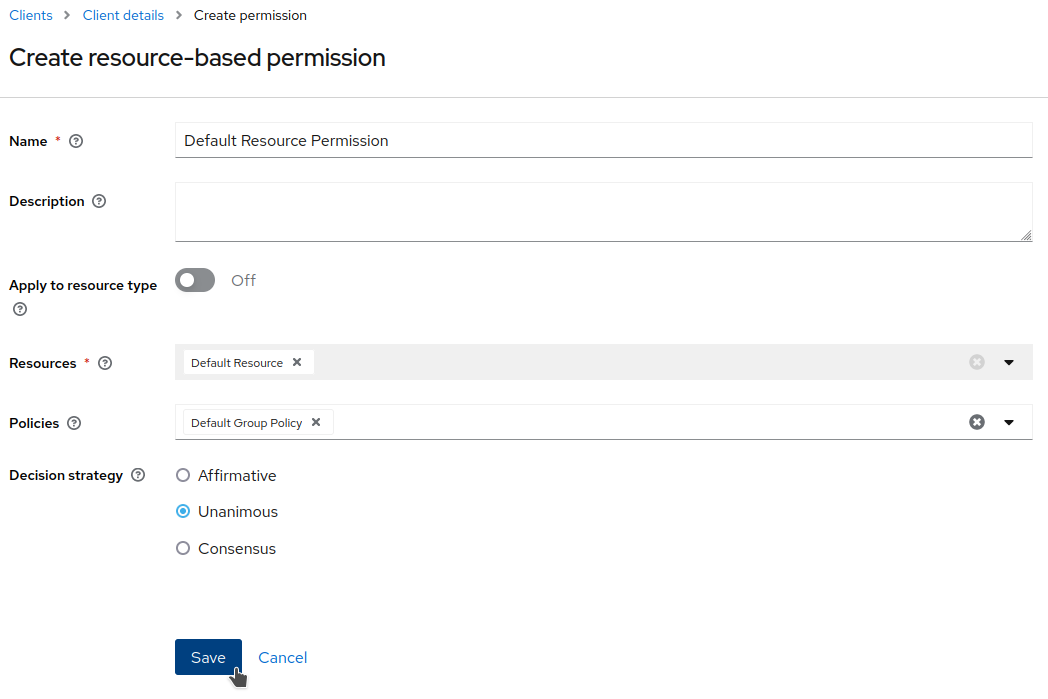
Set
Default Resource PermissionasNameand selectDefault ResourceasResources. Add the recently createdDefault Group Policypolicy. ClickSave.
-
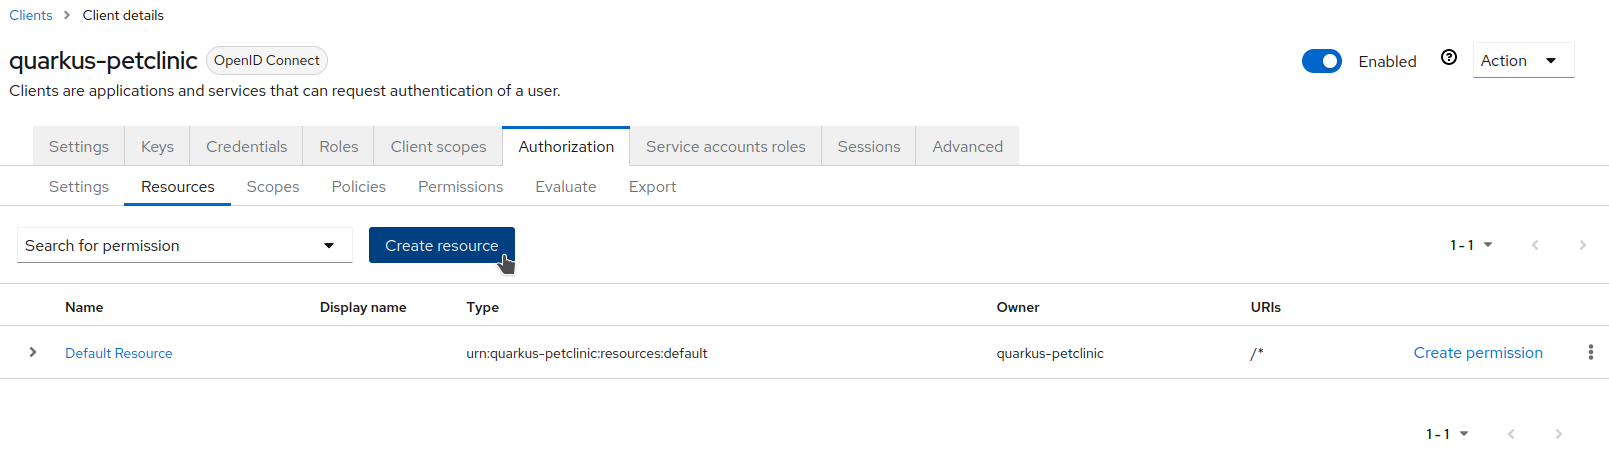
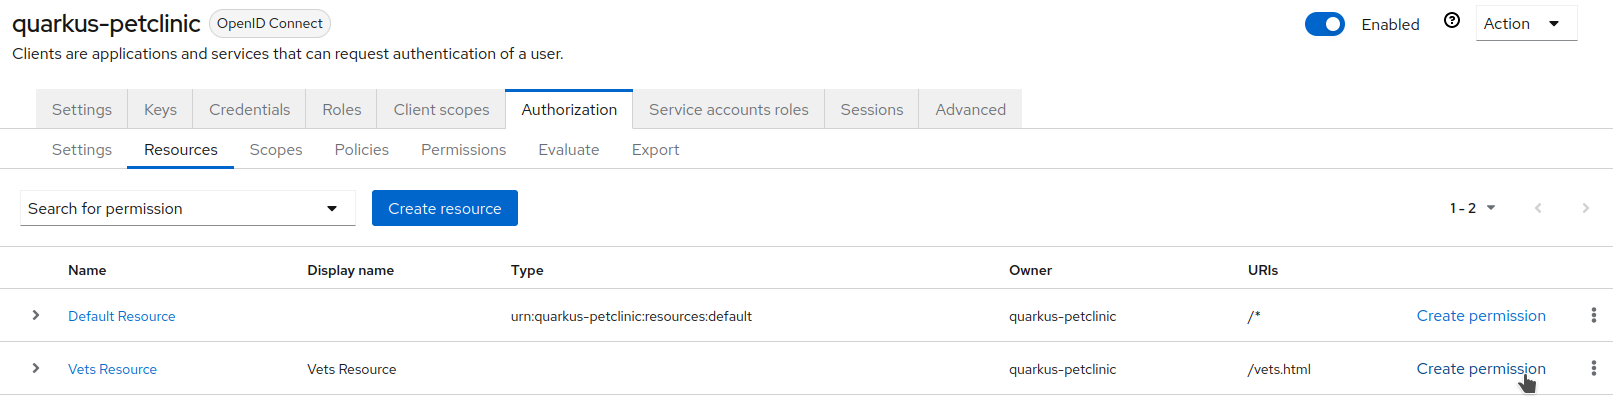
Come back again, select the
Resourcestab and create a new resource by clicking onCreate resource.
-
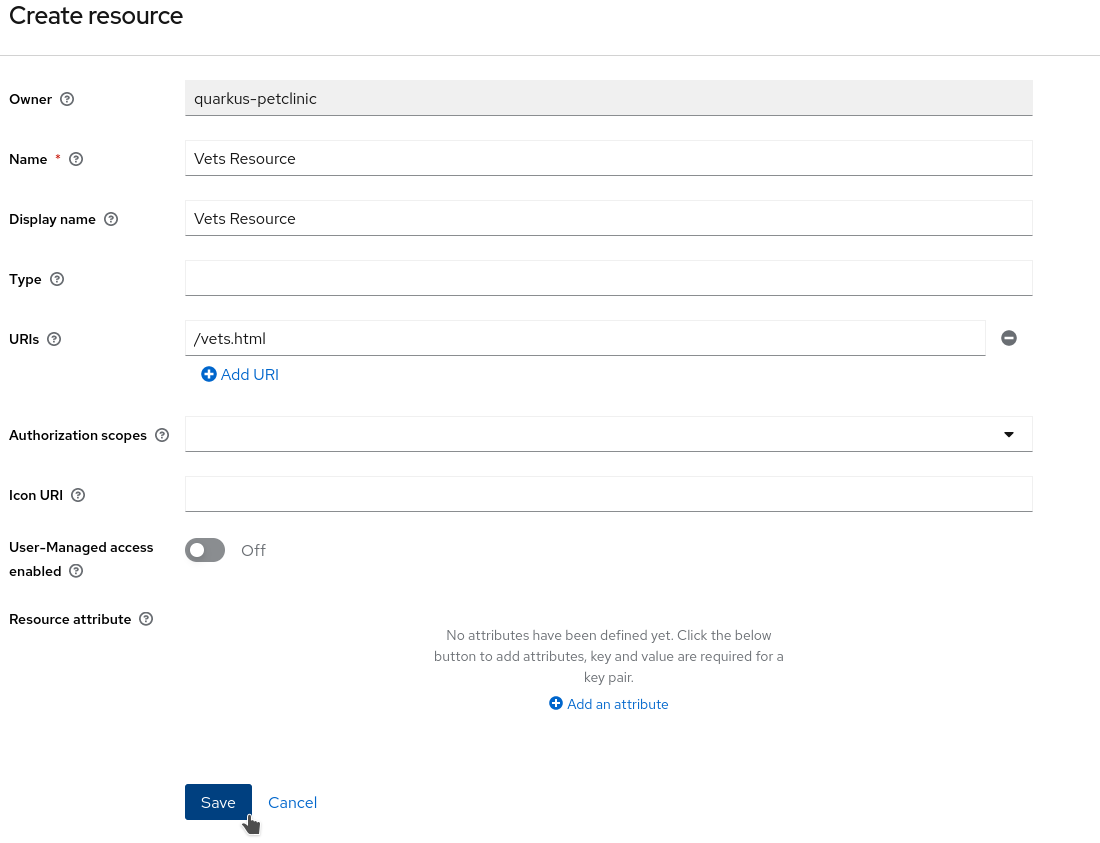
Set
Vets ResourceasNameandDisplay name, and/vets.htmlas URI. ClickSave.
-
Browse to
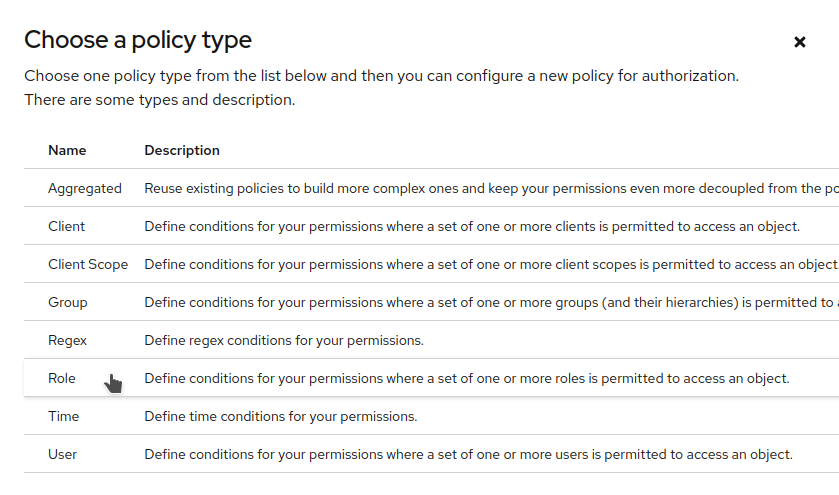
AuthorizationandPoliciestabs. Click onCreate Policy.
-
Select
Role
-
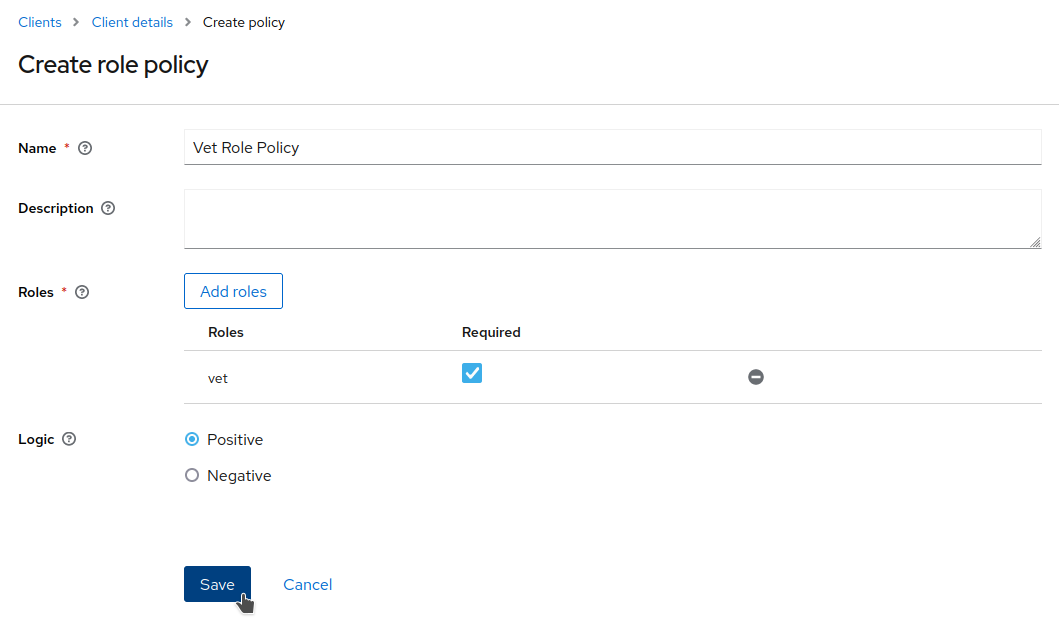
Set
Vet Role Policyas the Name,vetasRealm Roles, and check required. ClickSave.
-
Browse to the
AuthorizationandResourcestabs. -
Click on
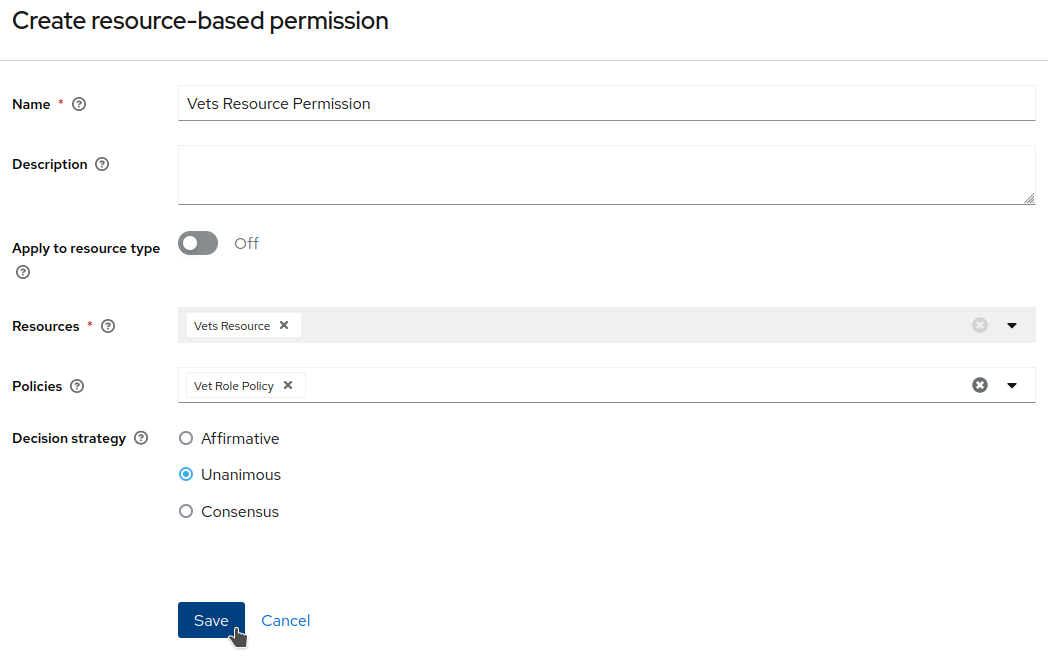
Create Permissionfor theVets Resource.
-
Set
Vets Resource PermissionasName. And apply theVet Role Policy. ClickSave.
At this point, the Red Hat build of Keycloak client is properly configured.
Let’s configure the application side.
-
Open a browser window and log in to the Red Hat build of Keycloak administration web console. Browse to our
quarkus-petclinicclient and click theCredentialstab. Write down theSecretvalue, we will need it soon.

-
Export the client secret
export KEYCLOAK_CLIENT_SECRET=<the secret>-
Add the following dependencies to the
pom.xmlfile:
    <dependency>
      <groupId>io.quarkus</groupId>
      <artifactId>quarkus-oidc</artifactId>
    </dependency>
    <dependency>
      <groupId>io.quarkus</groupId>
      <artifactId>quarkus-keycloak-authorization</artifactId>
</dependency>-
Add the following configuration to the
application.propertiesfile of the application, as shown below:
quarkus.oidc.auth-server-url=http://${KEYCLOAK_HOST:localhost:8080}/realms/demo
quarkus.oidc.client-id=quarkus-petclinic
quarkus.oidc.credentials.secret=${KEYCLOAK_CLIENT_SECRET:secret}
quarkus.oidc.tls.verification=none
quarkus.oidc.roles.source=accesstoken

quarkus.oidc.application-type=web-app
quarkus.oidc.webapp.auth-server-url=${quarkus.oidc.auth-server-url}
quarkus.oidc.webapp.client-id=${quarkus.oidc.client-id}
quarkus.oidc.webapp.credentials.secret=${quarkus.oidc.credentials.secret}
quarkus.oidc.webapp.roles.source=${quarkus.oidc.roles.source}

quarkus.keycloak.policy-enforcer.enable=true-
Redeploy and test the application accesses:
-
Open a new incognito browser session.
-
Browse to the context root of the Quarkus Petclinic application. The request will be redirected to the Red Hat Single Sign-On login page. Here, we checked that the anonymous access to the application is forbidden.
-
Log in as
elisabeth. The request will be redirected to the application after a successful login. -
Browse through the application, try to access the VETERINARIANS section. The access should be denied, as
elisabethhas theassistantrole and the access is restricted to thevetrole. An error will be shown on the application page. -
Close the browser and open a new one incognito session.
-
Visit the context root of the application again.
-
Login as
angel. -
Browse through the application, try to access the VETERINARIANS section. The access should be granted, as
angelhas thevetrole.
-
A complete OIDC working Petclinic Quarkus application is available at rhbk-oidc-22 branch.
|