Environment Setup
|
This tutorial was developed and tested with:
|
Workshop Tools
The following tools are required to run the exercises in this tutorial. Ensure they are installed and properly configured before proceeding.
| Tool | Reference |
|---|---|
|
|
|
Red Hat Cloud-native Development Workshop Prerequisites
Installing Red Hat OpenShift Dev Spaces
You can use the Red Hat OpenShift Container Platform web console to install Red Hat OpenShift DevSpaces by following these steps:
-
Open a browser window and log in to the Red Hat OpenShift Container Platform web console.
-
From the Administrator perspective, click on
Operatorsand then selectOperatorHub. -
In the
Filter by keywordfield, typedevspaces.
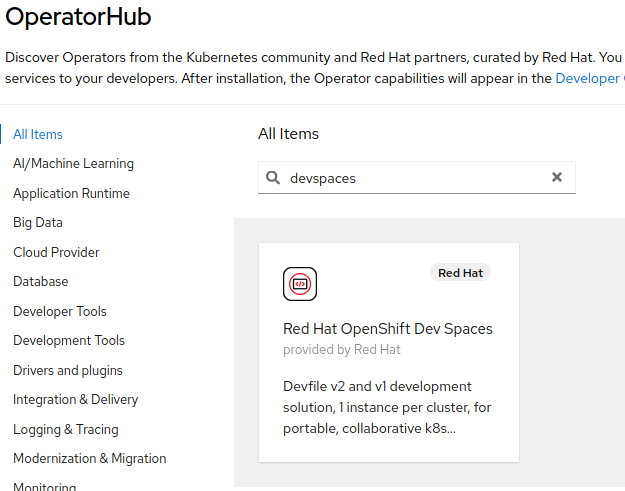
-
Select the Red Hat OpenShift Dev Spaces tile and click the
Installbutton.
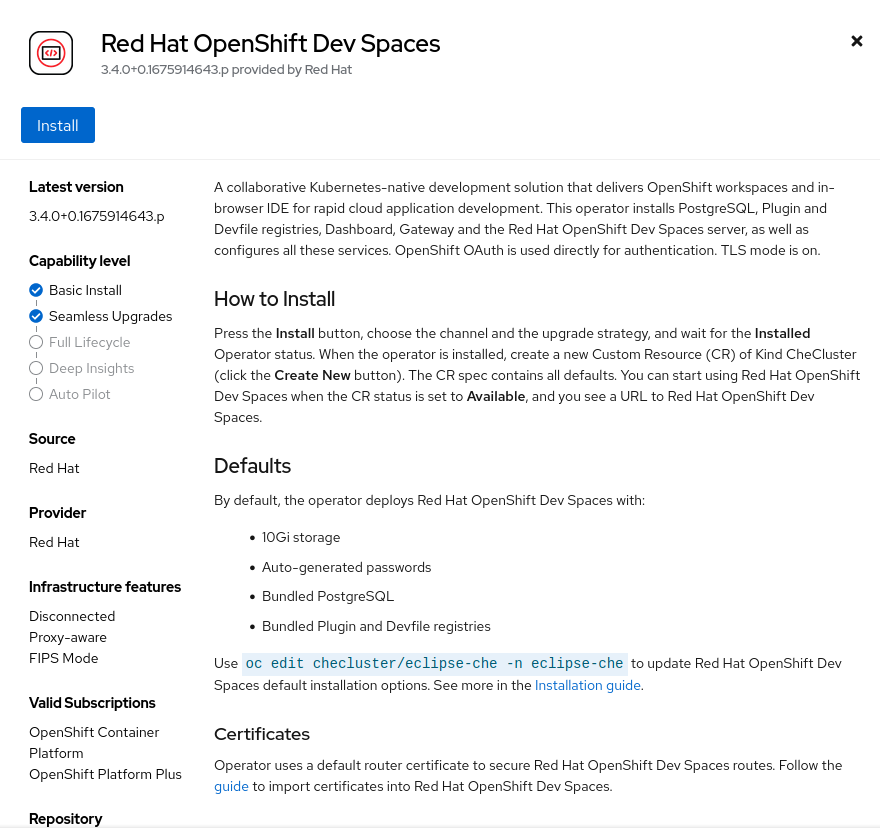
-
On the Install Operator page:
-
Select
stablefrom the list of available Update Channel options. -
Choose
All namespaces on the cluster (default)as the installation mode. -
Leave the default value of
Installed Namespaceasopenshift-operators (Operator recommended). -
Set the Update Approval to
Automatic.
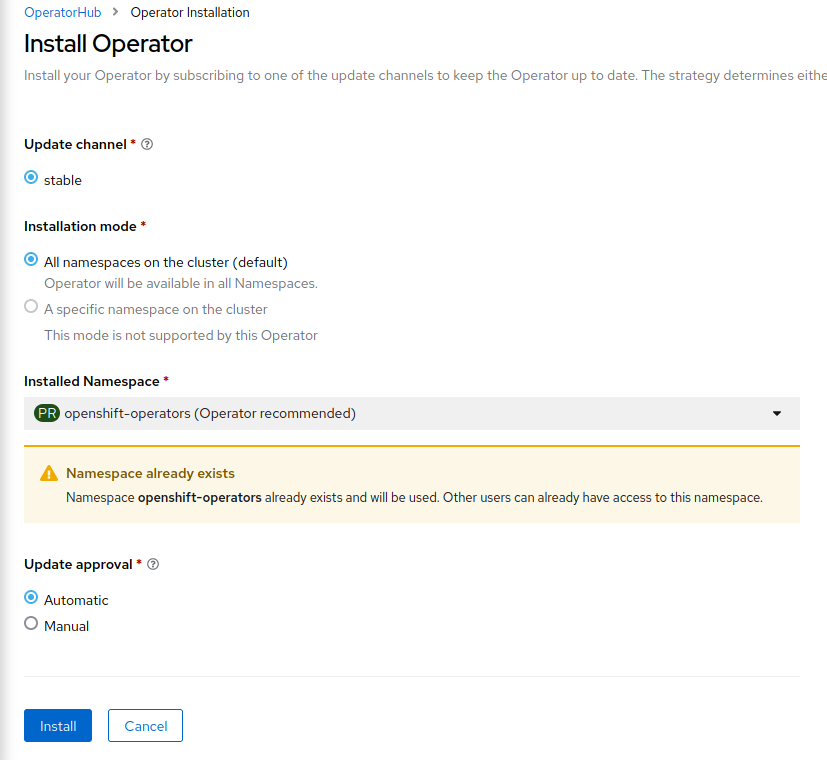
-
Click
Install.
Once the operator installation finishes, create a project named demo-devspaces and deploy a CheCluster by following these steps:
-
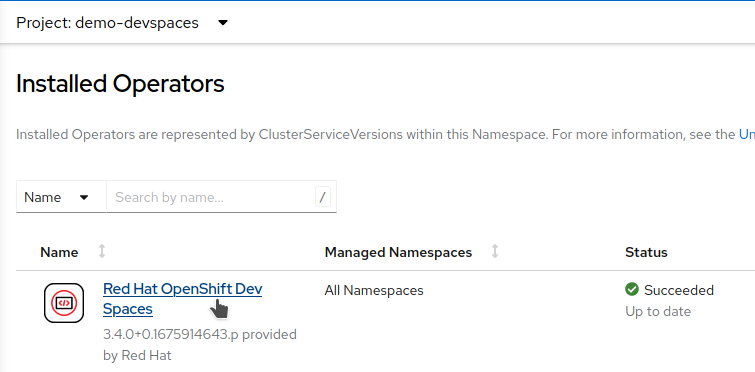
From the Administrator perspective, click on
Installed Operators. -
Select
Red Hat OpenShift Dev Spaces.
-
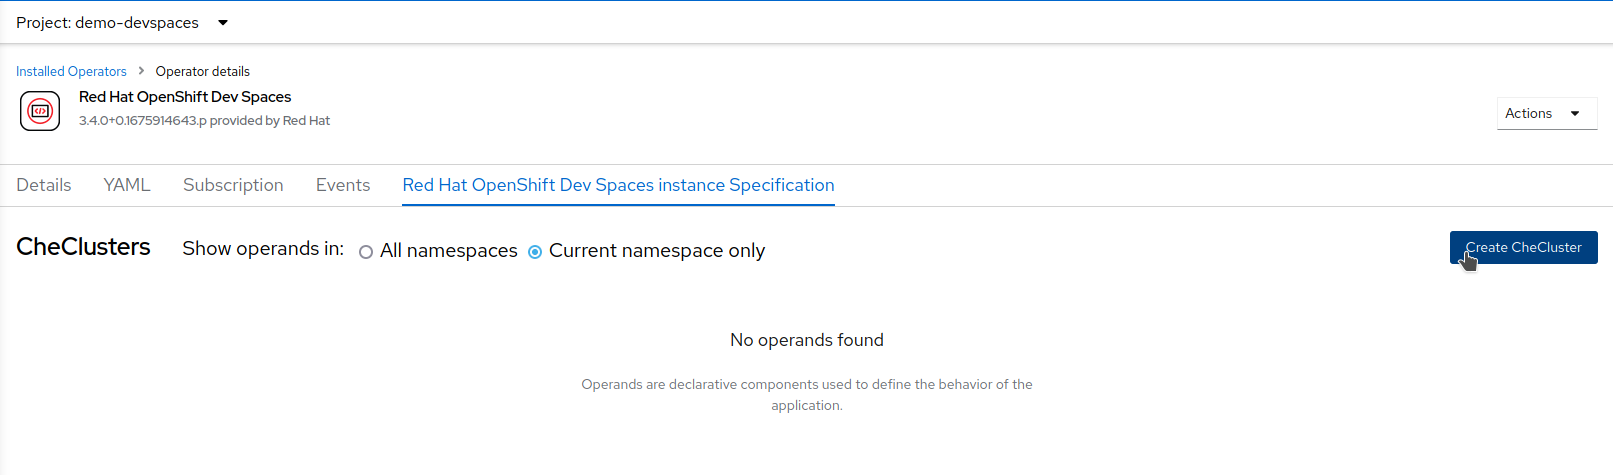
Click on
Red Hat OpenShift Dev Spaces instance Specification, selectCurrent namespace only, and then clickCreate CheCluster.
-
Set a desired name for the CheCluster, for example
devspaces, and clickCreate. -
Wait for the
CheClusterdeployment to finish. When it’s available, navigate toNetworking→Routes, and open the DevSpaces route.
If the DevSpaces dashboard loads correctly, the installation was successful.
Installing Red Hat OpenShift Pipelines
You can use the Red Hat OpenShift Container Platform web console to install Red Hat OpenShift Pipelines by following these steps:
-
Open a browser window and log in to the Red Hat OpenShift Container Platform web console.
-
From the Administrator perspective, click on
Operatorsand then selectOperatorHub. -
In the
Filter by keywordfield, typeopenshift pipelines.
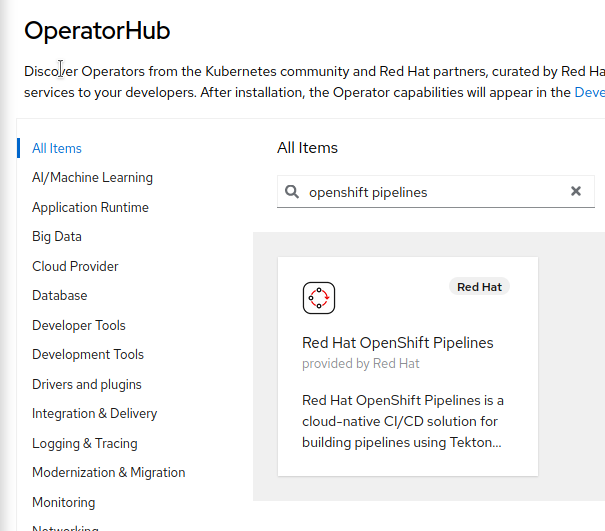
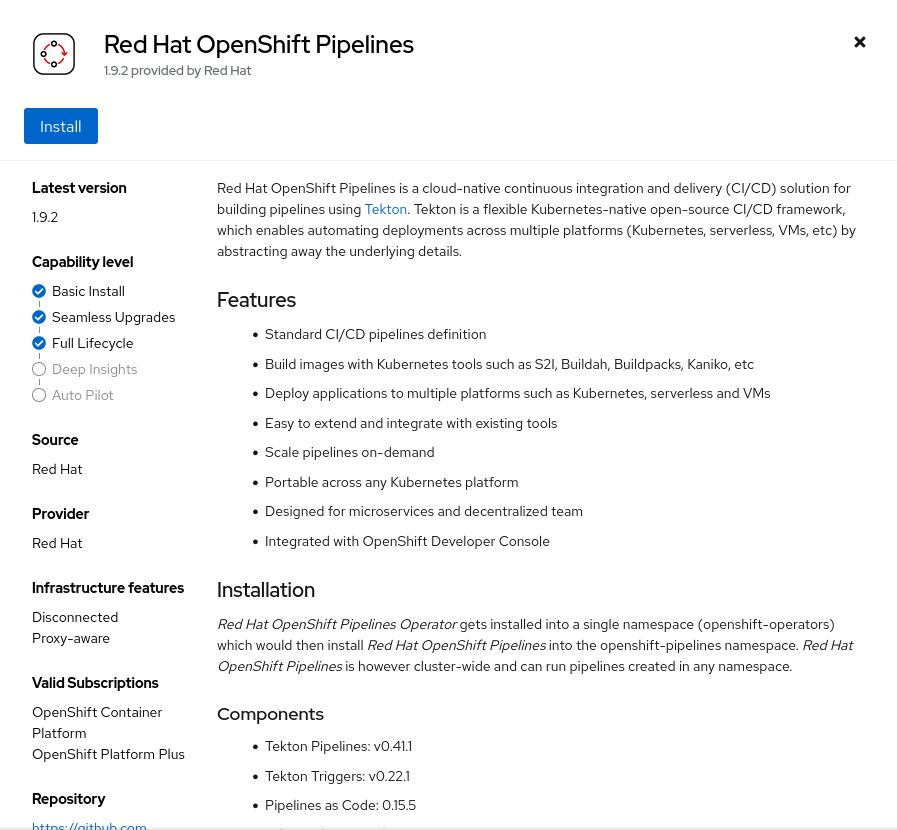
-
Select the Red Hat OpenShift Pipelines tile and click the
Installbutton.
-
On the Install Operator page:
-
Select
pipelines-1.9from the list of available Update Channel options. -
Choose
All namespaces on the cluster (default)as the installation mode. -
Leave the default value of
Installed Namespaceasopenshift-operators. -
Set the Update Approval to
Automatic.
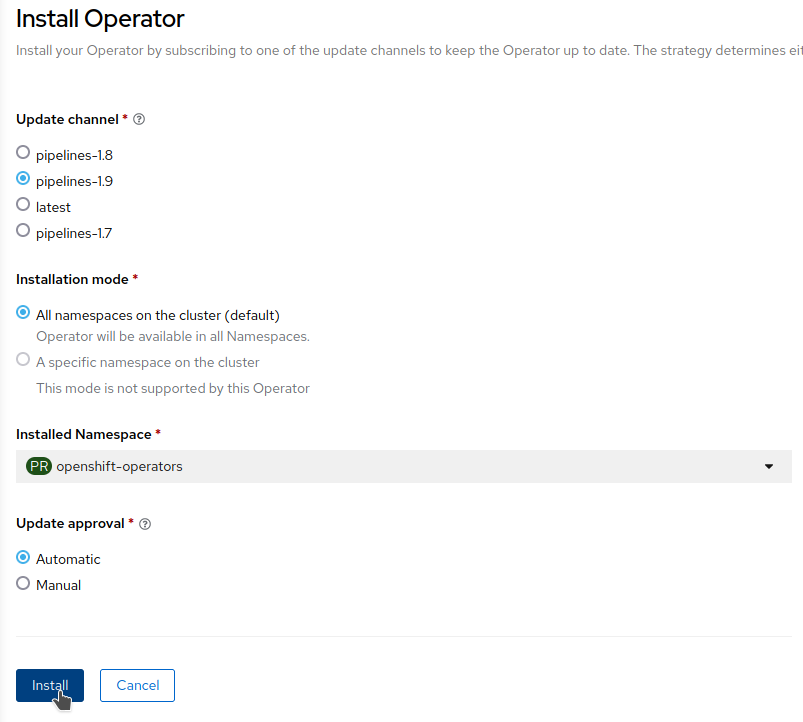
-
Click
Install.
Installing Red Hat OpenShift GitOps
You can use the Red Hat OpenShift Container Platform web console to install Red Hat OpenShift GitOps by following these steps:
-
Open a browser window and log in to the Red Hat OpenShift Container Platform web console.
-
From the Administrator perspective, click on
Operatorsand then selectOperatorHub. -
In the
Filter by keywordfield, typeopenshift gitops.
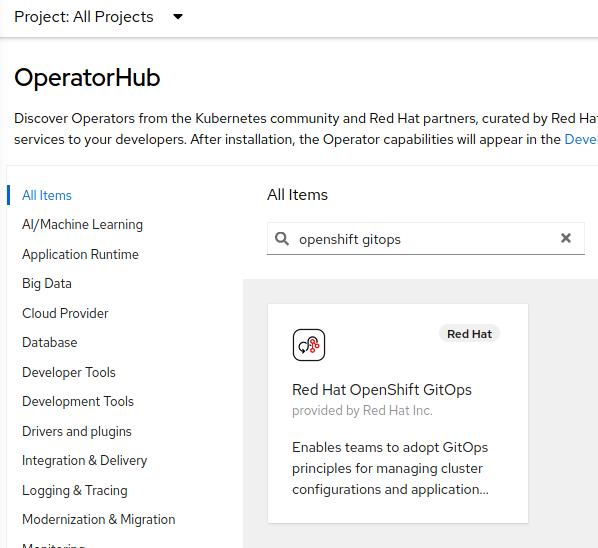
-
Select the Red Hat OpenShift GitOps tile and click the
Installbutton.
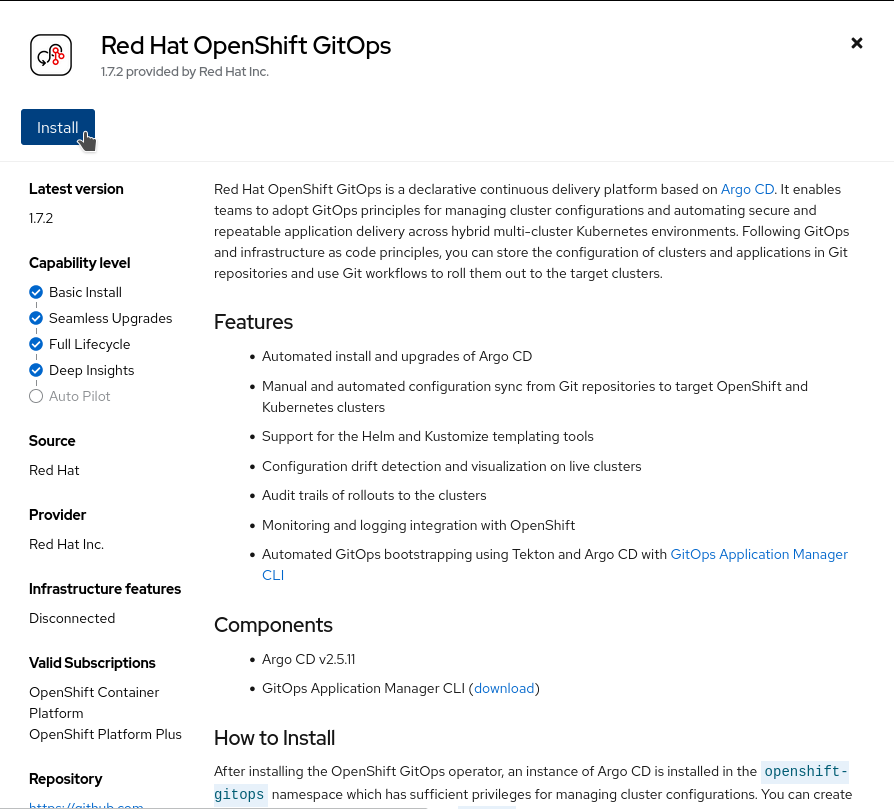
-
On the Install Operator page:
-
Select
gitops-1.7from the list of available Update Channel options. -
Choose
All namespaces on the cluster (default)as the installation mode. -
Leave the default value of
Installed Namespaceasopenshift-operators. -
Set the Update Approval to
Automatic.
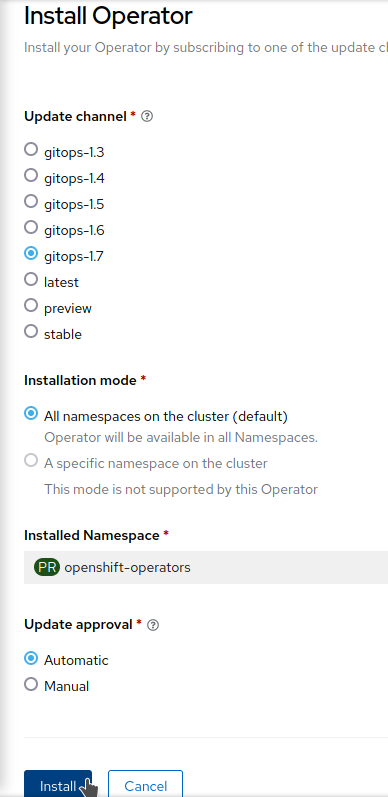
-
Click
Install.
Installing CI/CD Environment
In this section, we will deploy all the components of the CI/CD environment. The environment is composed of a Gitea git server, a Sonatype Nexus server, and a SonarQube server.
We have an existing Spring application that we want to migrate to Quarkus in order to take advantage of the benefits provided by the supersonic subatomic Java framework!
We will be working with a modified and prepared version of the CI/CD Demo with Tekton and Argo CD on OpenShift, created by Siamak Sadeghianfar and contributors. The original repository is available here: https://github.com/siamaksade/openshift-cicd-demo.
For this workshop, we will use the version available here: https://github.com/aolle/openshift-cicd-demo/tree/cnd, specifically the cnd branch.
To install the CI/CD environment, clone that branch and run the installation script:
git clone -b cnd https://github.com/aolle/openshift-cicd-demo.git
./openshift-cicd-demo/demo.sh install| Ensure that you are already logged into your OpenShift cluster before executing the commands. Also, make a note of the URLs of the services that the installation script provides. |
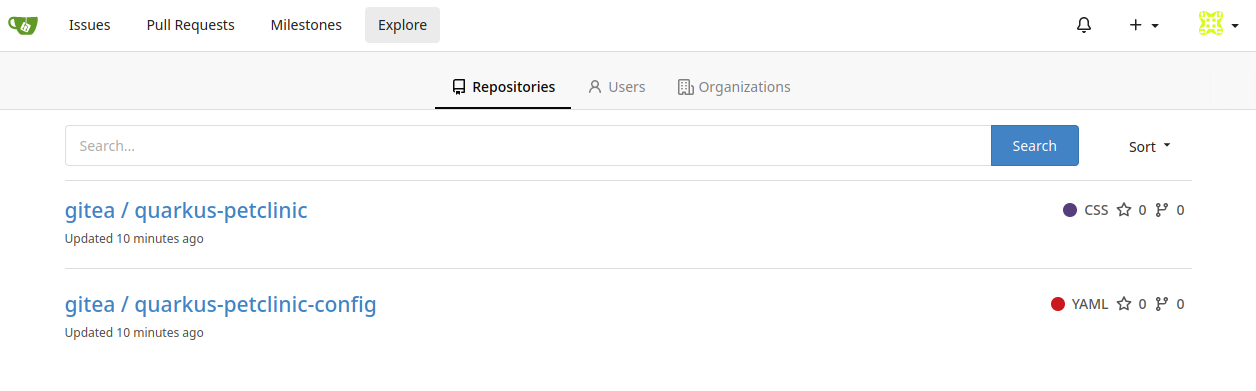
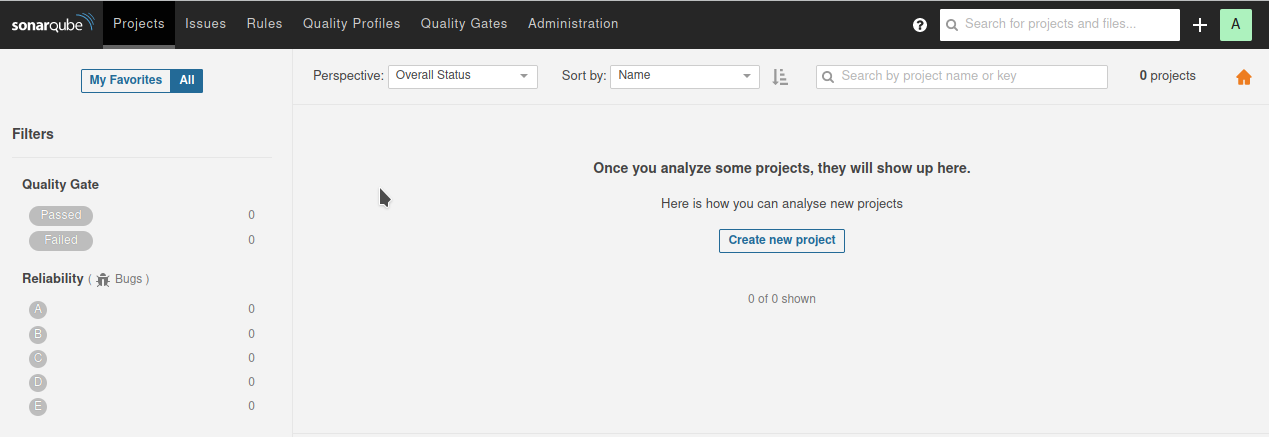
Verify that the environment has been installed correctly by opening the different service URLs and checking their landing pages. Confirm that two repositories are available in Gitea: quarkus-petclinic and quarkus-petclinic-config.
| Default credentials (username/password) are as follows: Gitea: gitea / openshift Sonatype Nexus: admin / admin123 SonarQube: admin / admin Argo CD: login with OpenShift credentials |
Gitea git server
Sonatype Nexus

SonarQube
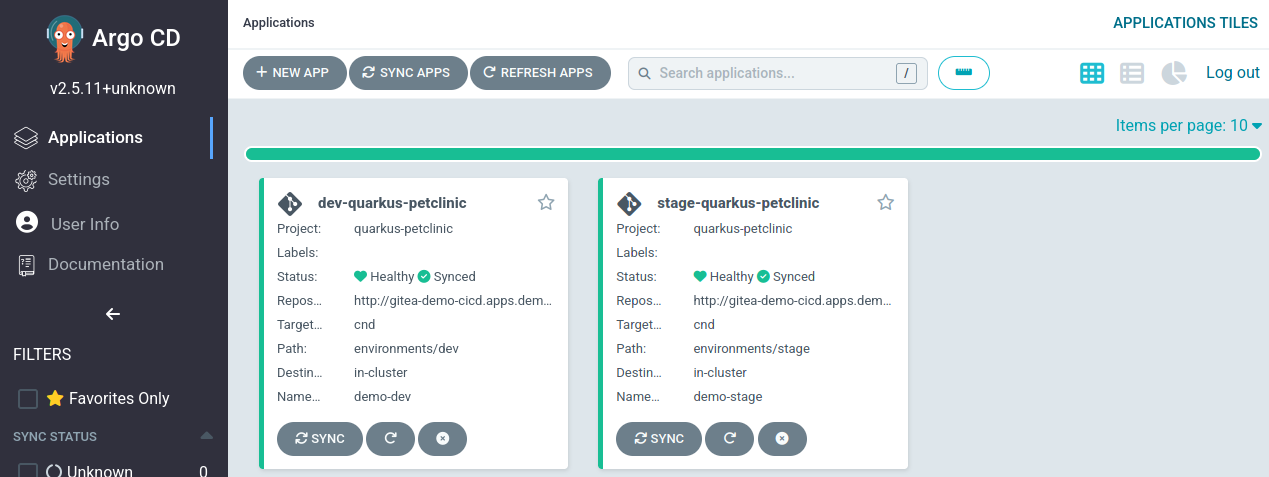
Argo CD